Linking Of Bugs
Follow the steps below to link bugs in the system.
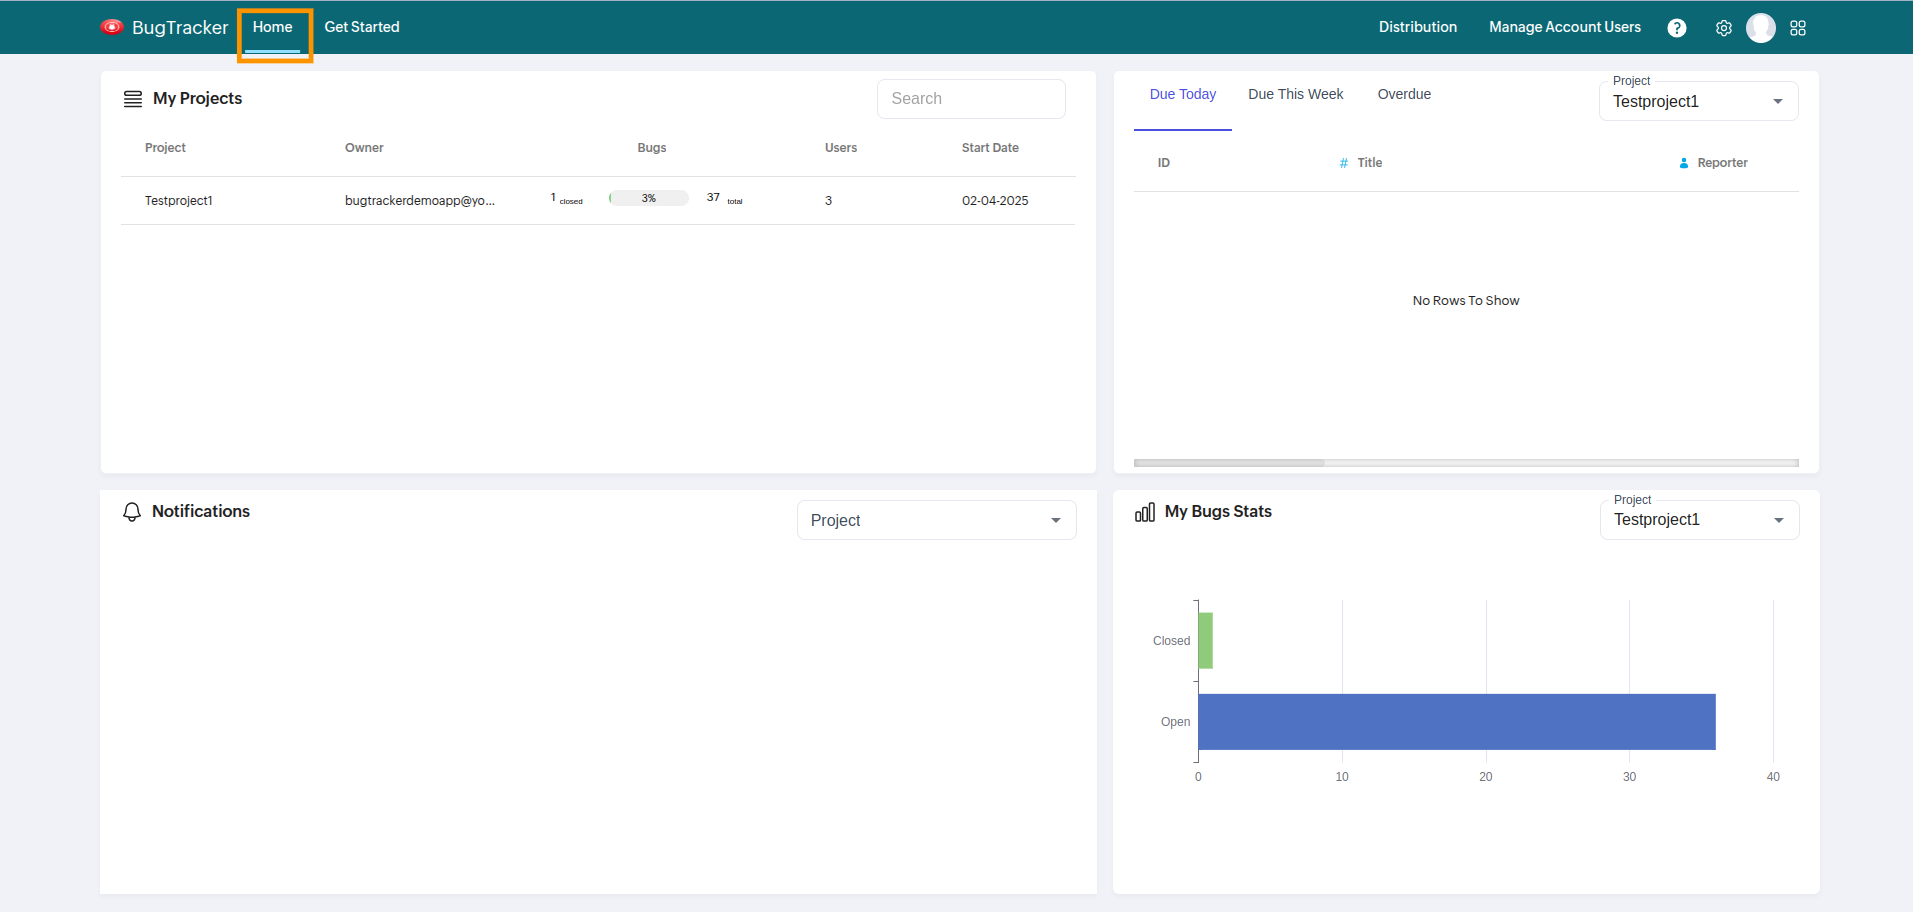
Step 1: Click On Home Tab
Navigate to the home page.
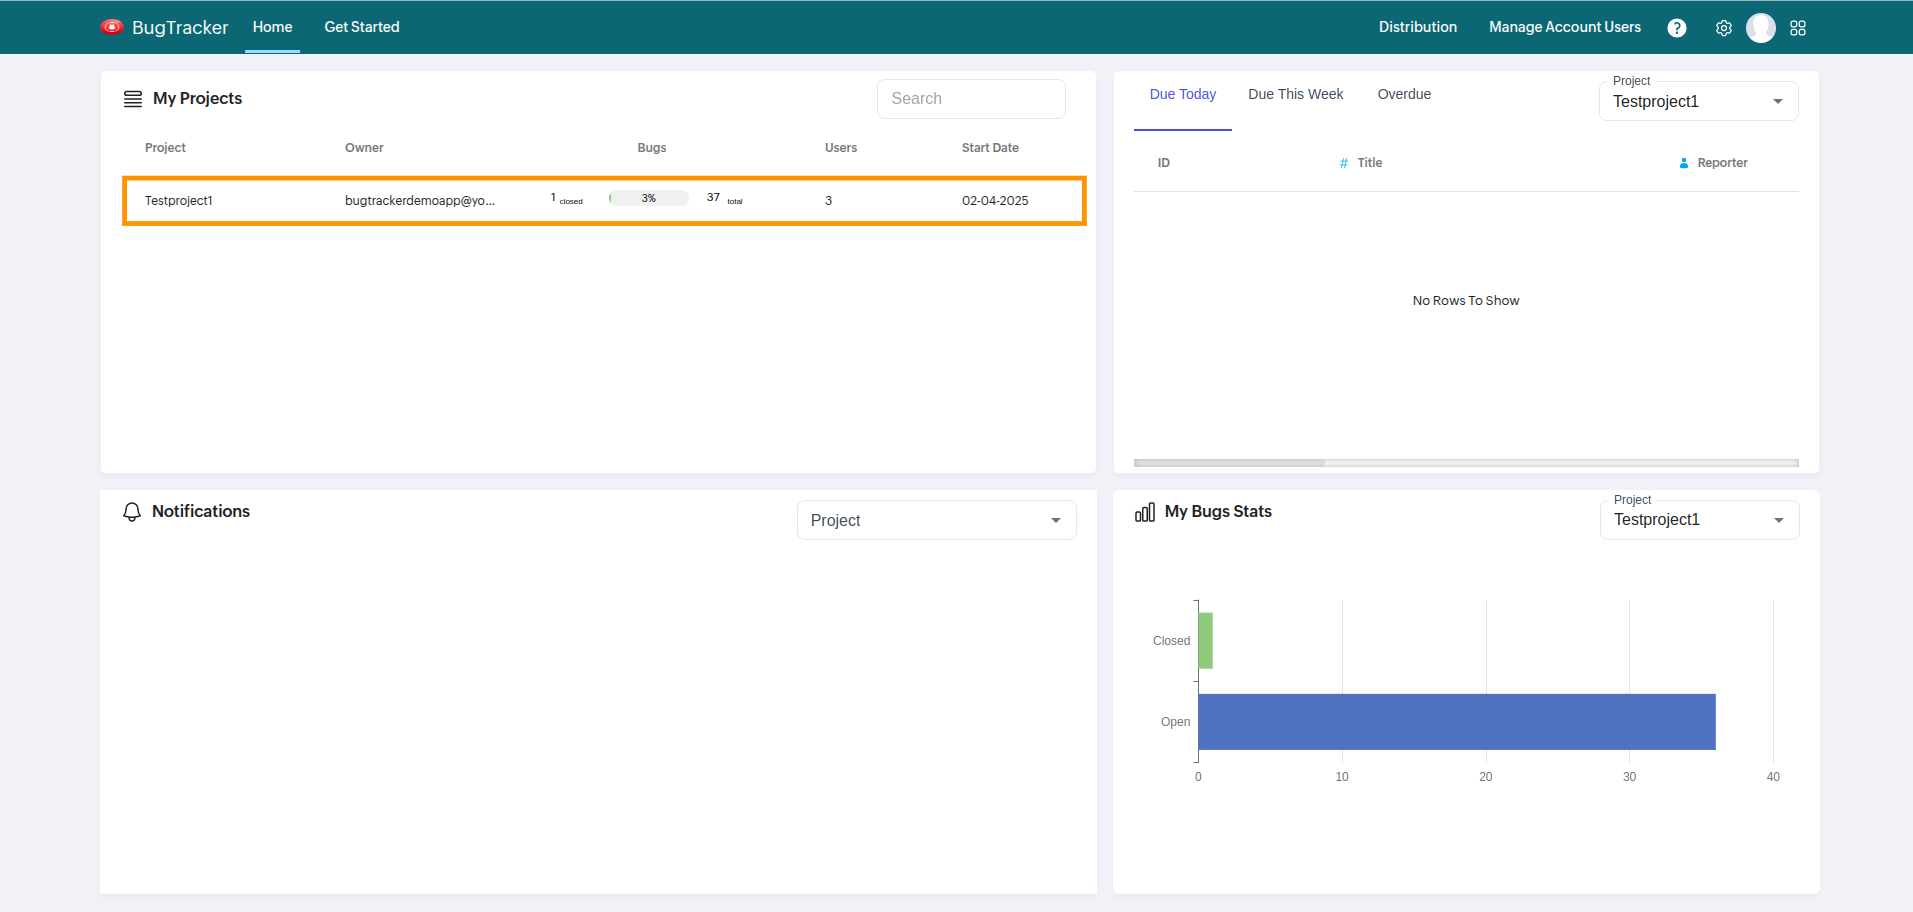
Step 2: Select a Project
Select the project where you need to link the bugs.
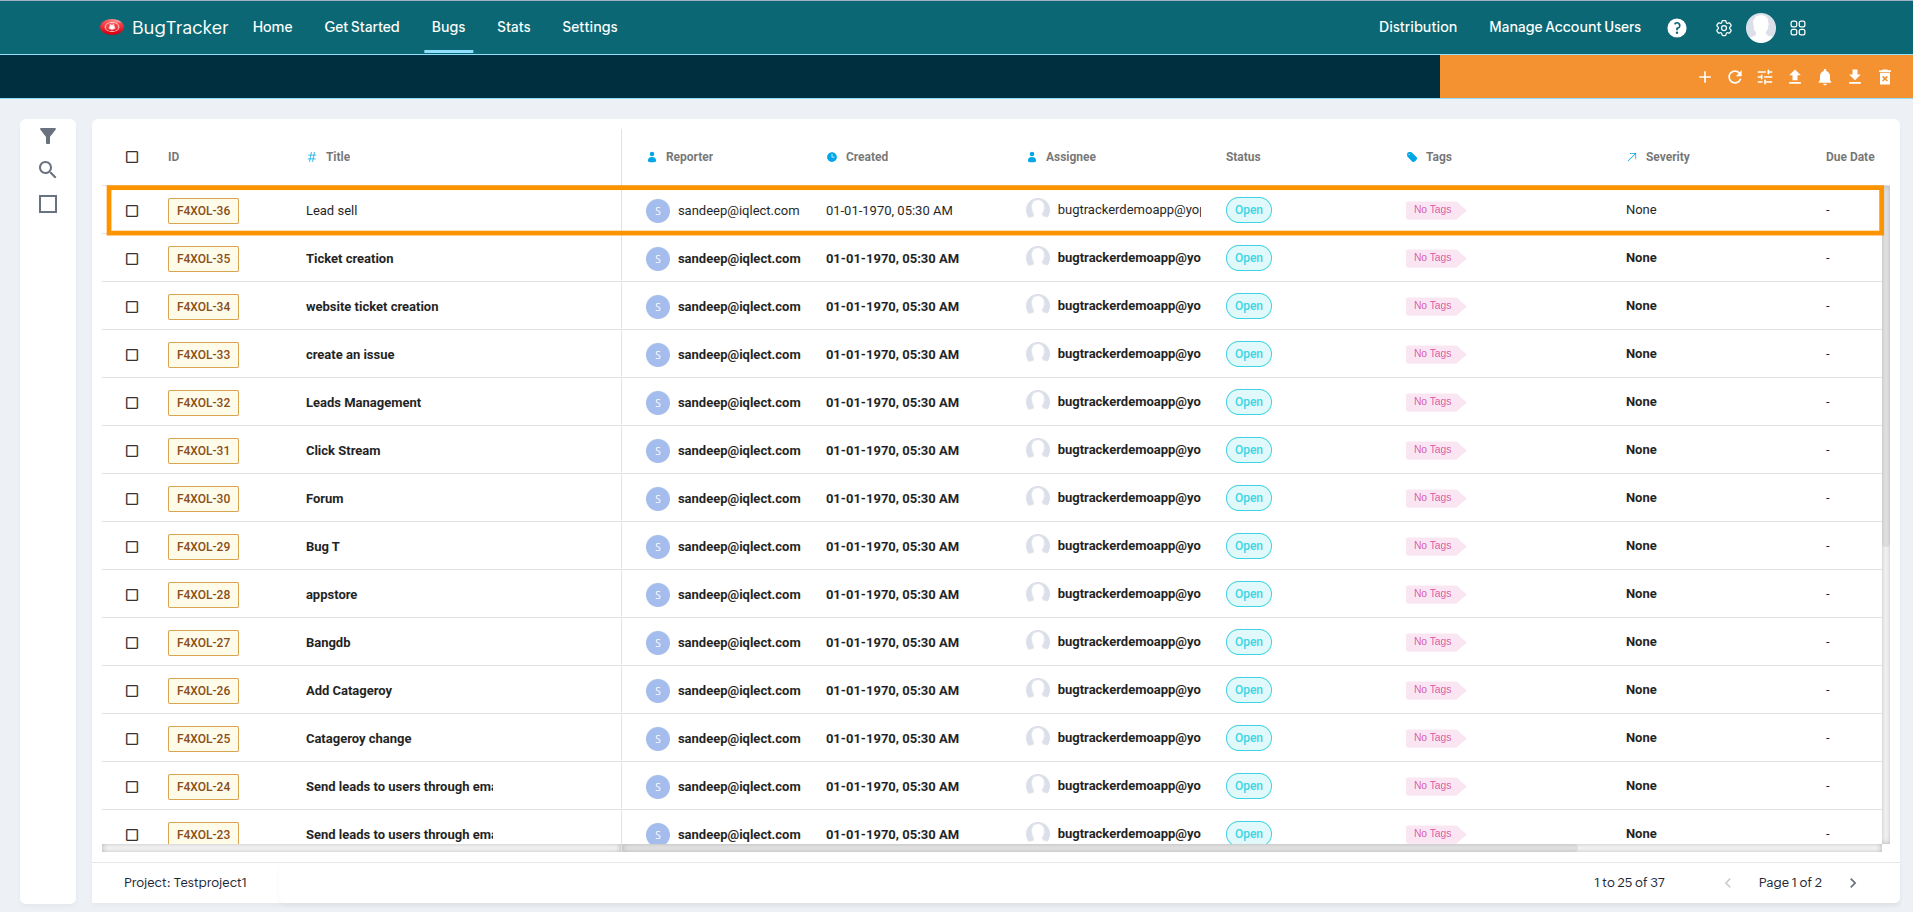
Step 3: Select Bugs to Link
Choose the bugs that need to be linked.
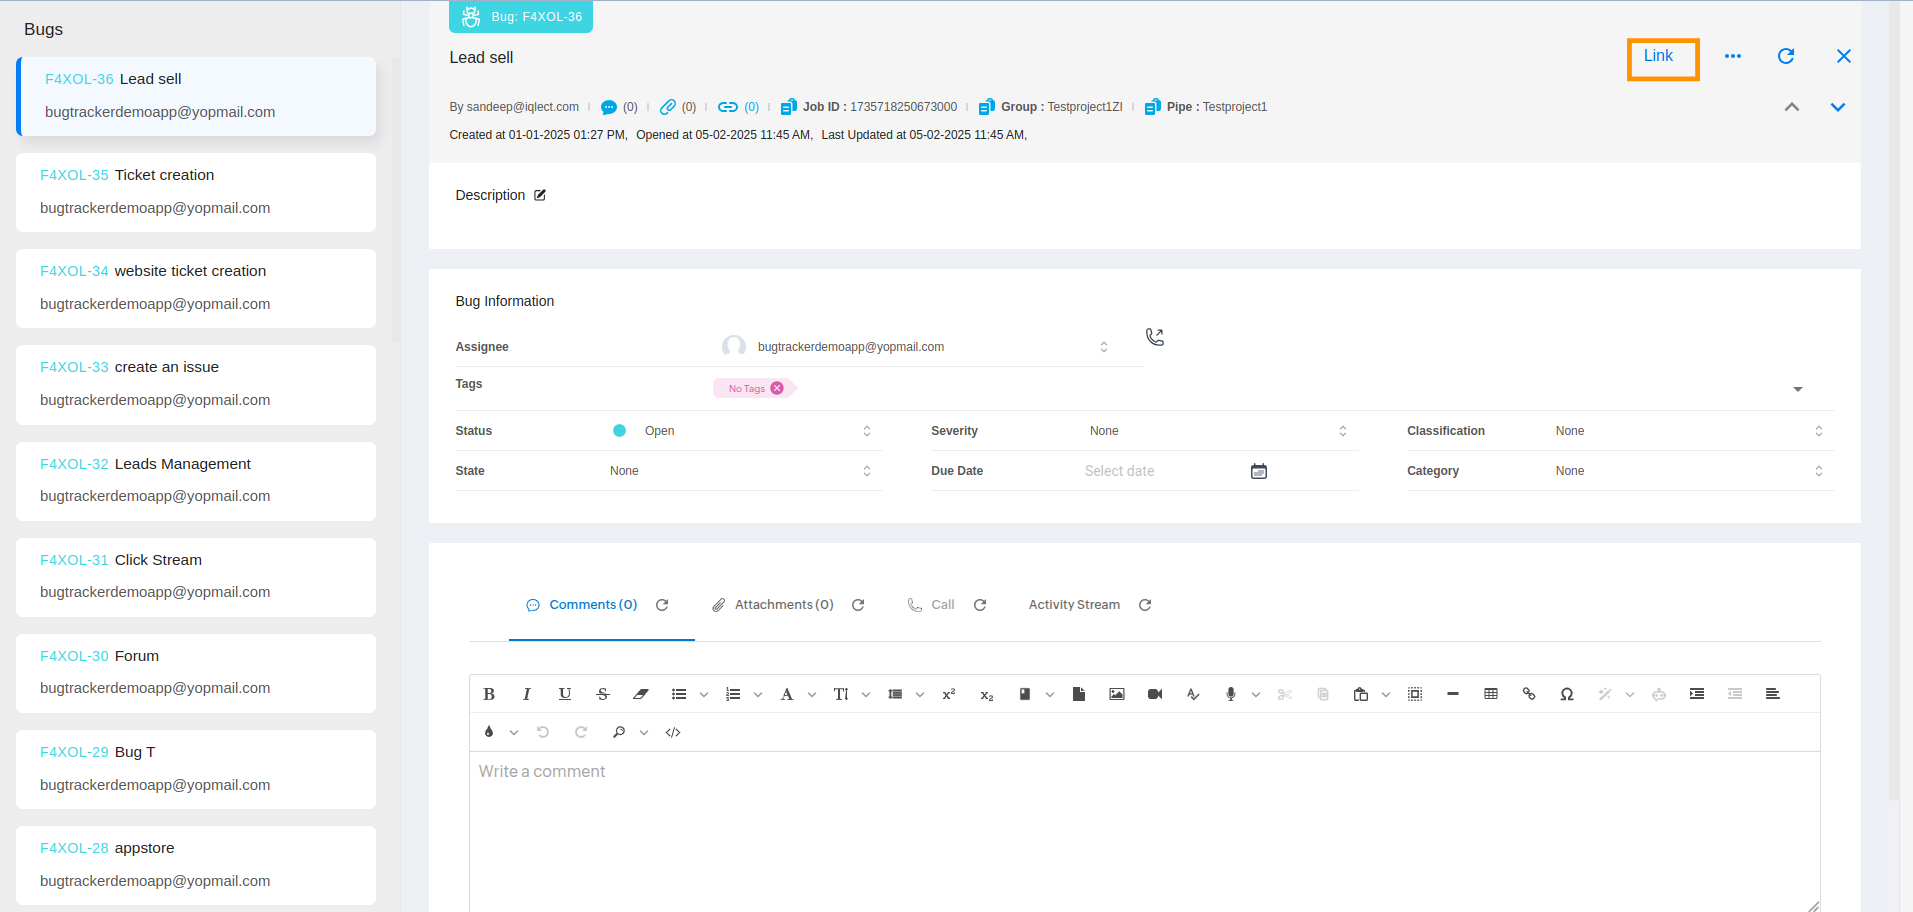
Step 4: Click on the Link Button
Open the Bug Detail Page and click on the Link button.
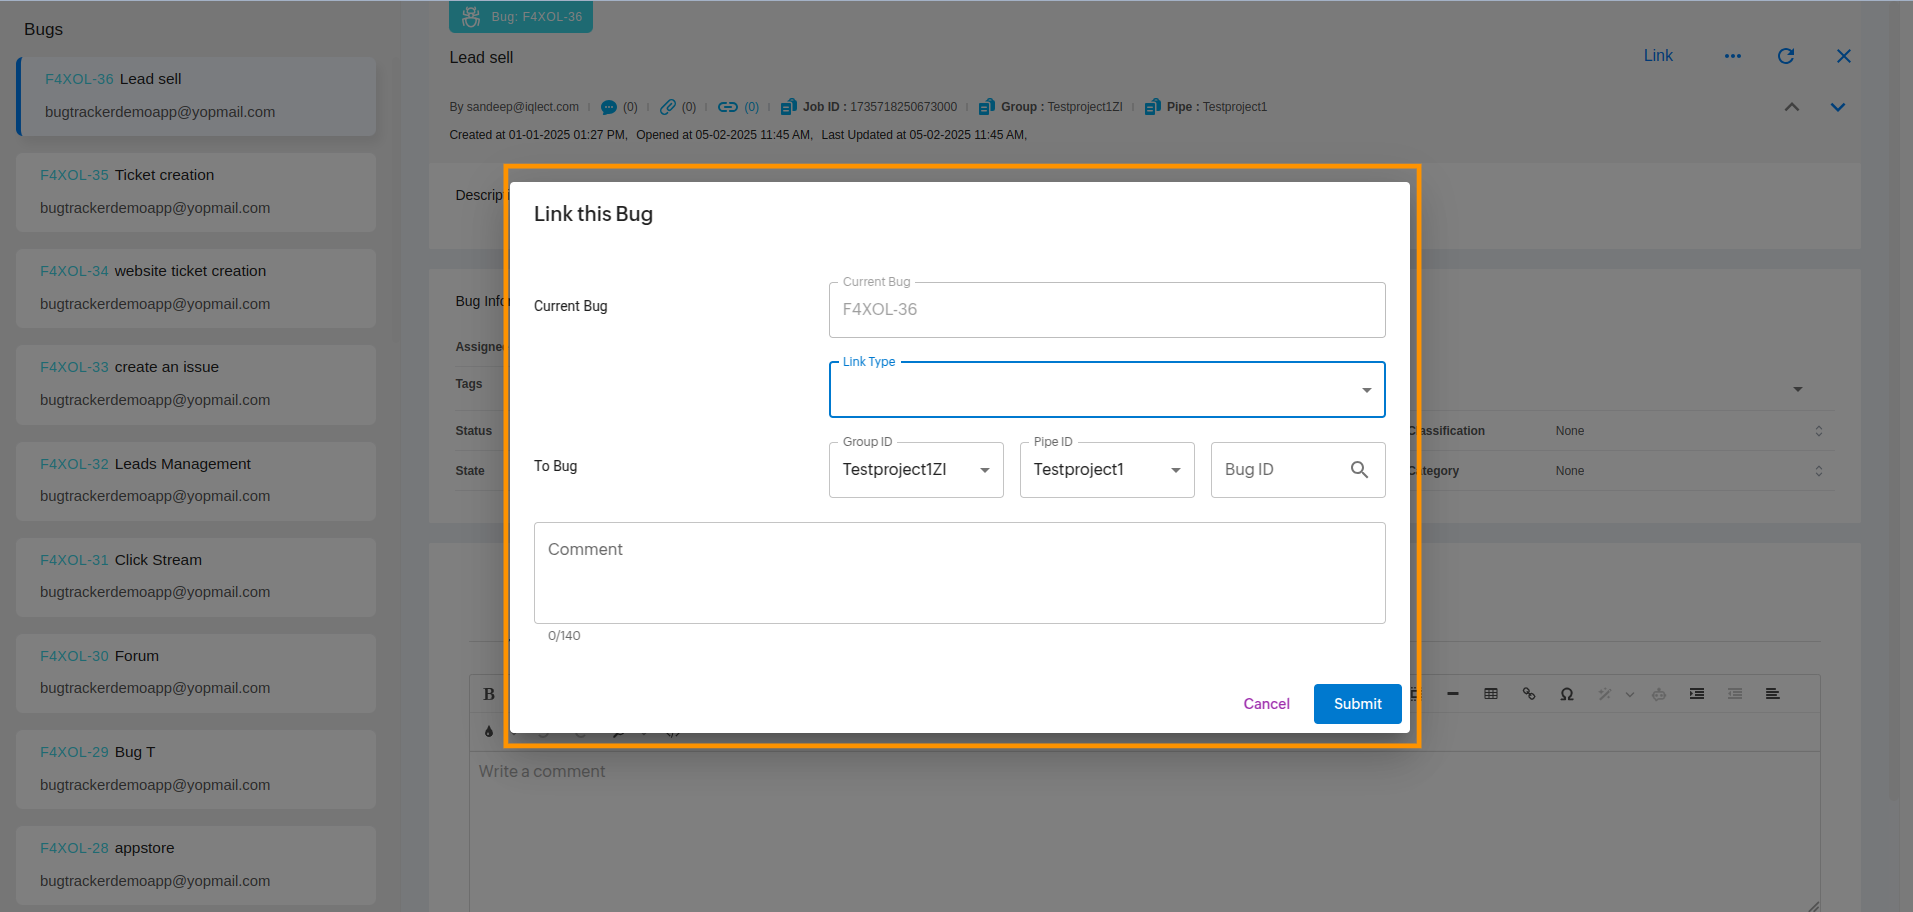
Step 5: Link Popup Opens
The Link popup will appear.
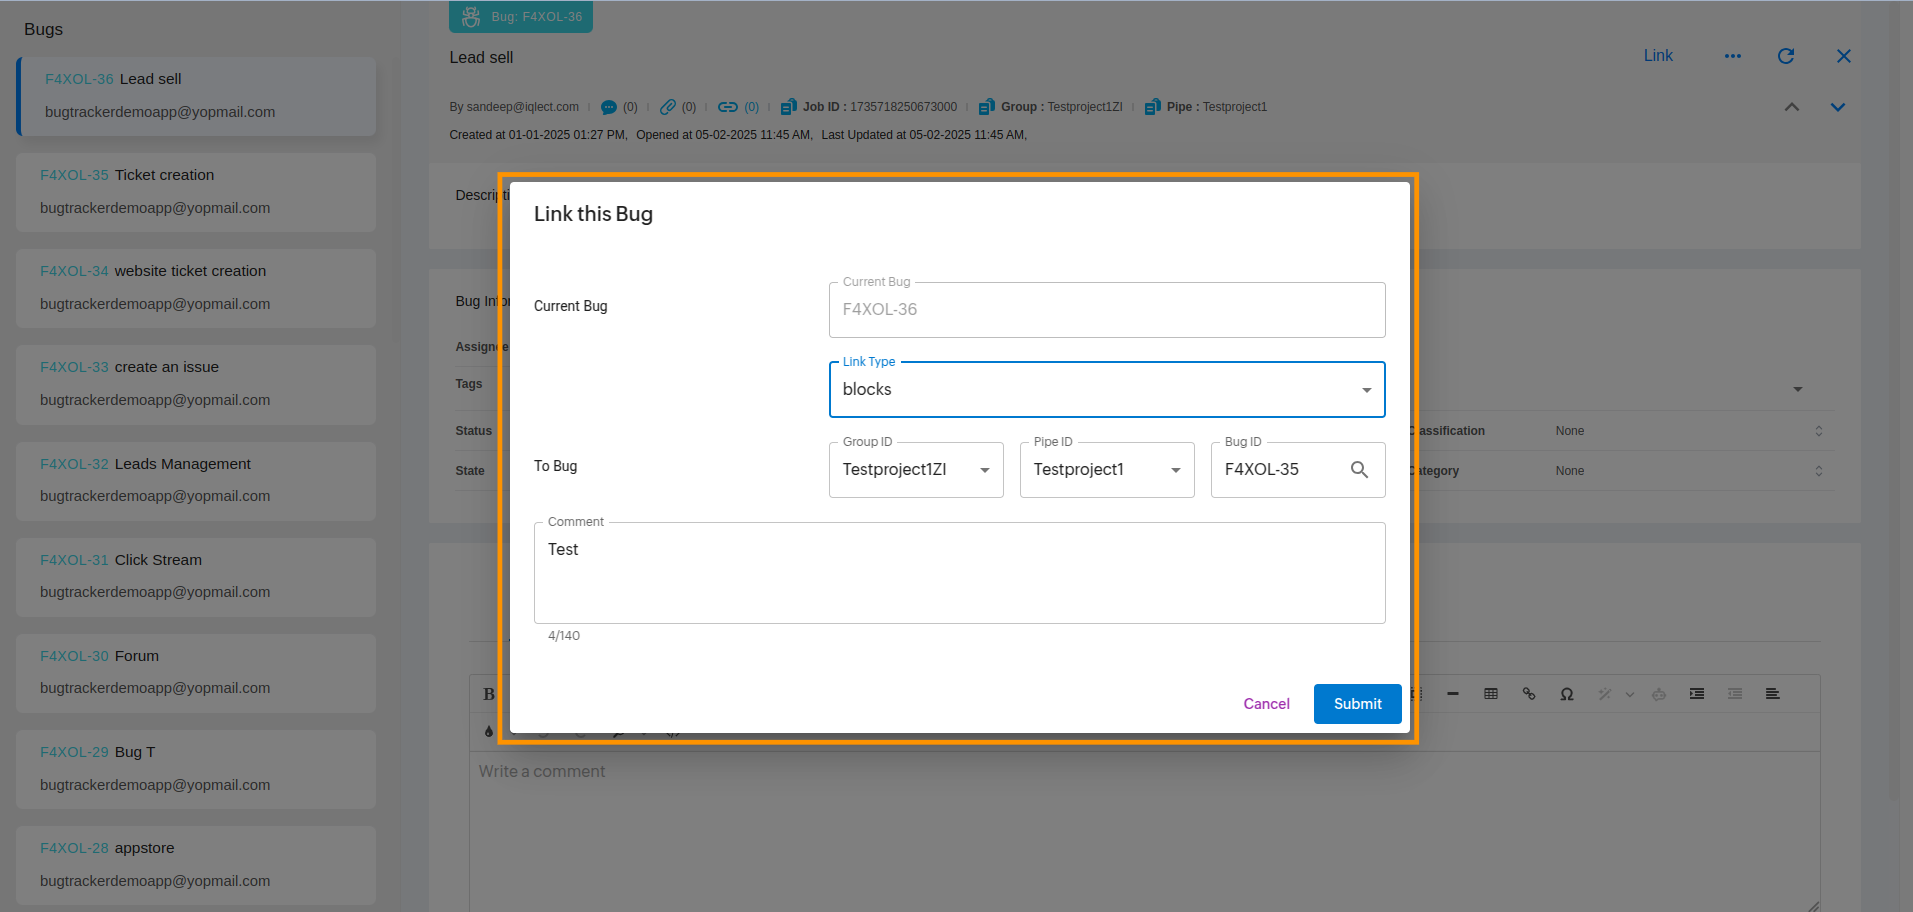
Step 6: Select Link Type and Details
Select the Link Type from the dropdown, choose the group and project, manually enter the Bug ID, and add a comment.
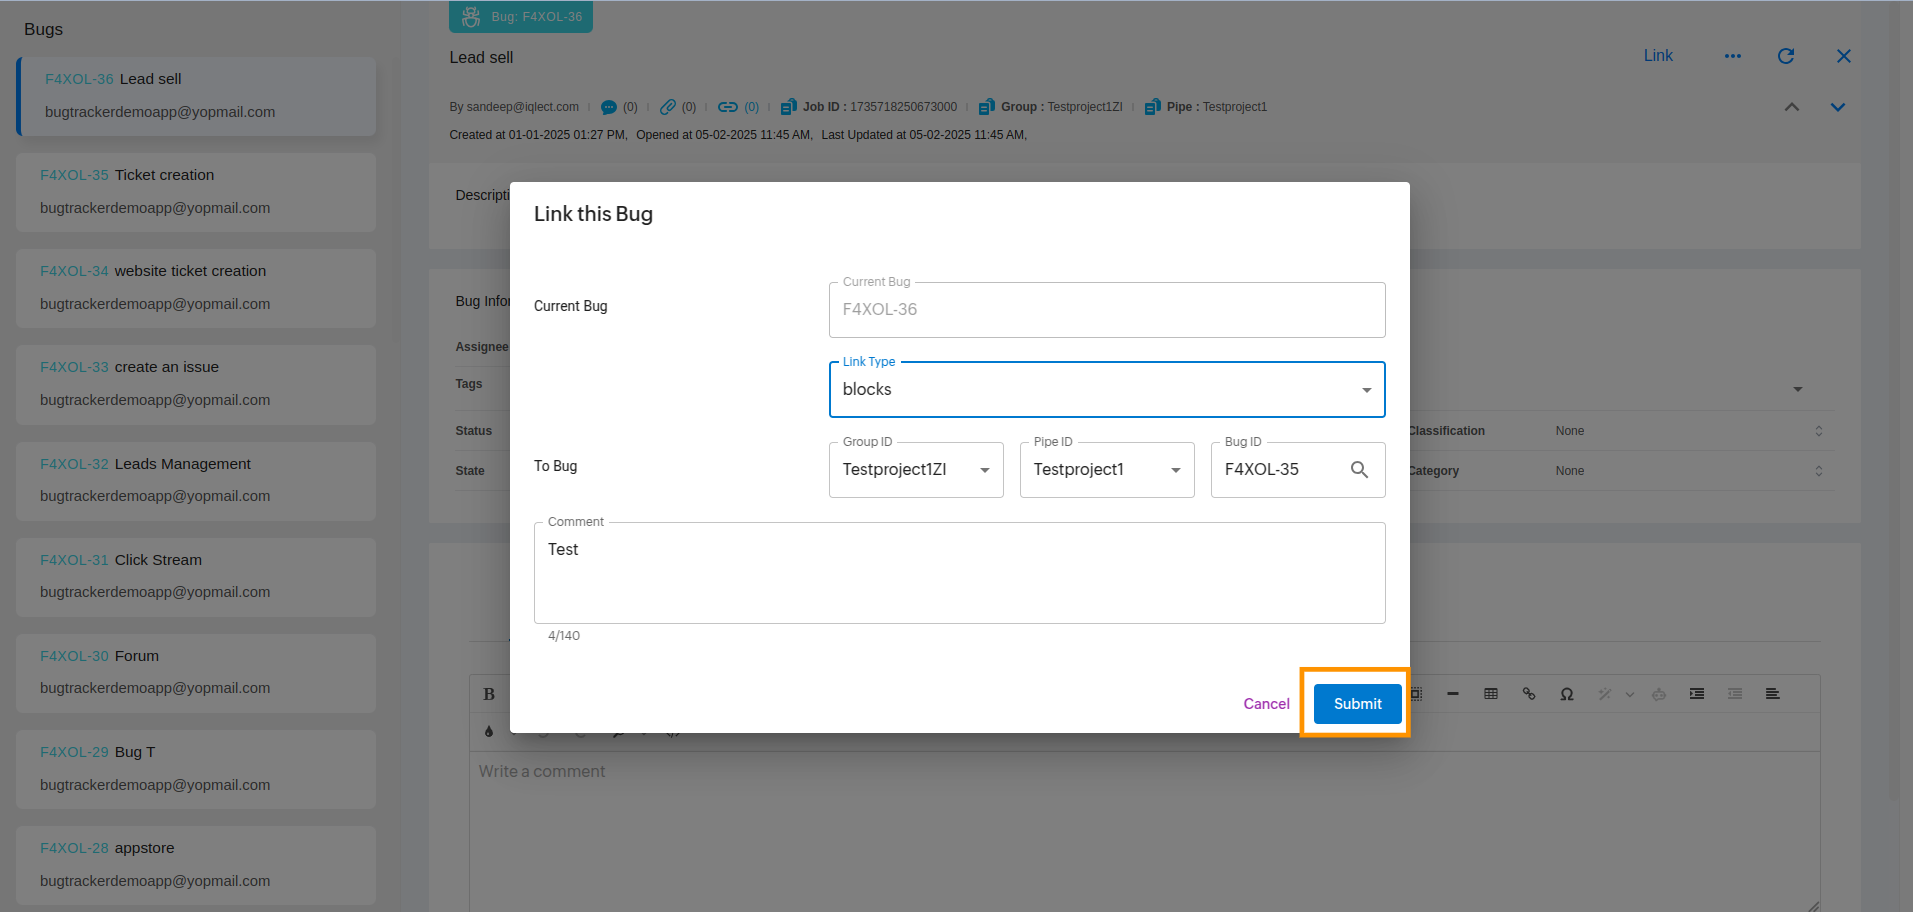
Step 7: Click Submit
After filling in all the details, click on the Submit button.
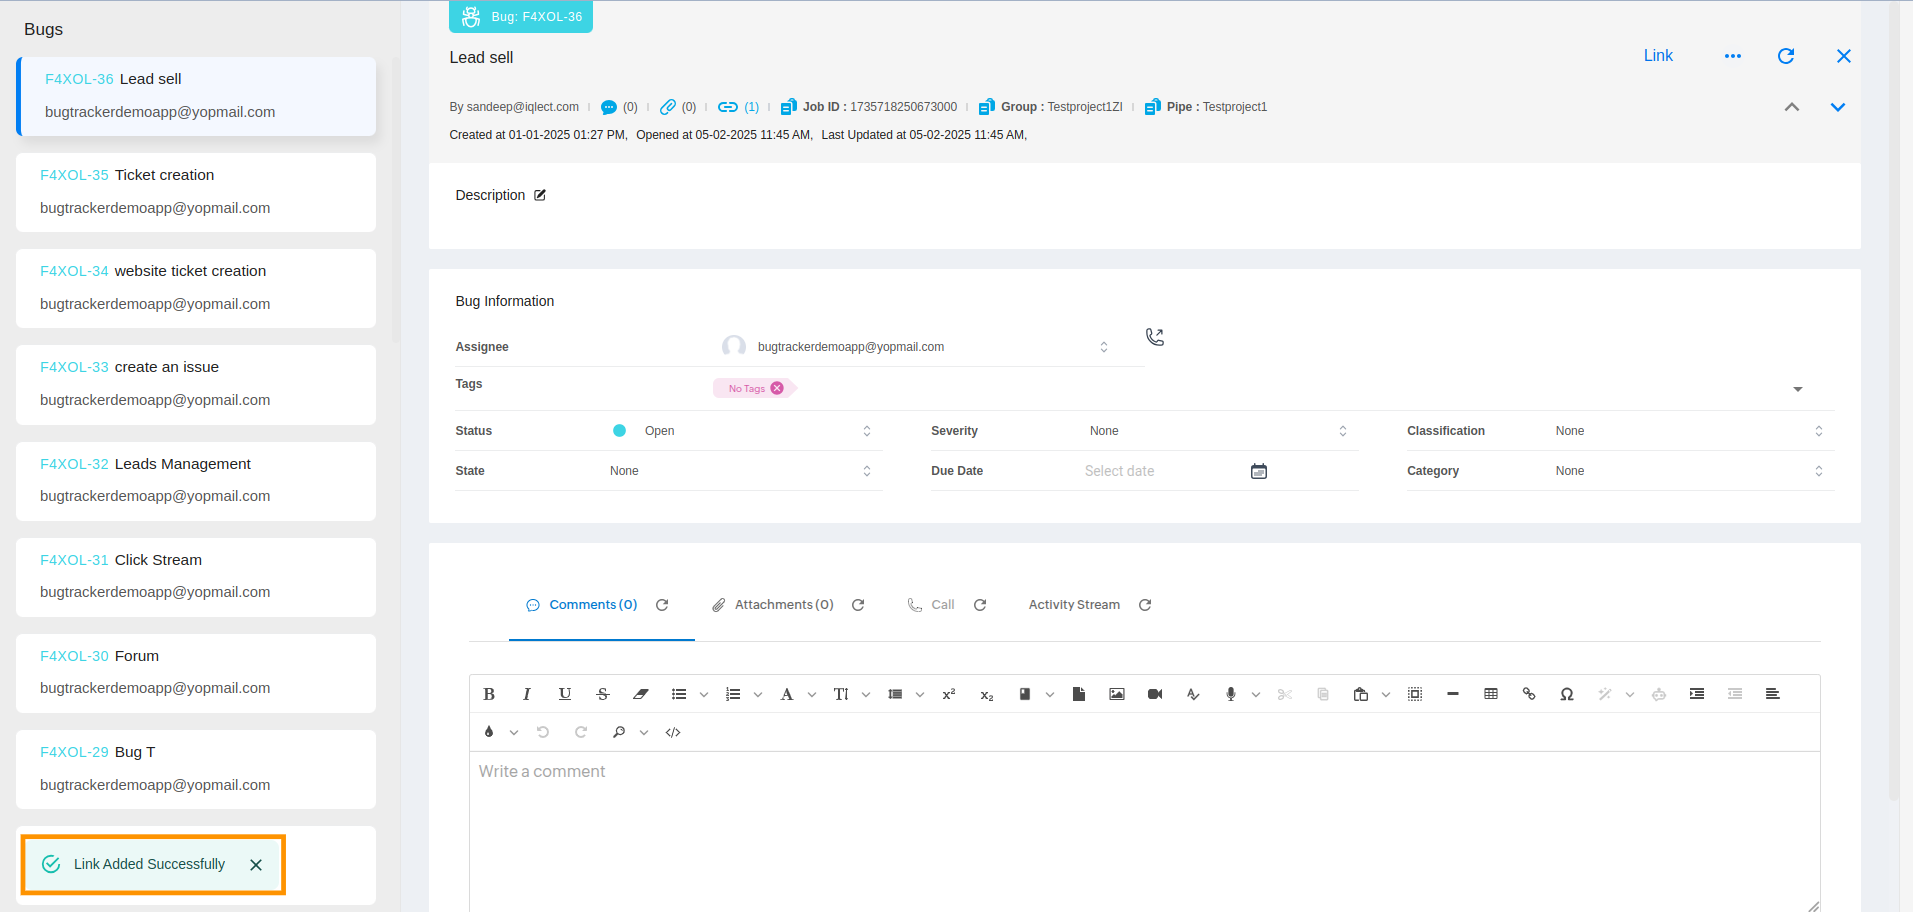
Step 8: Confirmation Message
Once submitted, a confirmation message like "Link Added Successfully" will appear.
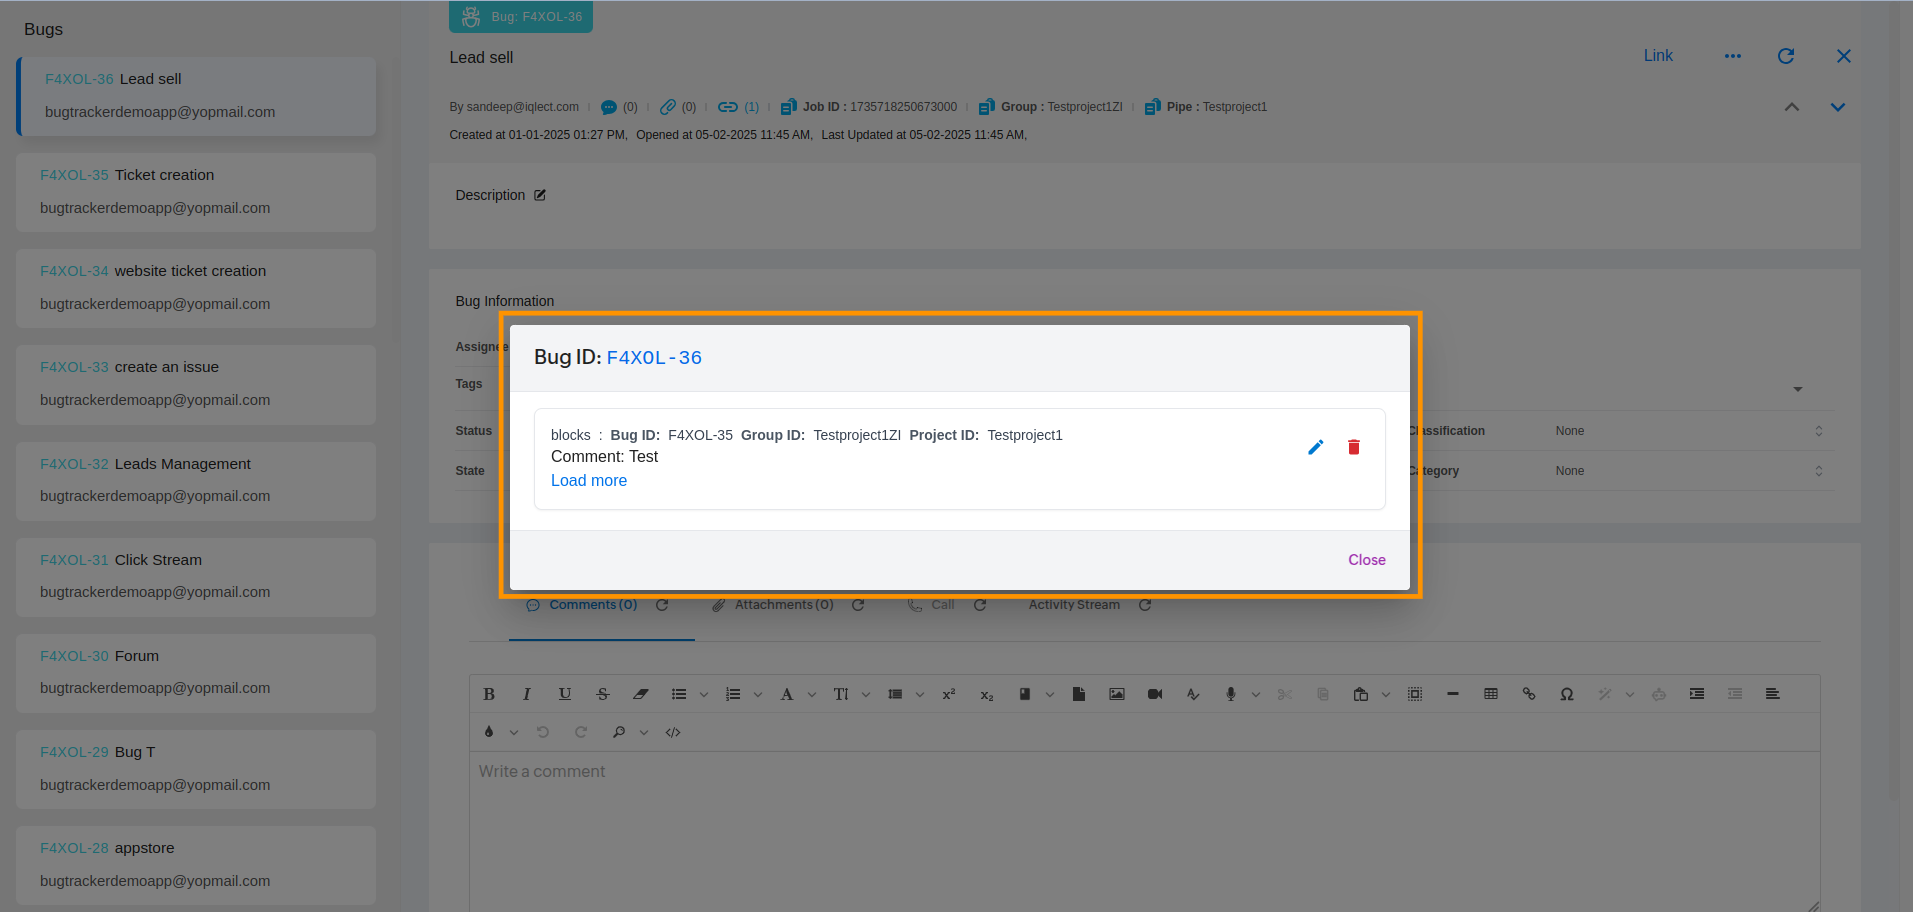
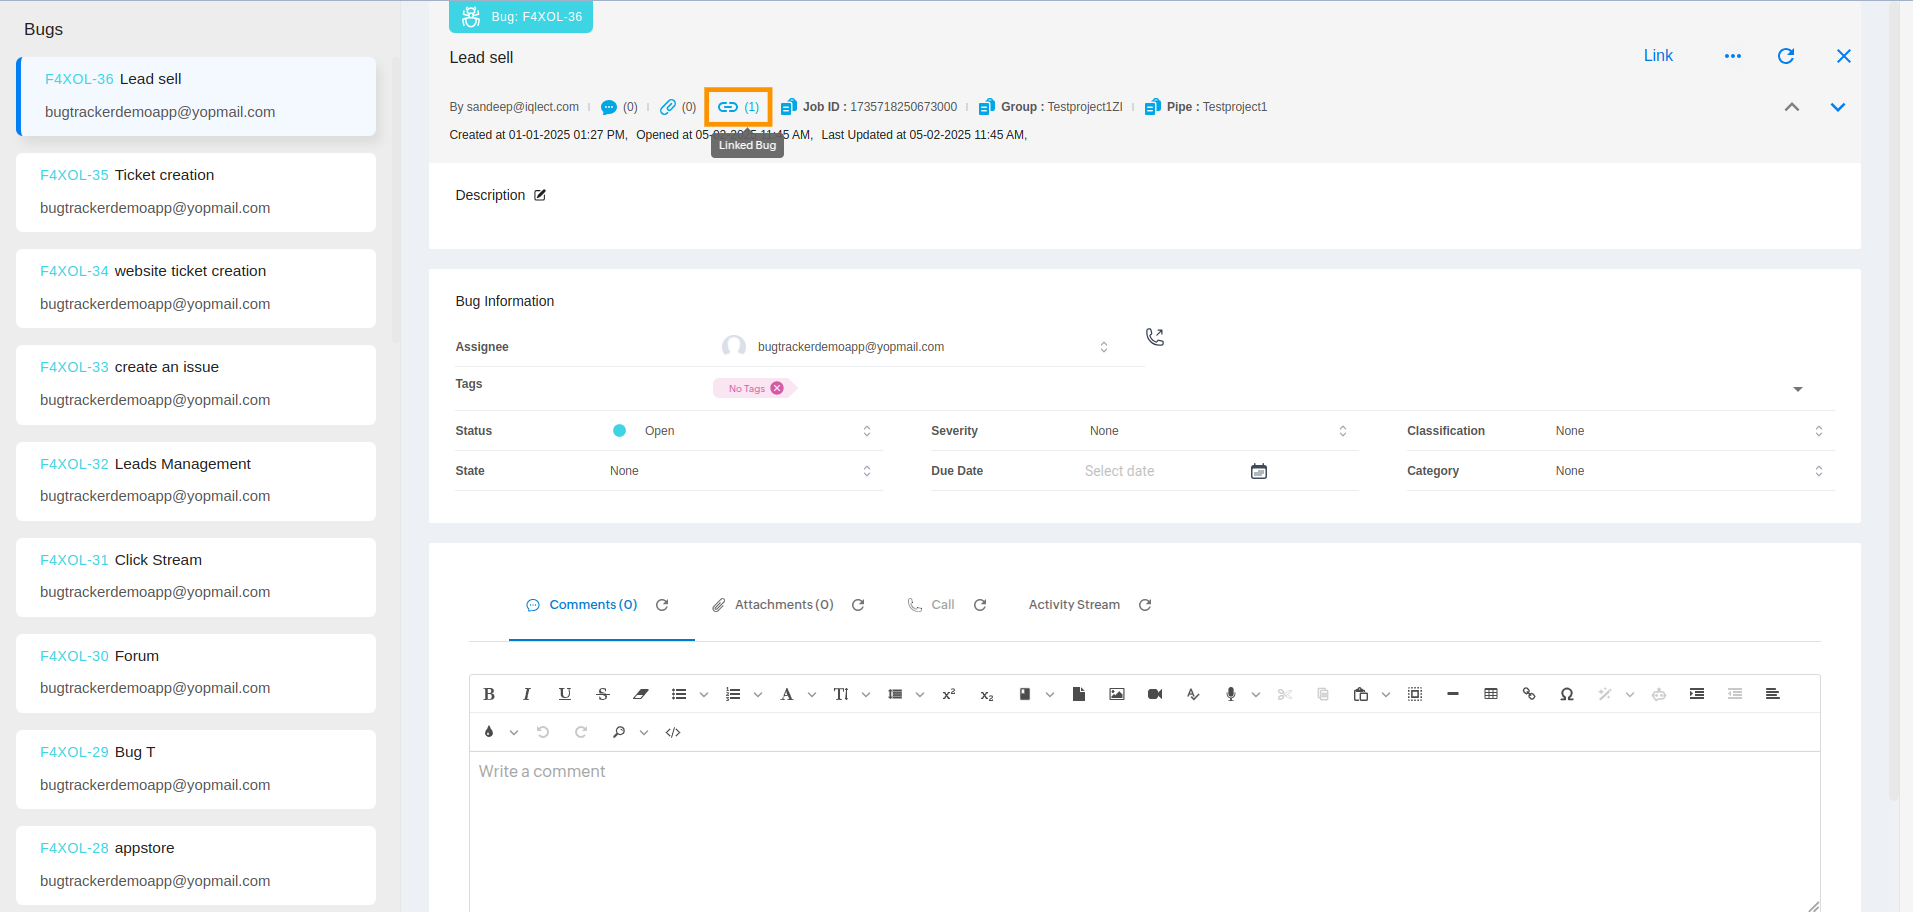
Step 9: View Linked Bug Details
After linking, you can view the details of the linked bug by clicking on the linked bug from the Bug Detail Page.
Step 10: Linked Details Popup
After clicking on the linked bug, a popup will open displaying the linked bug details.