Cloud BangDB Install
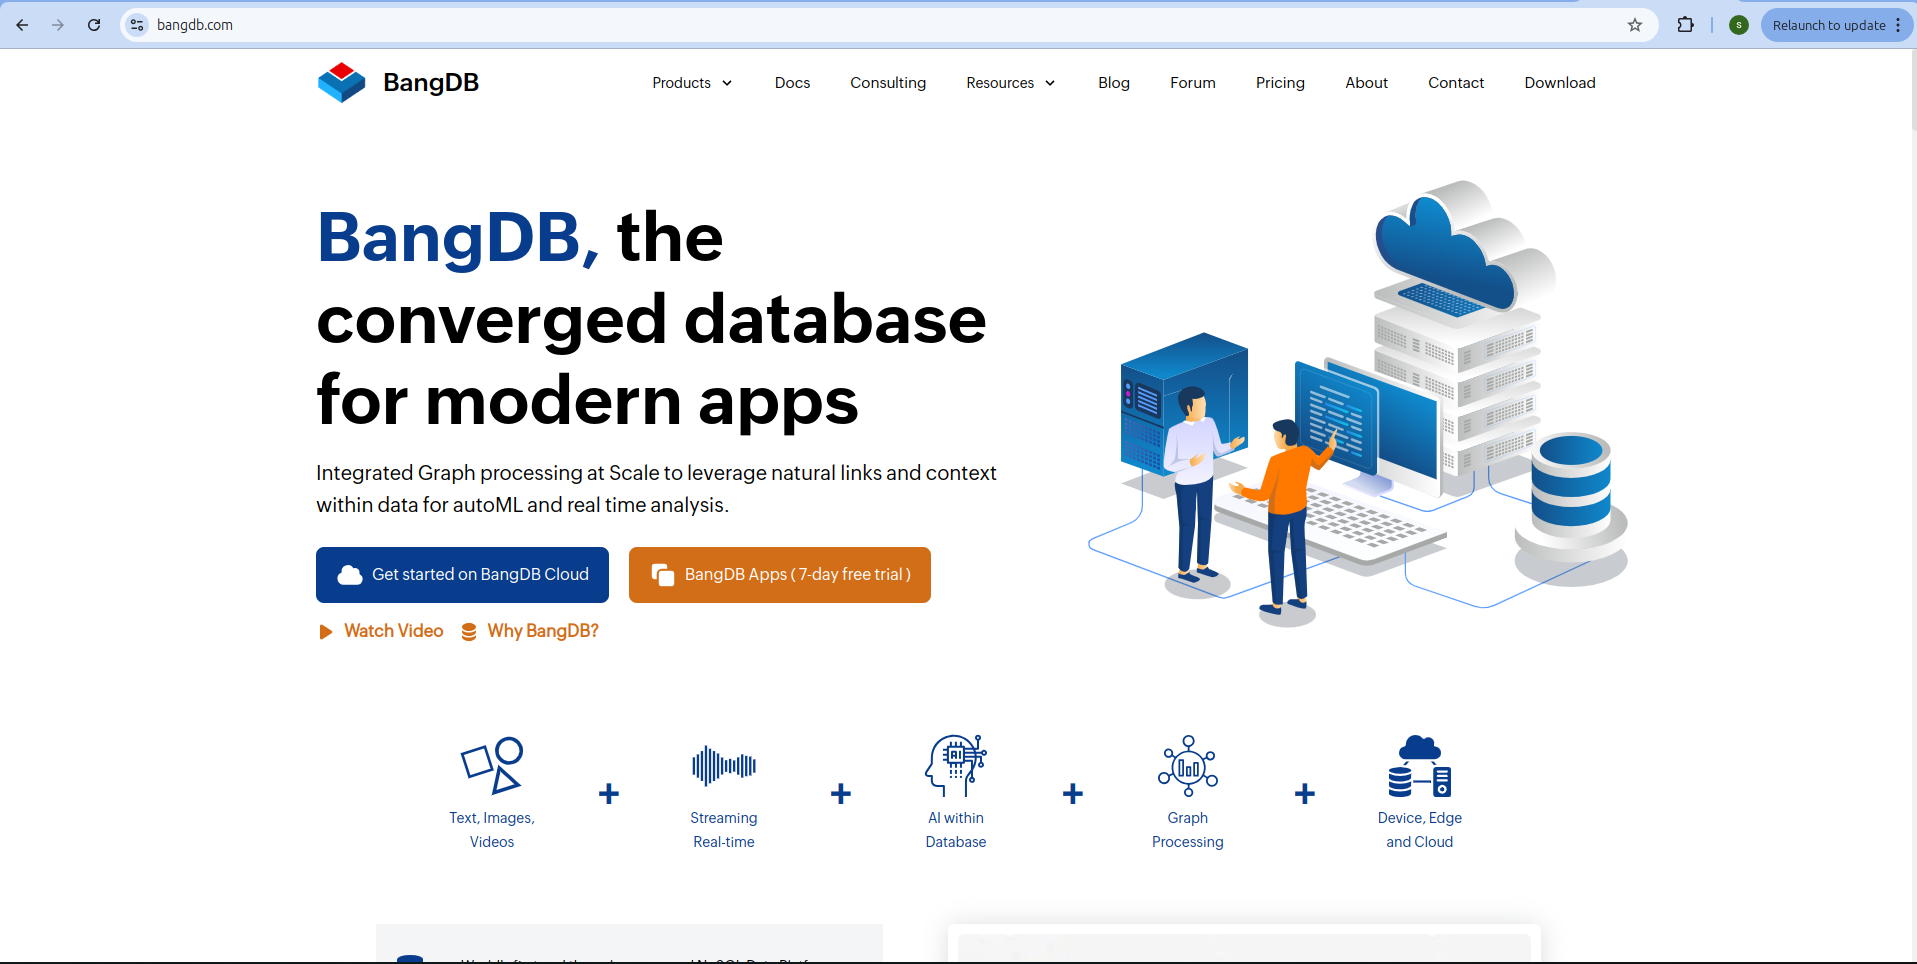
Step 1: Visit BangDB Website
Go to the BangDB website by clicking on this link or paste the URL in your browser https://bangdb.com/ .
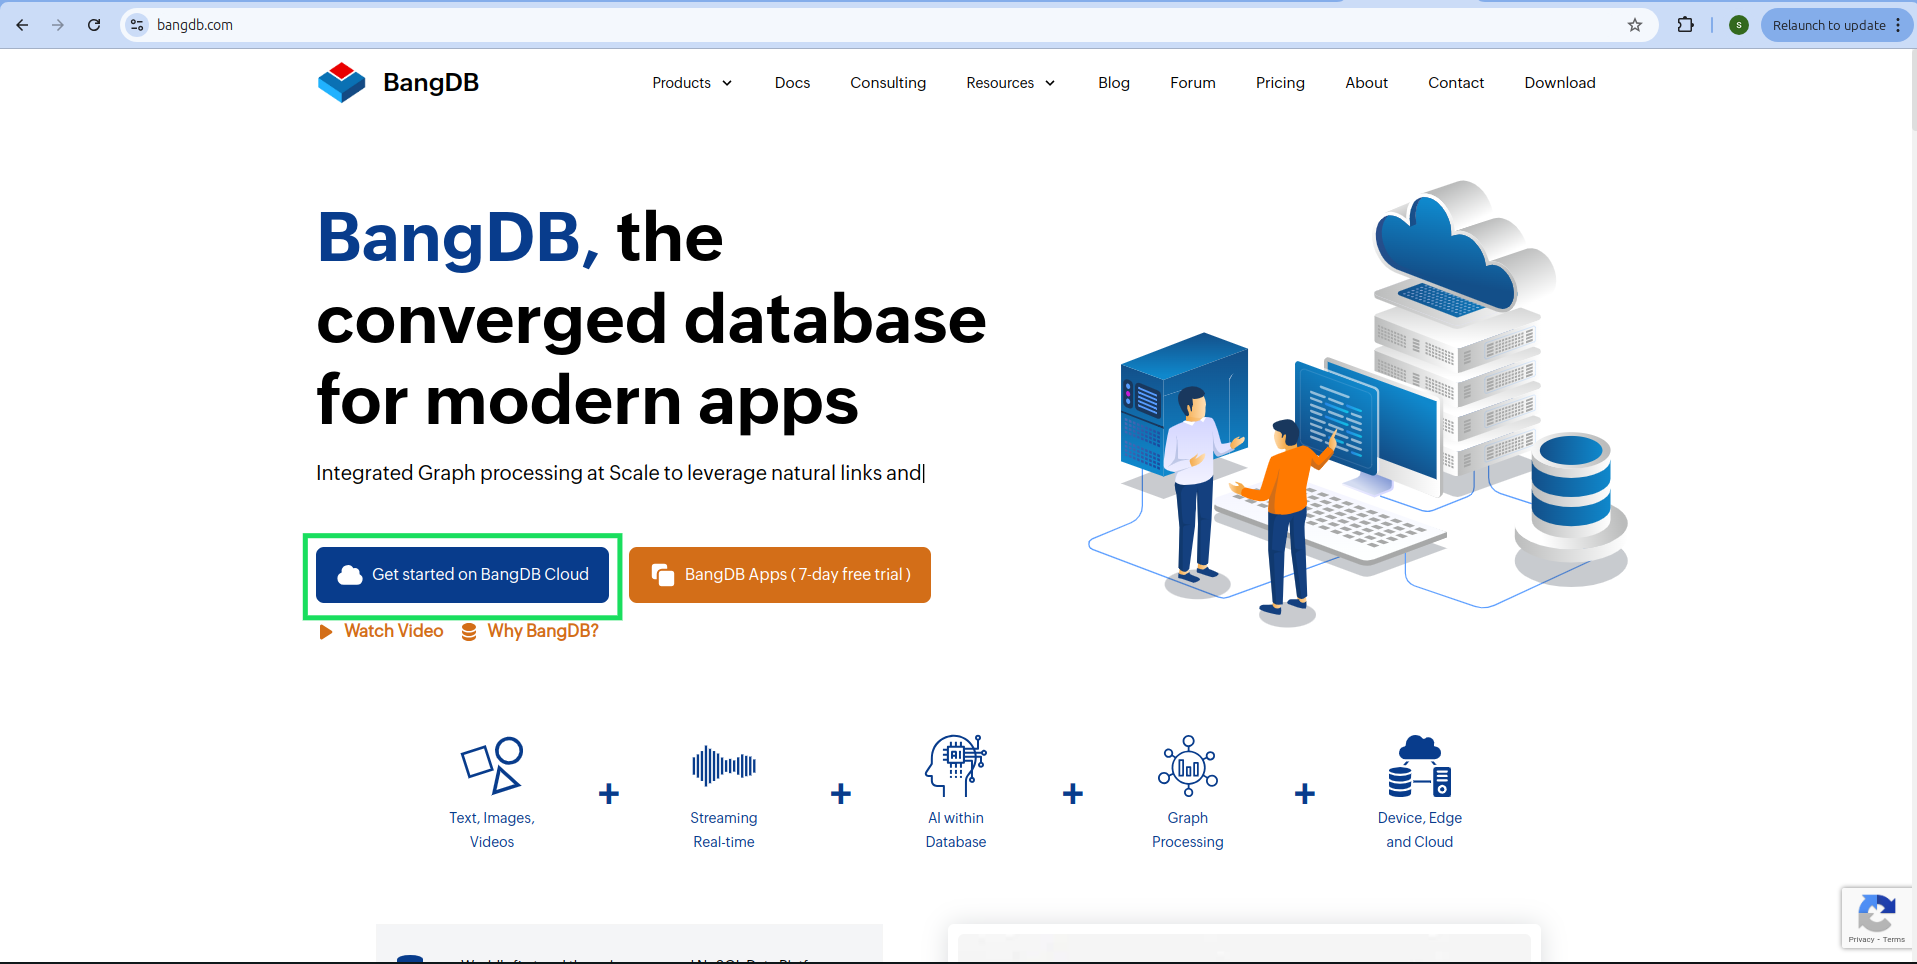
Step 2: Click "Get Started on BangDB Cloud"
On the BangDB website, locate and click on the Get Started button for BangDB Cloud.
Step 3: Redirect to BangDB Cloud Install Page
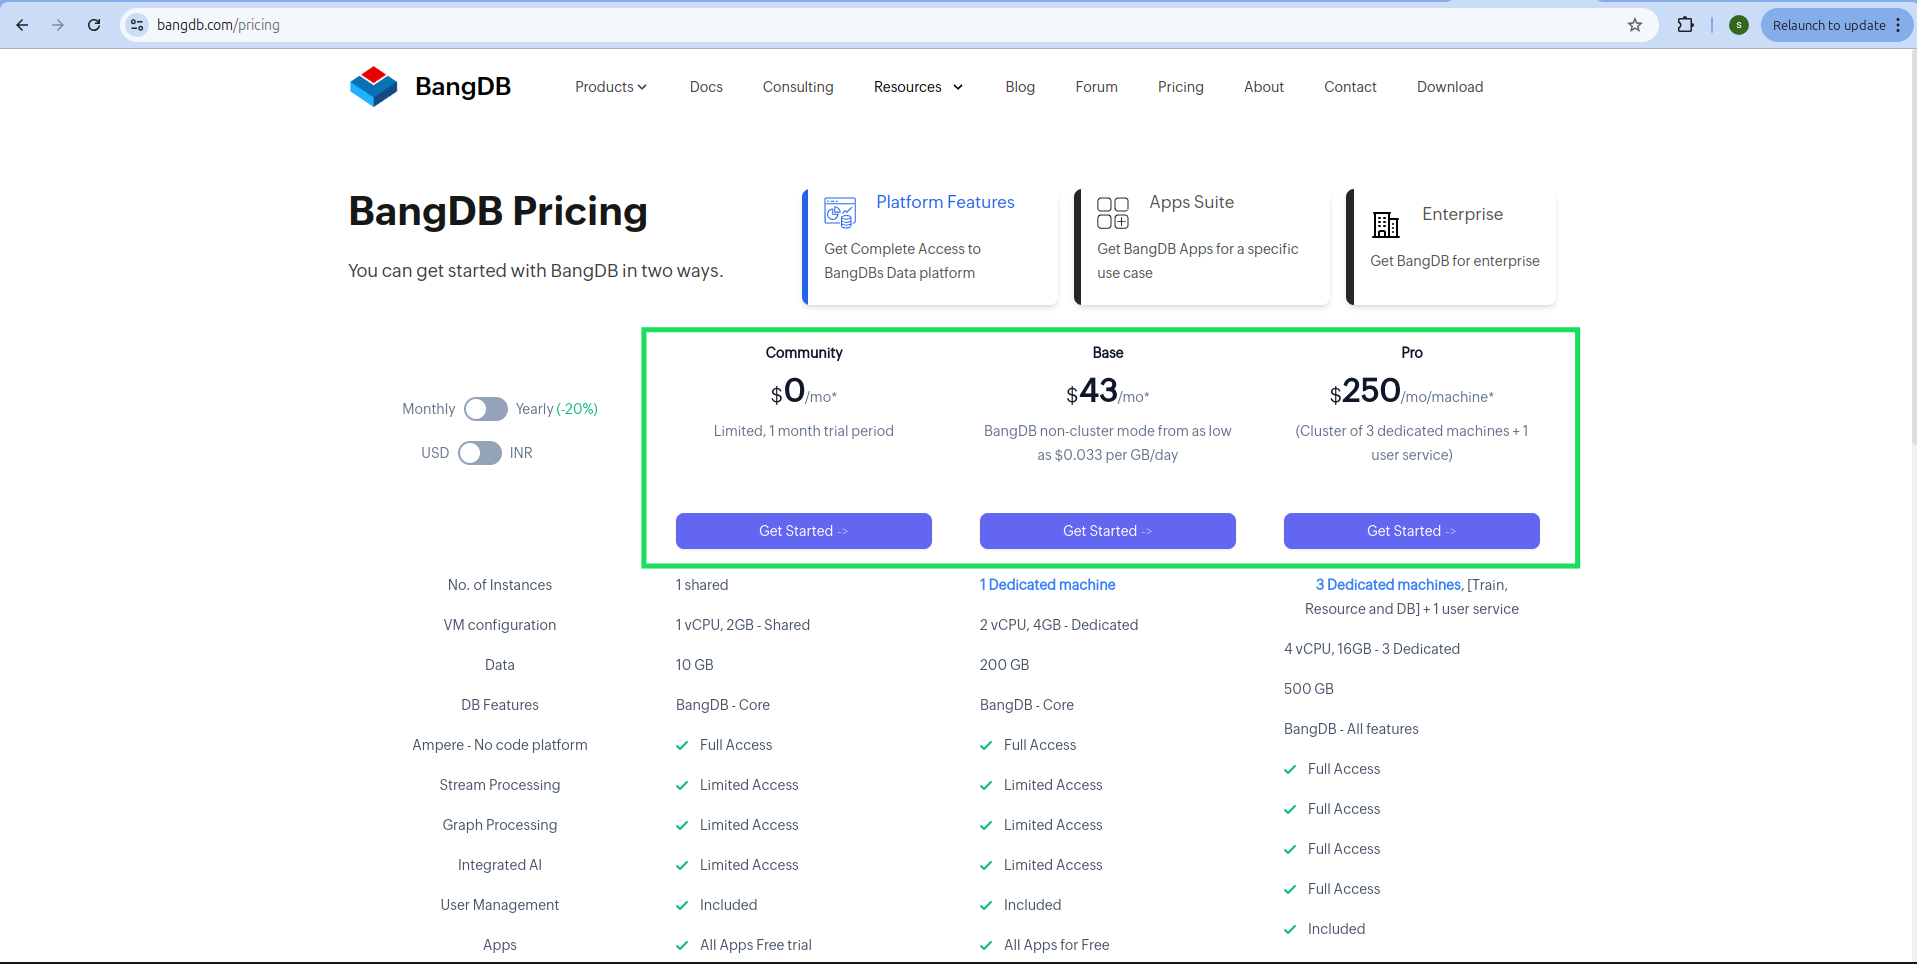
You will be redirected to the BangDB Cloud install page with pricing details.
Step 4: Explore Pricing Options
On the pricing page, you can view both monthly and yearly pricing. Toggle between USD and INR currencies to see changes.
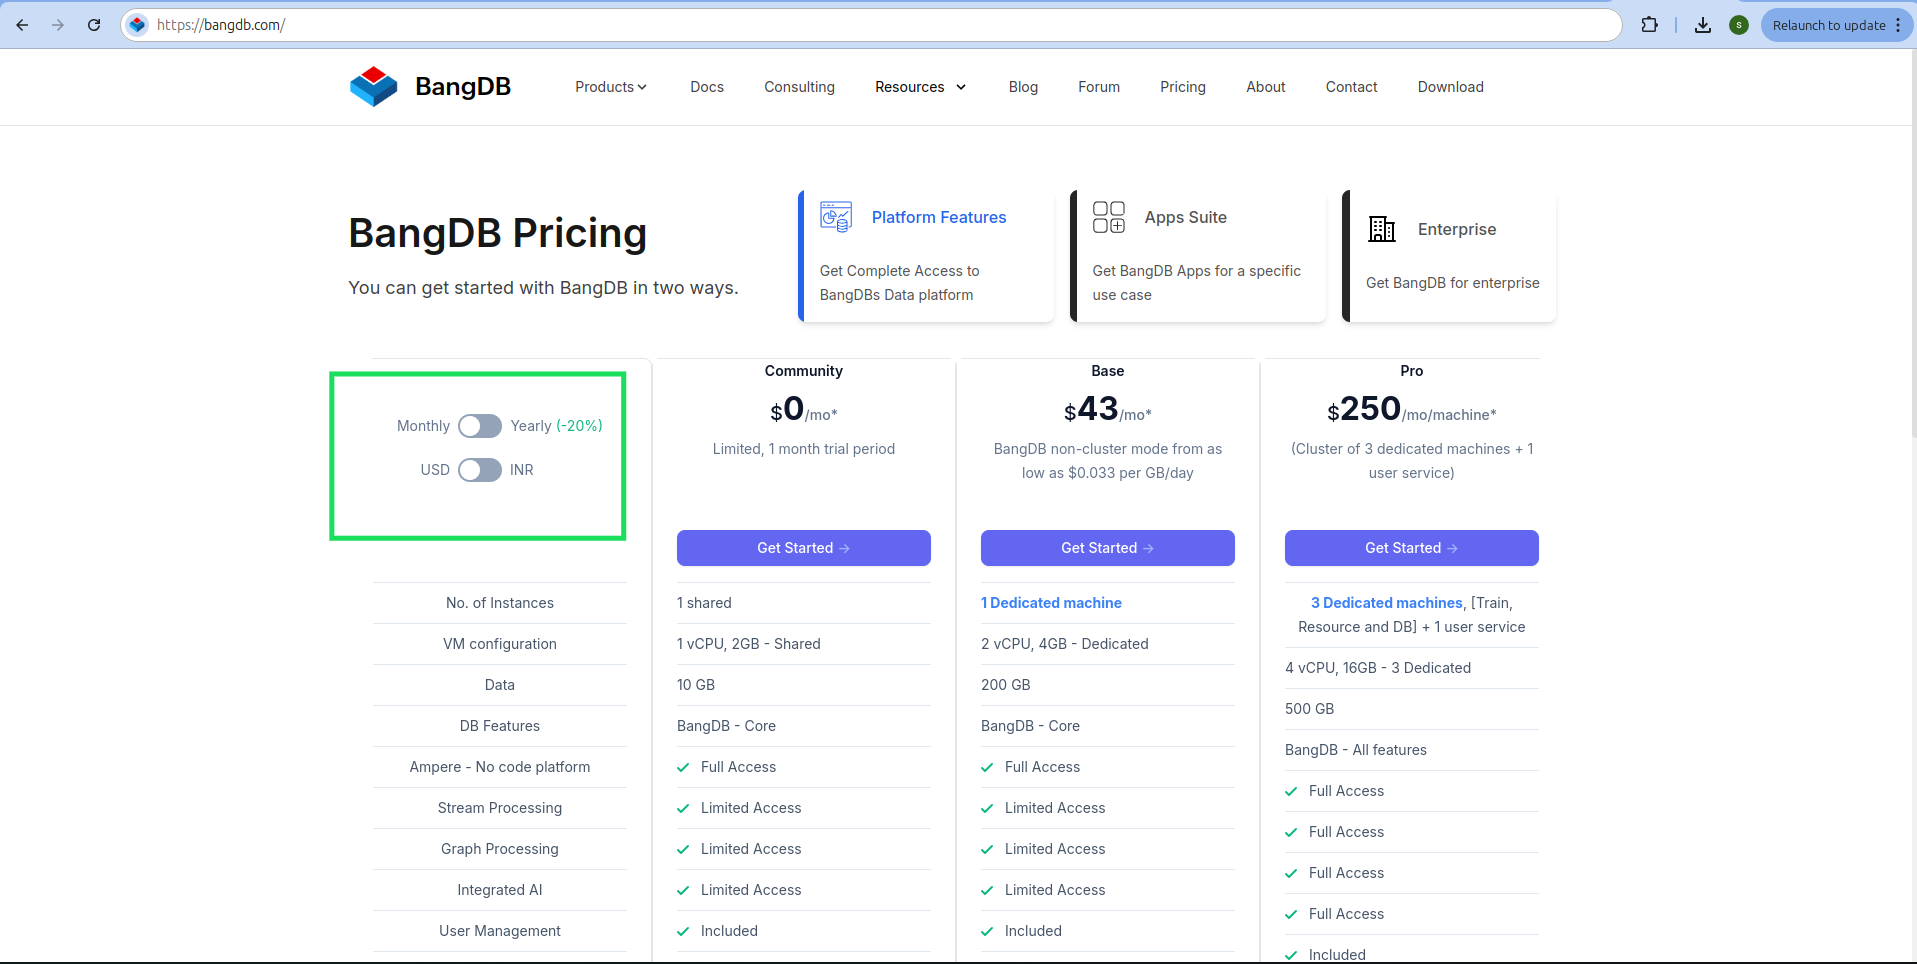
Step 5: Select a Subscription
From this page, choose one of the three options: Community, Base, or Pro. Select any subscription based on your preference.

Step 6: Option for Free Trial
To use the free version or trial, select the Community version and click on the Get Started button.
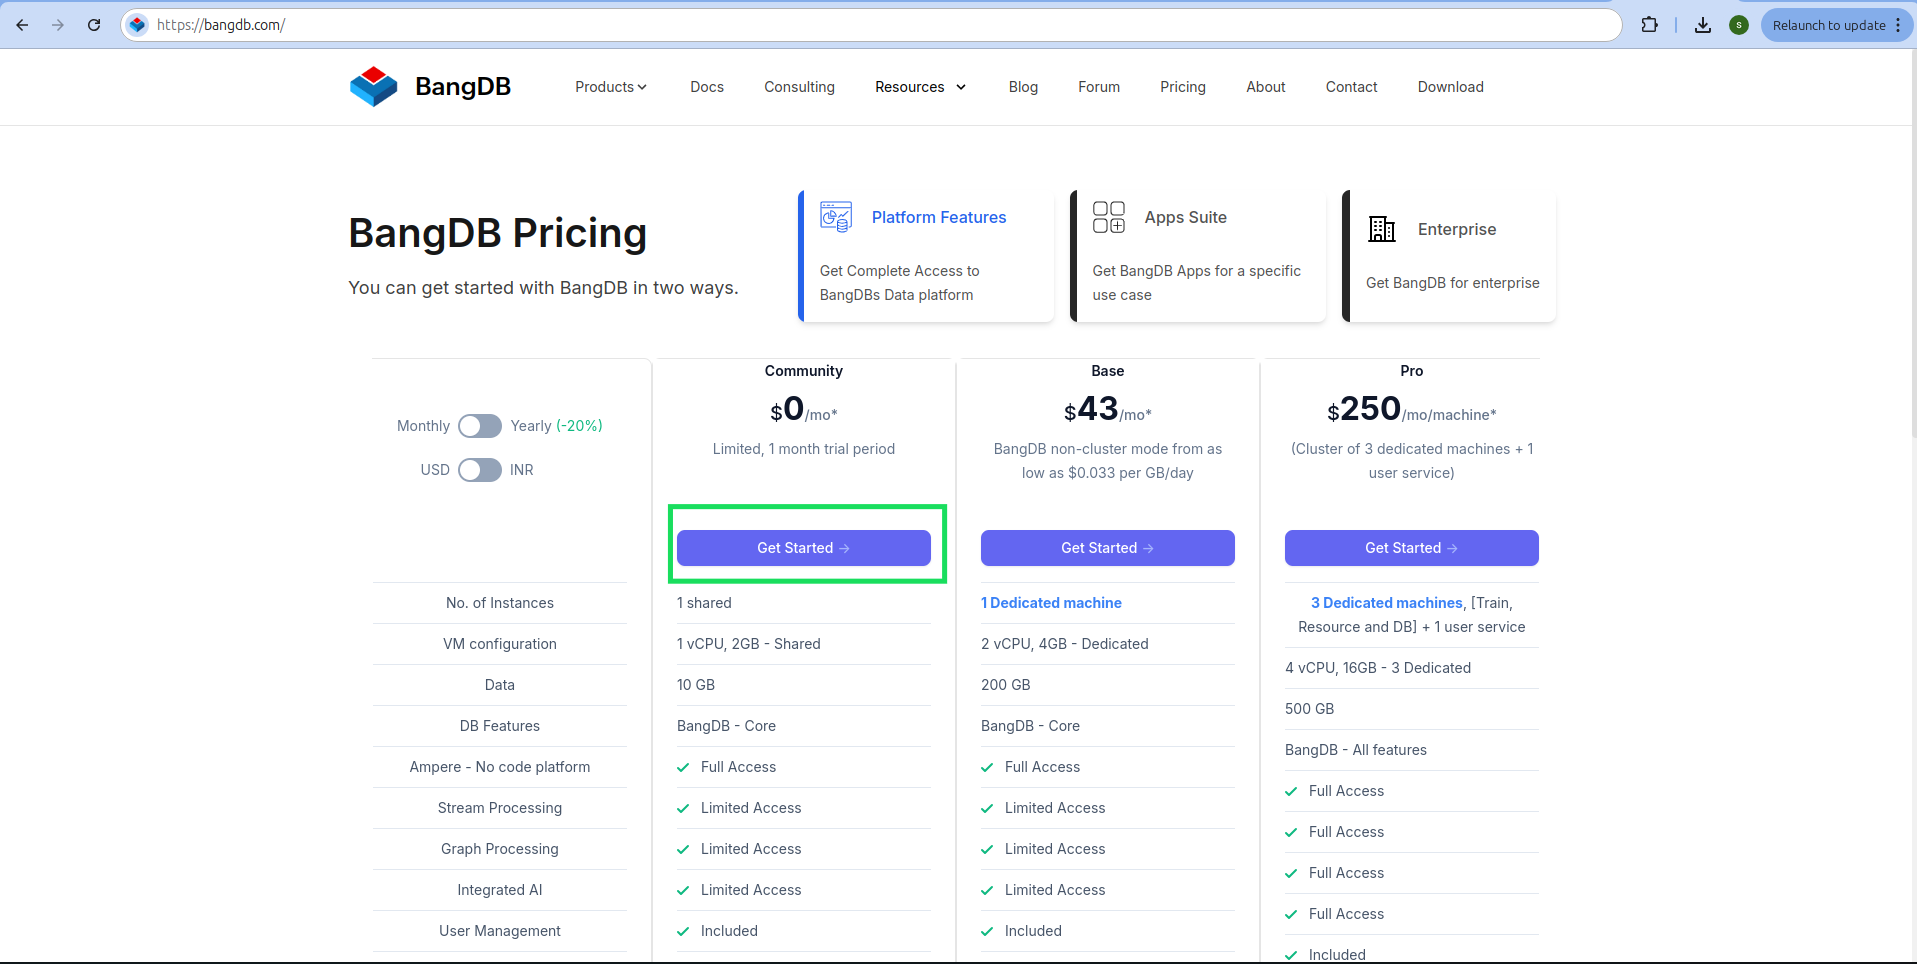
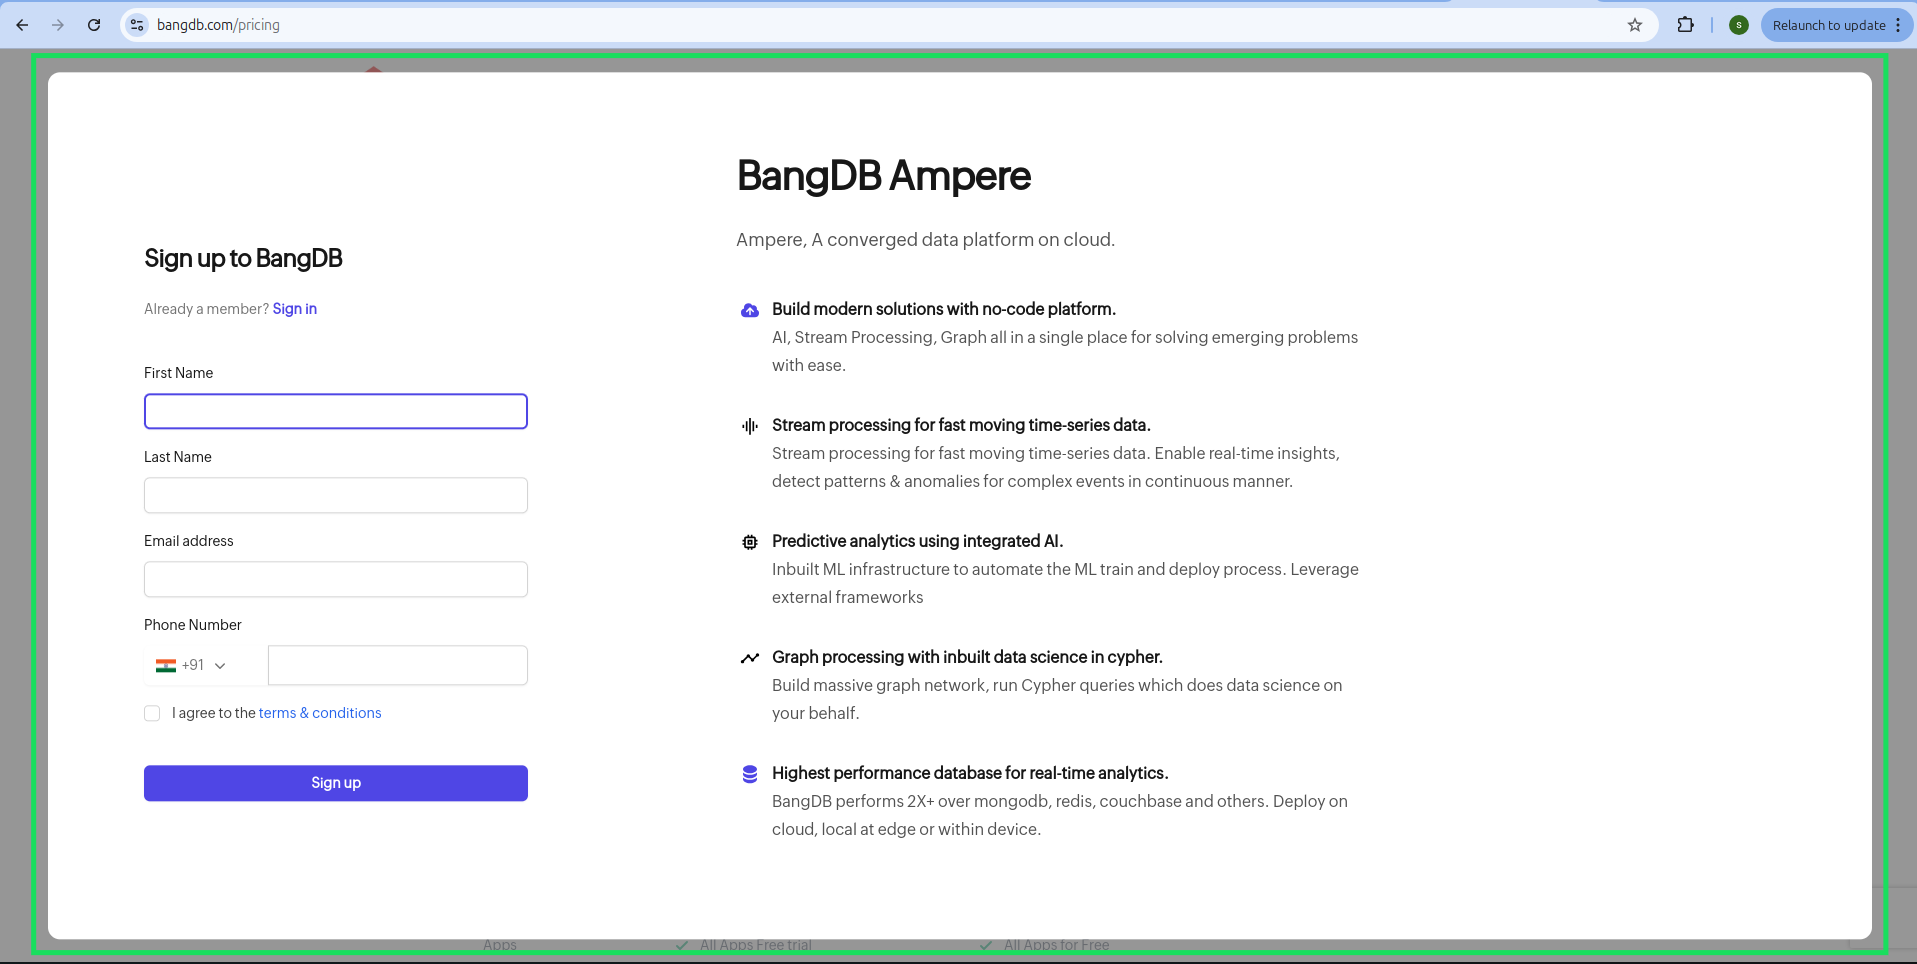
Step 7: Sign Up
After clicking the Get Started button, a signup popup will appear. Fill in the basic details required to sign up.
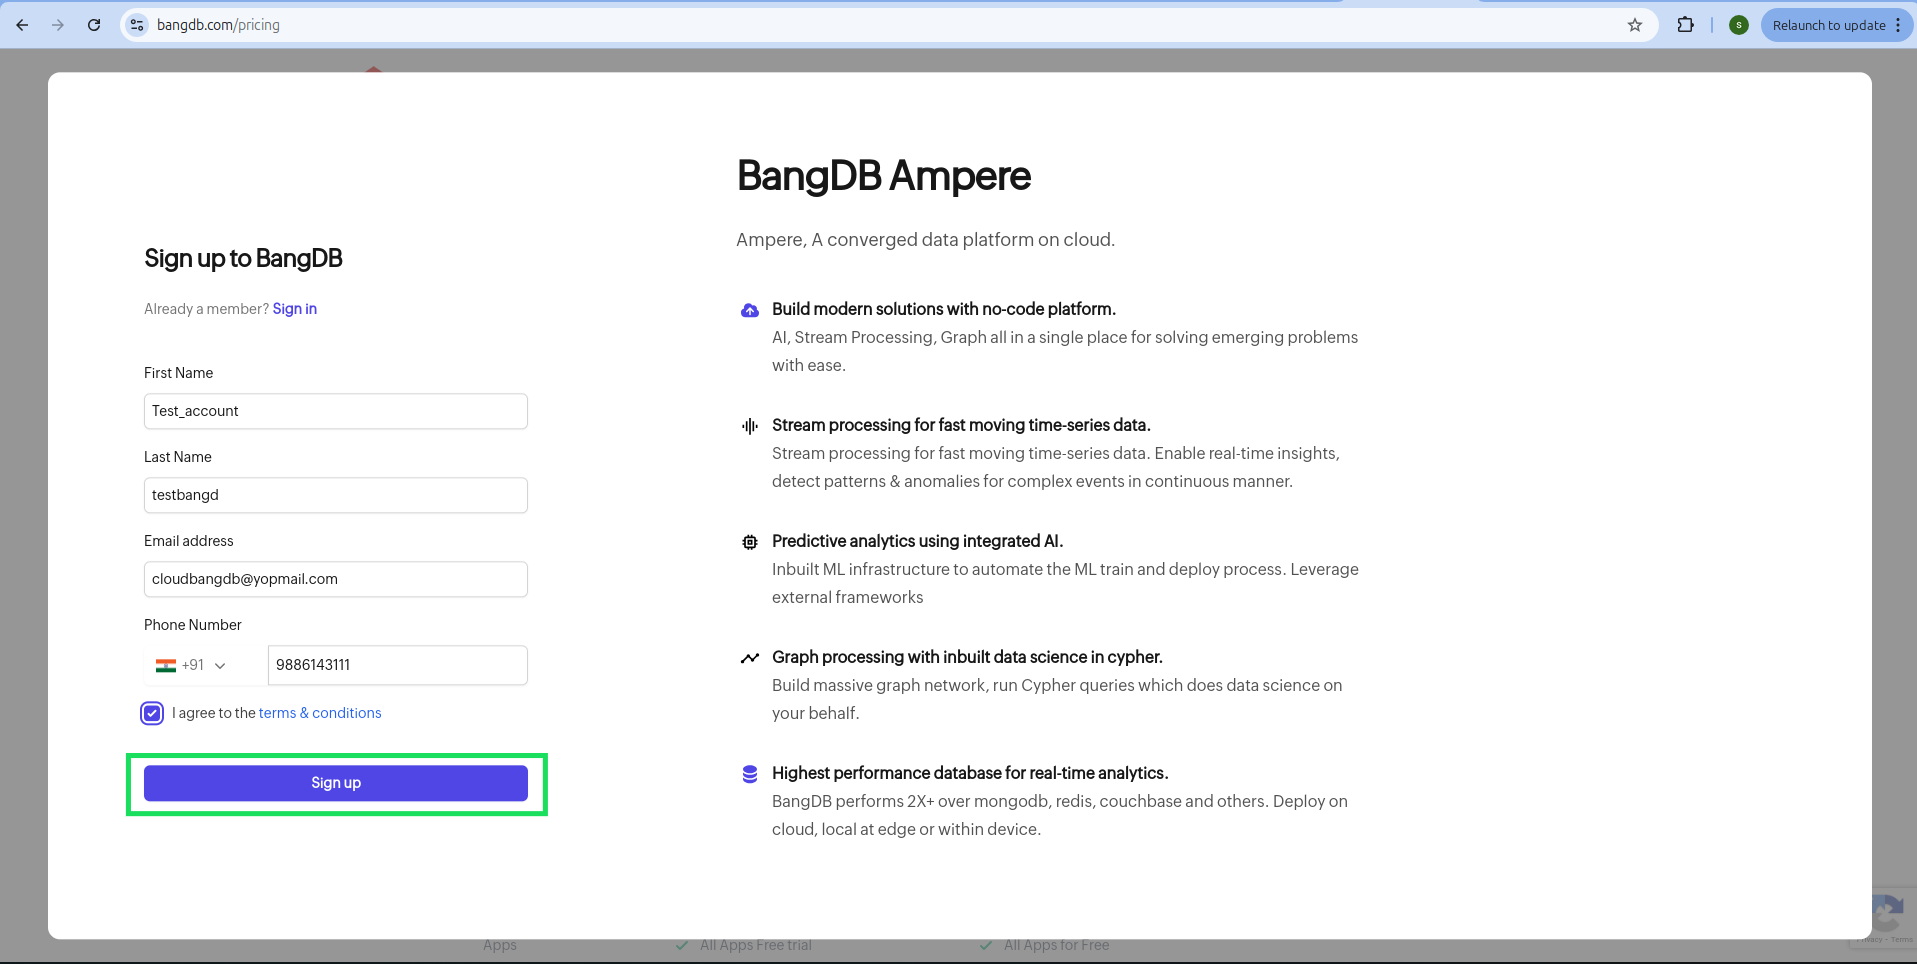
Step 8: Complete Signup
Once you have provided the required details, click the Sign Up button.
Step 9: Installation Process
Once signup is completed, the BangDB Cloud installation process will start. The progress bar will display the steps and their estimated completion time.
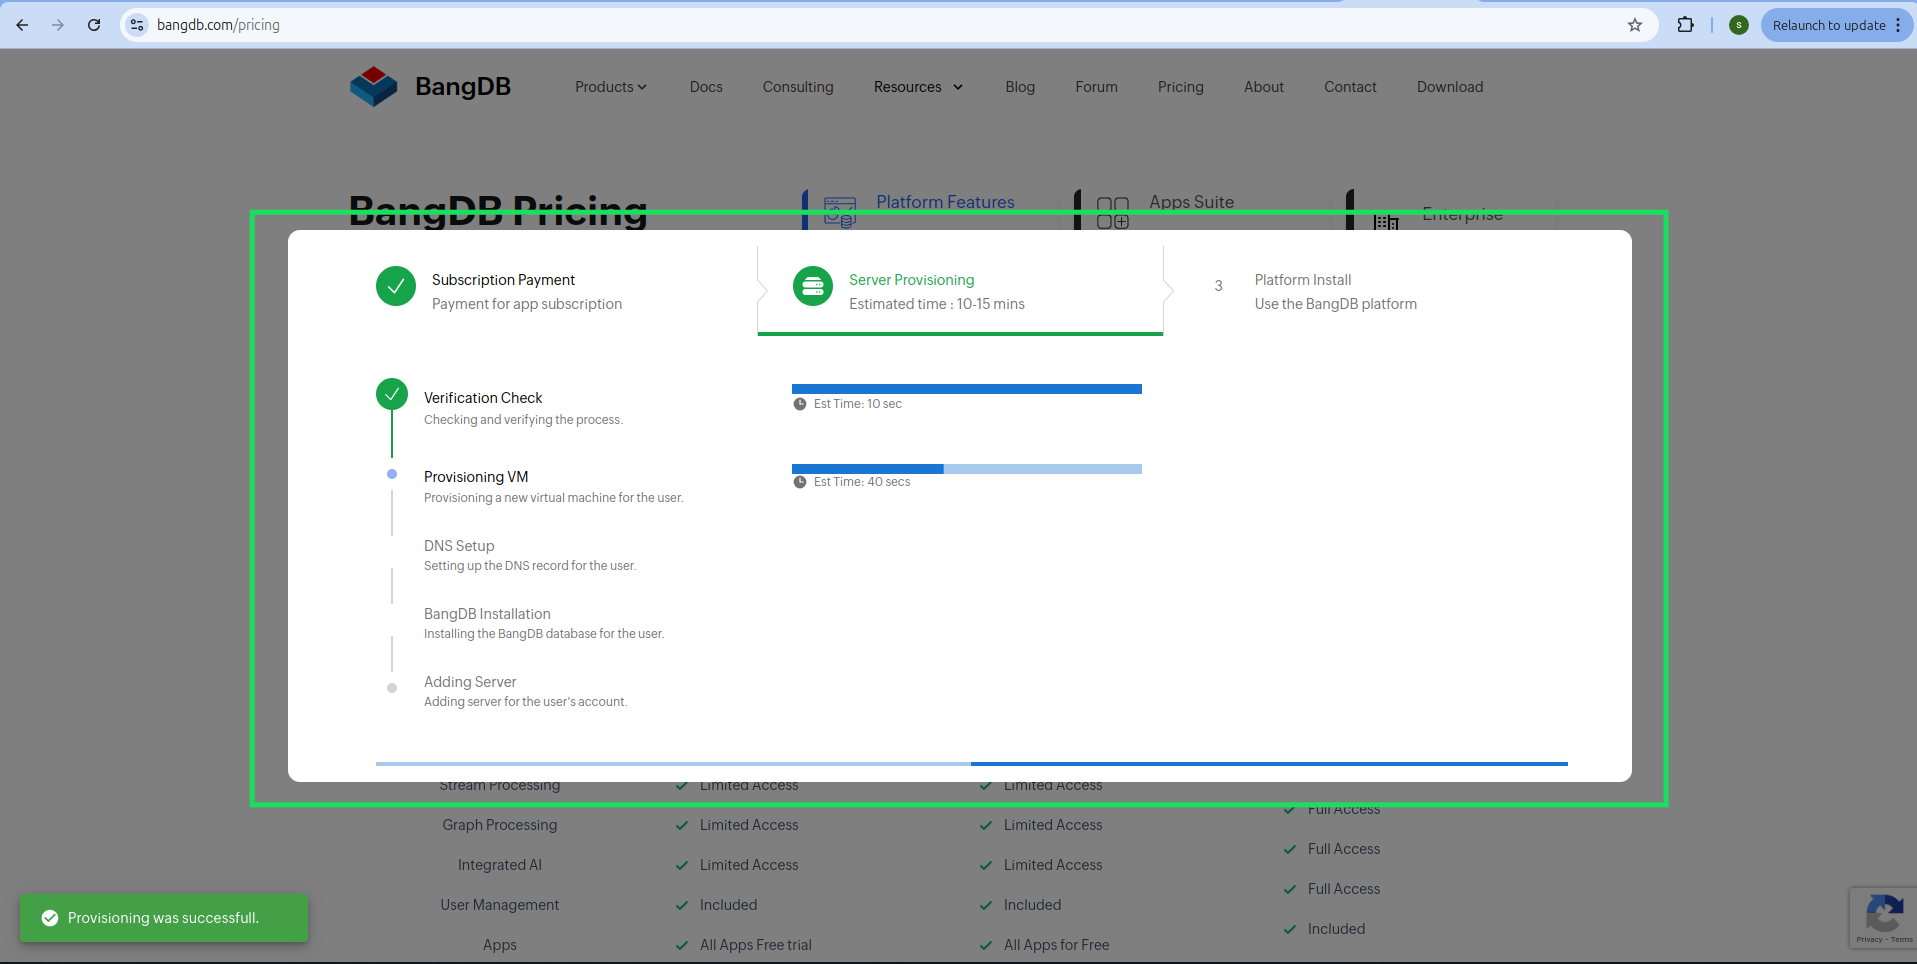
Step 10: Installation Confirmation
Once all the steps are completed, the same page will display aninstallation confirmation. You will also receive theAmpere link in the same popup. Use the link to visit your configured instance.
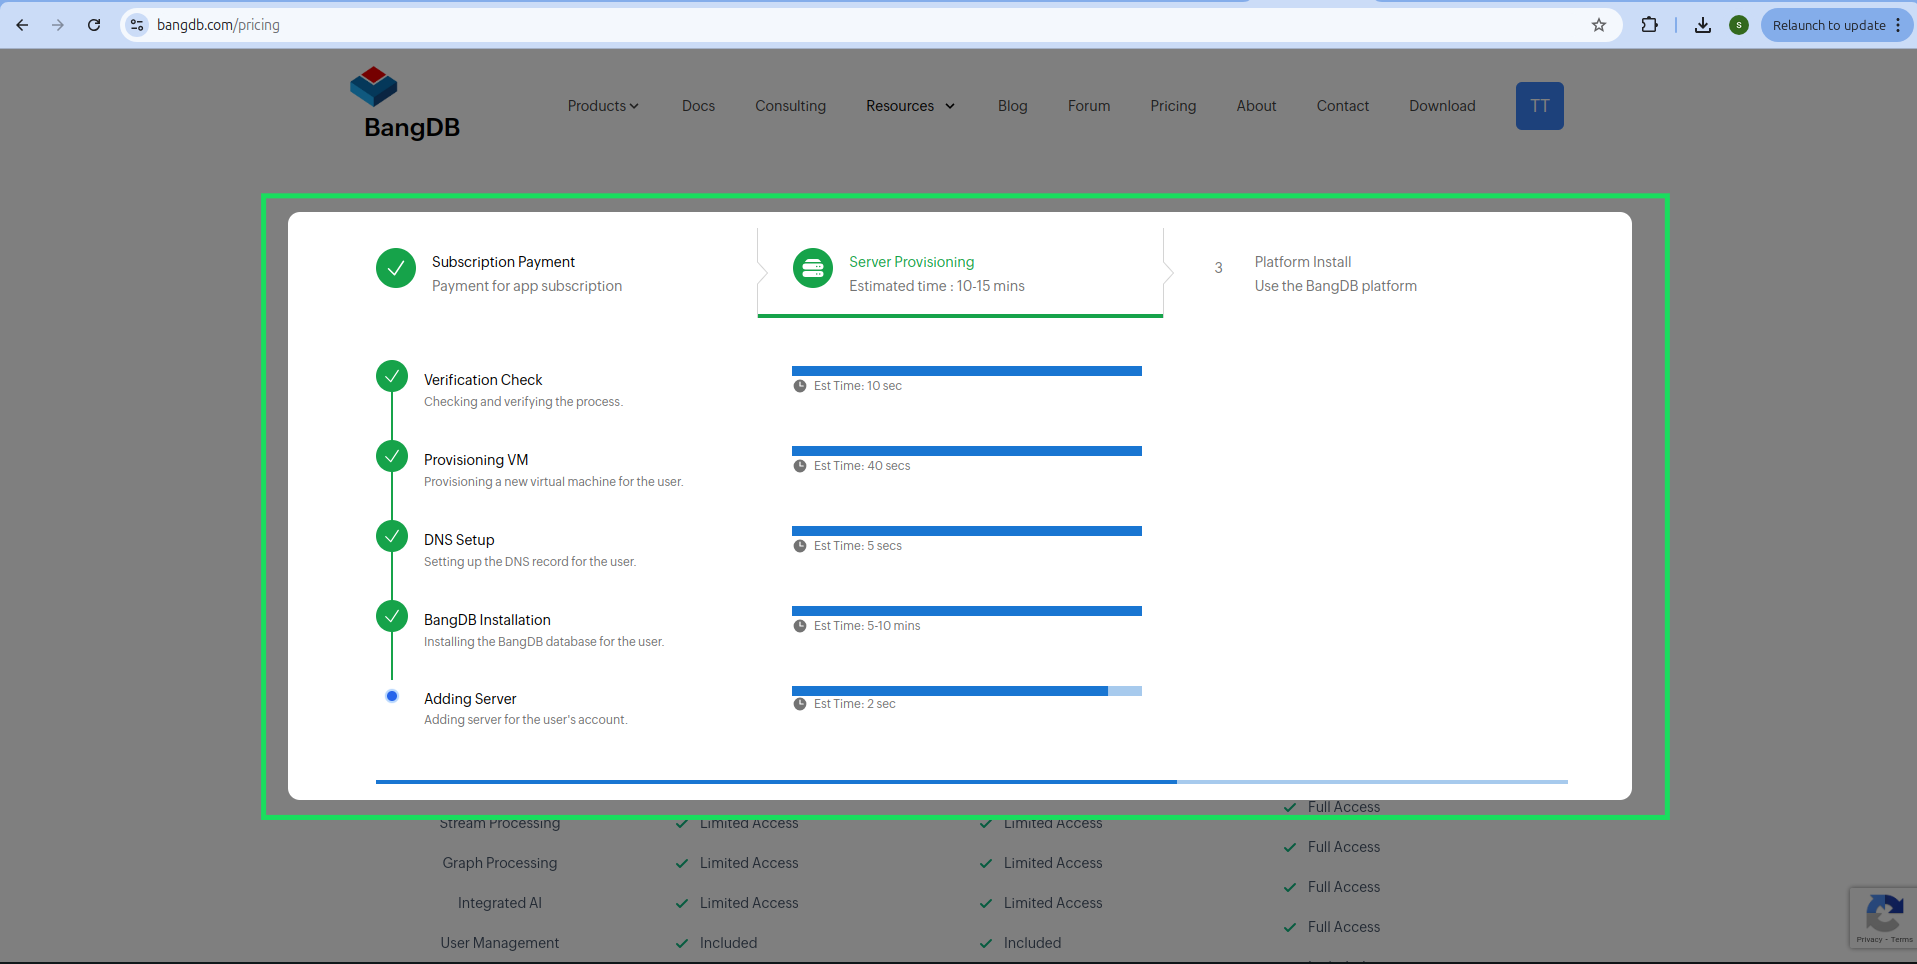
Step 11: Completion
The steps will be processed sequentially. Completed steps will show a green check mark.
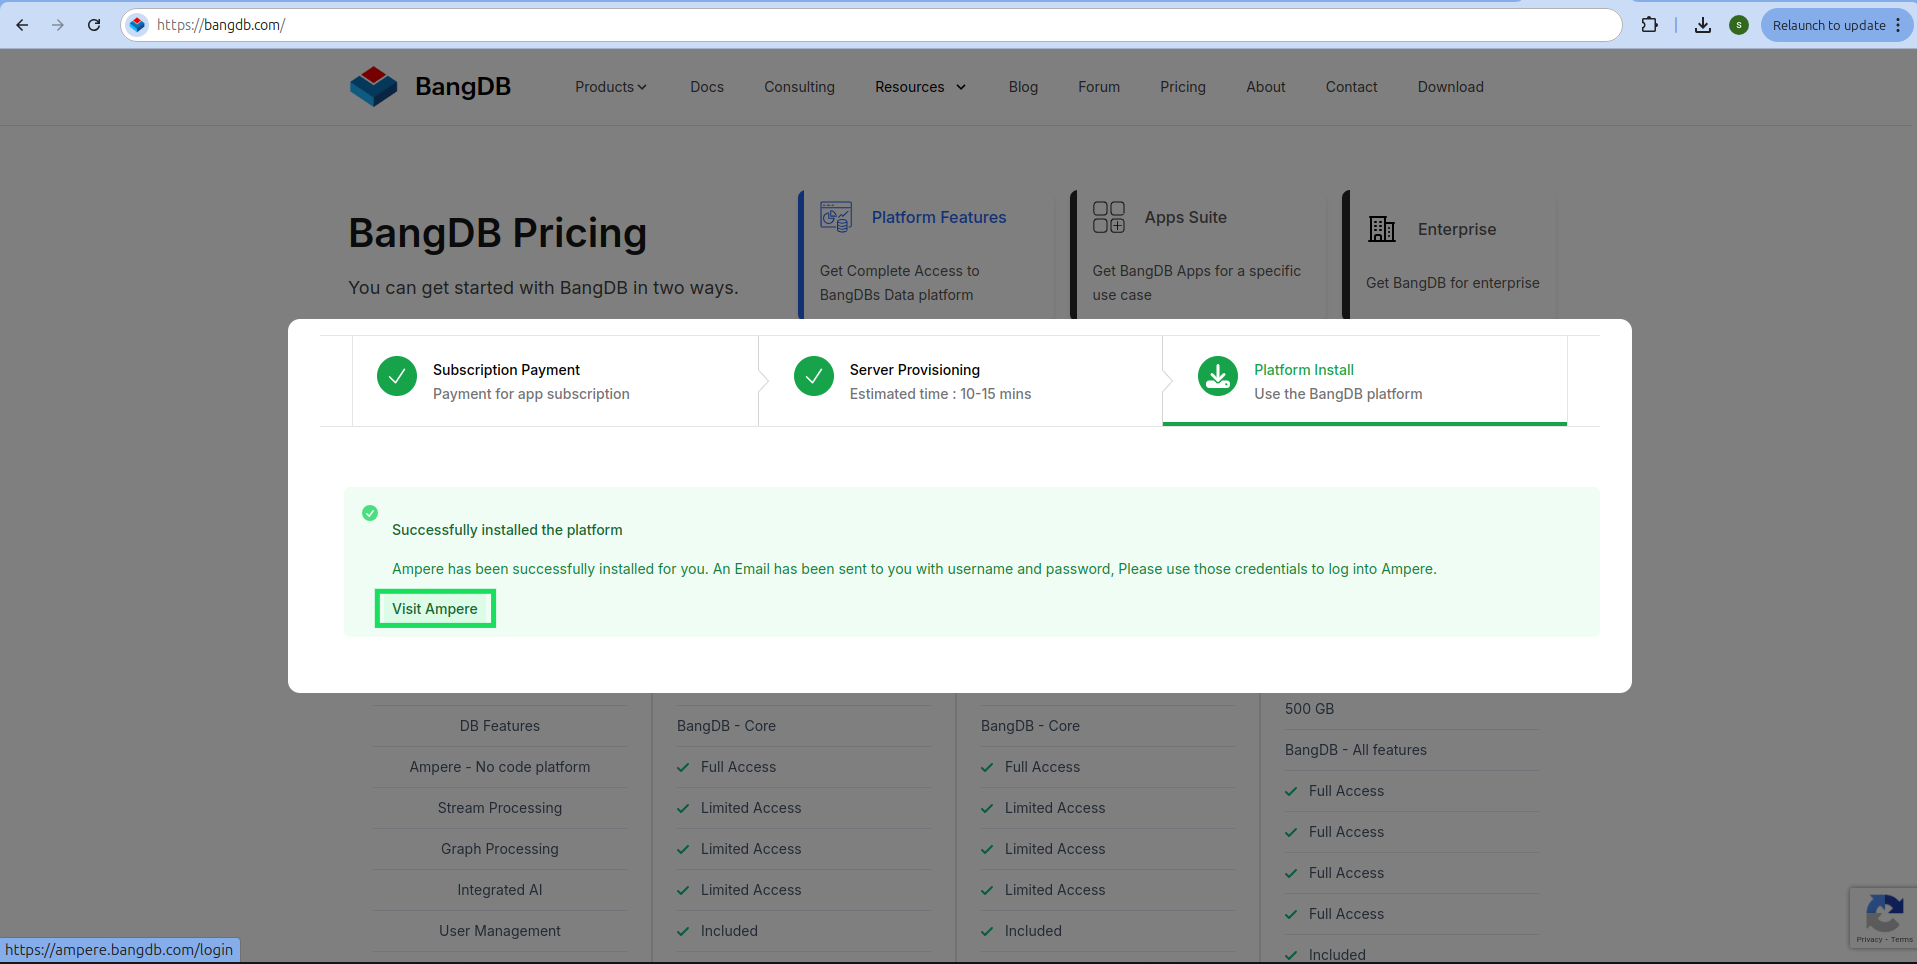
Step 11: Receive Credentials
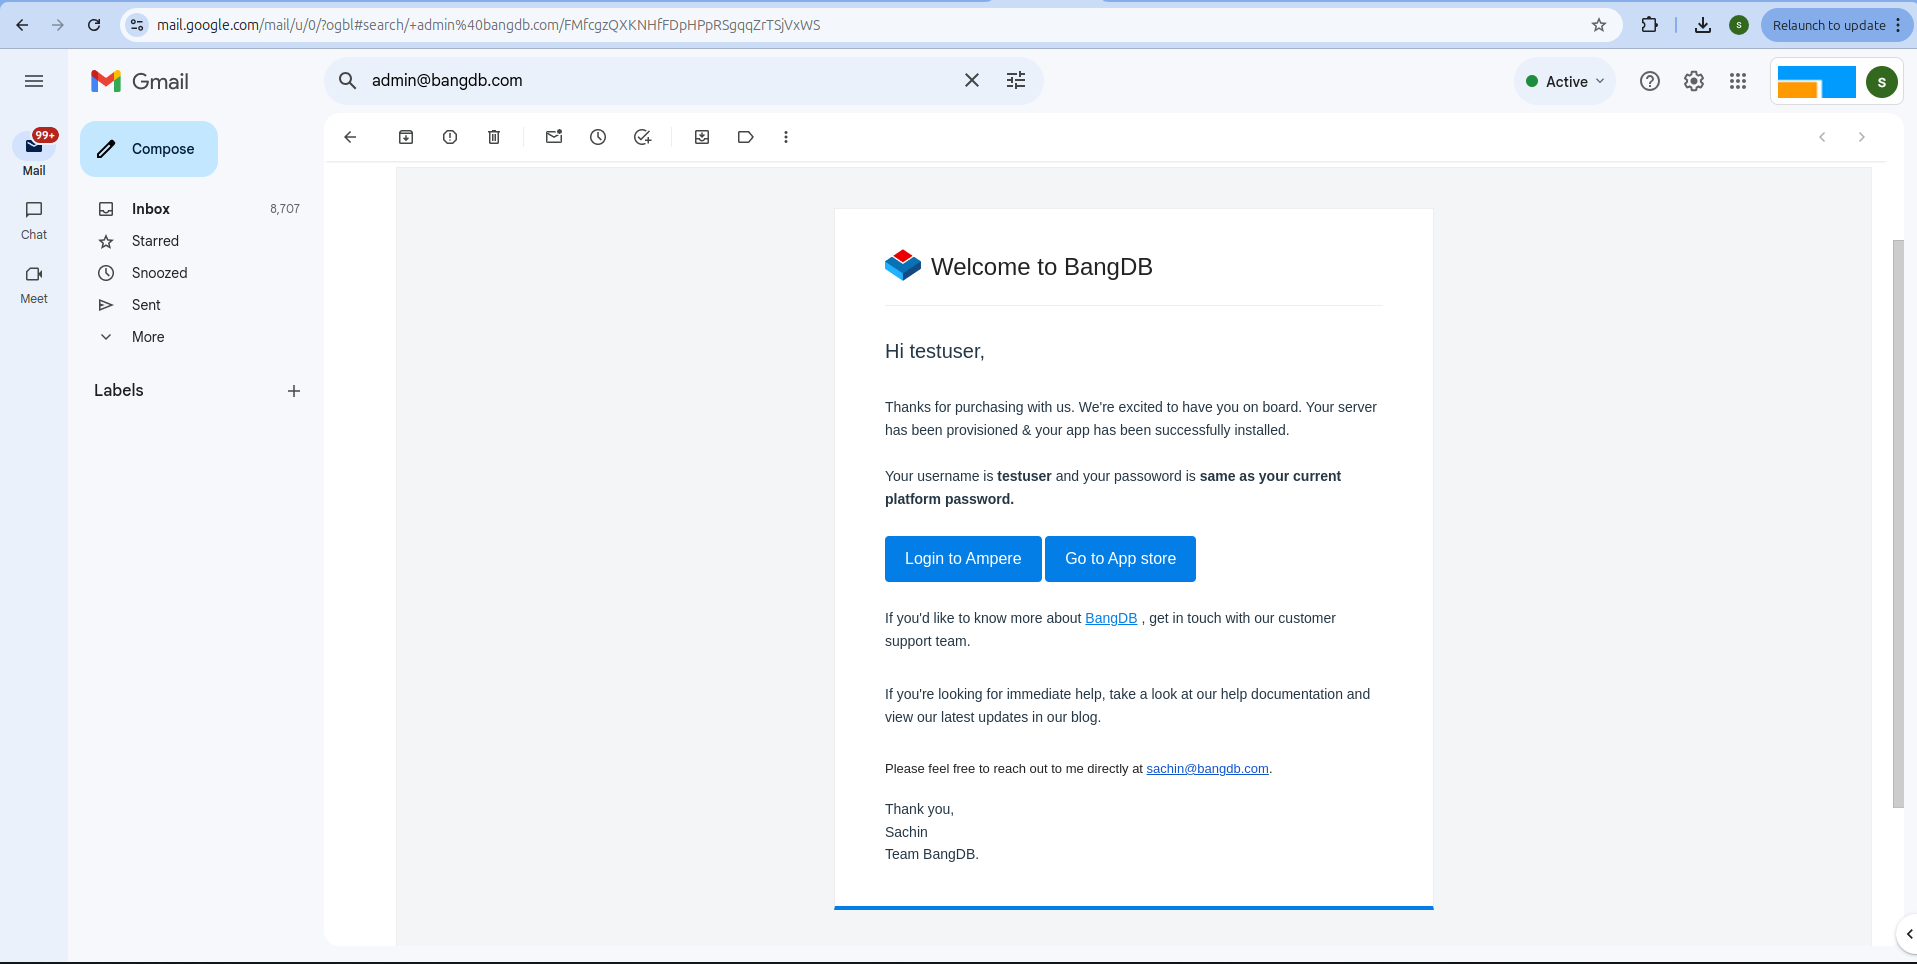
After all steps are completed, your User ID, Password, and Ampere Link will be sent to the email ID you provided during signup.
