Open the leads management app and click on "Get Started" button
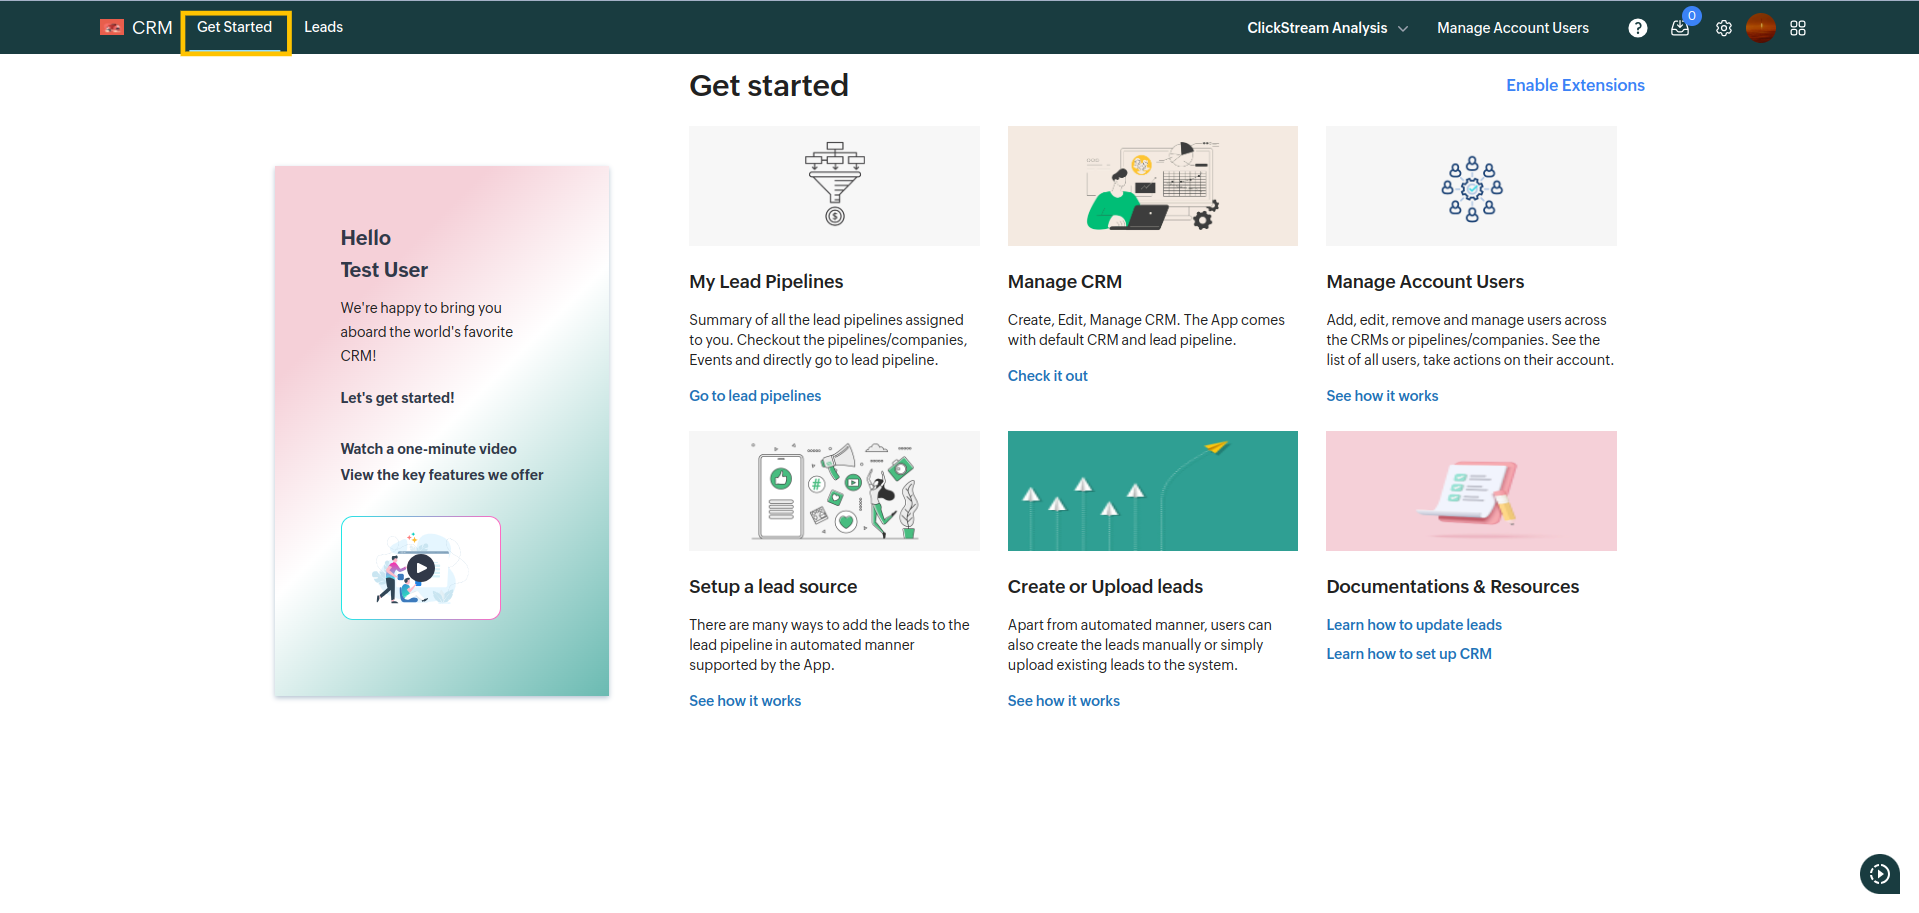
Click on the "Enable Extensions" button

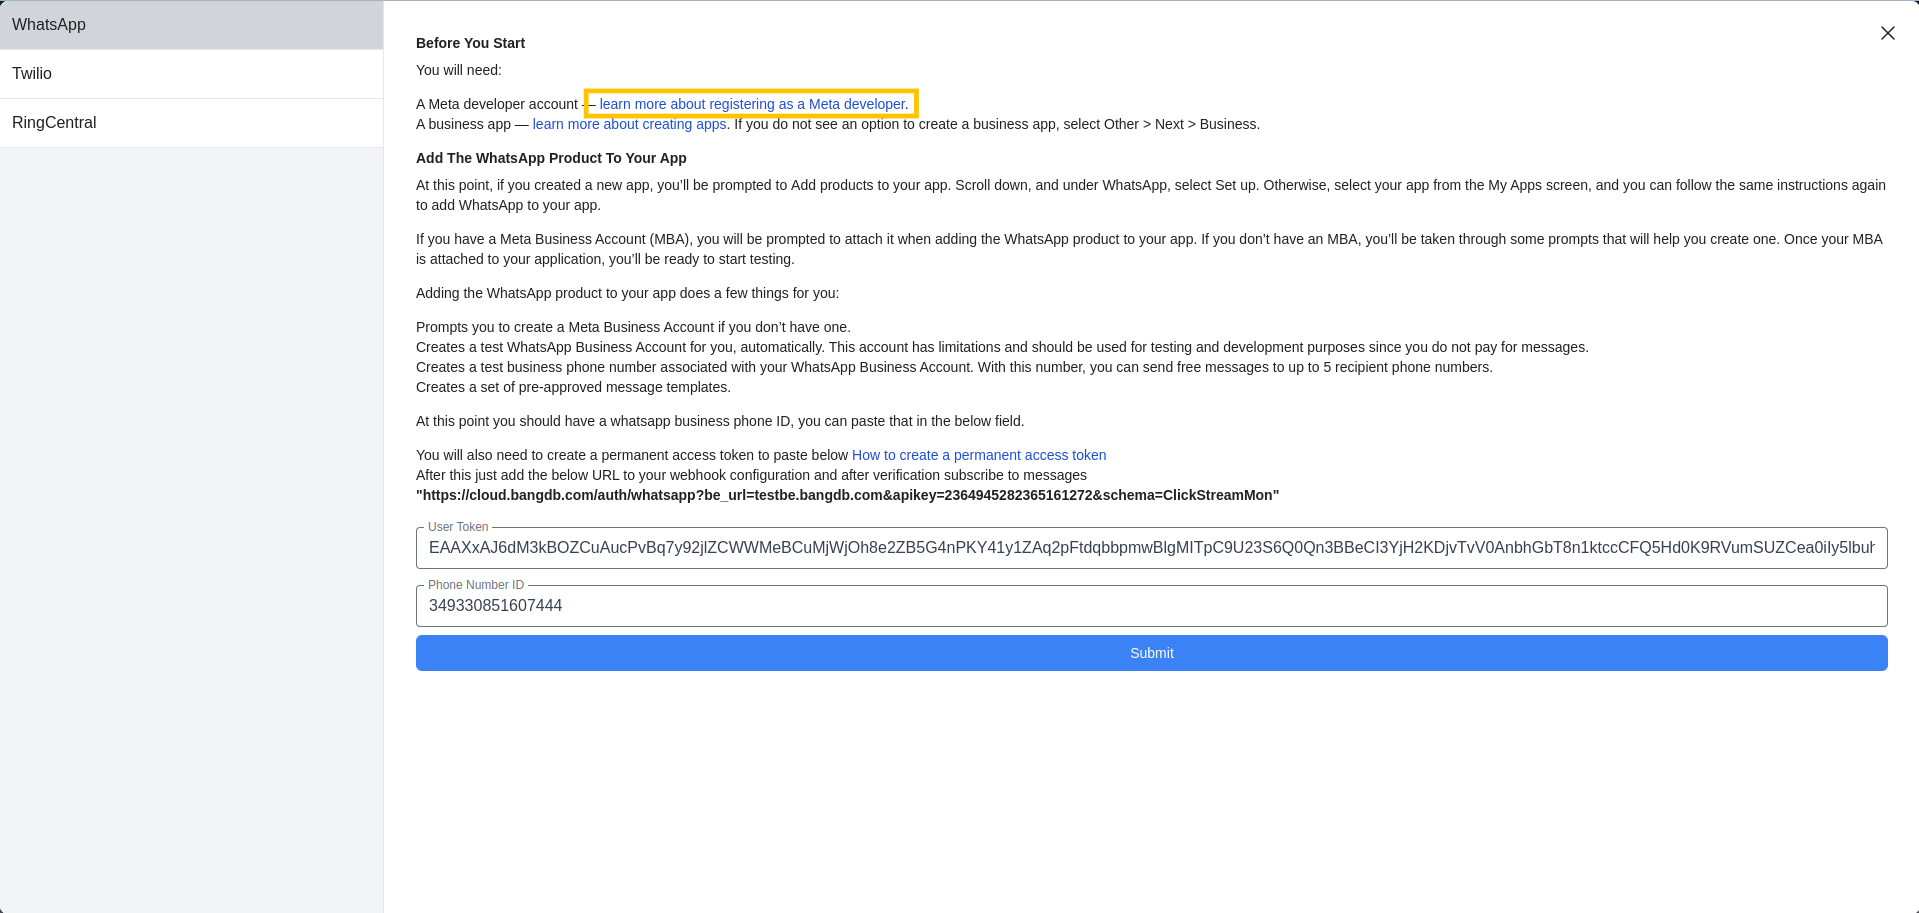
Select WhatsApp from the sidebar.
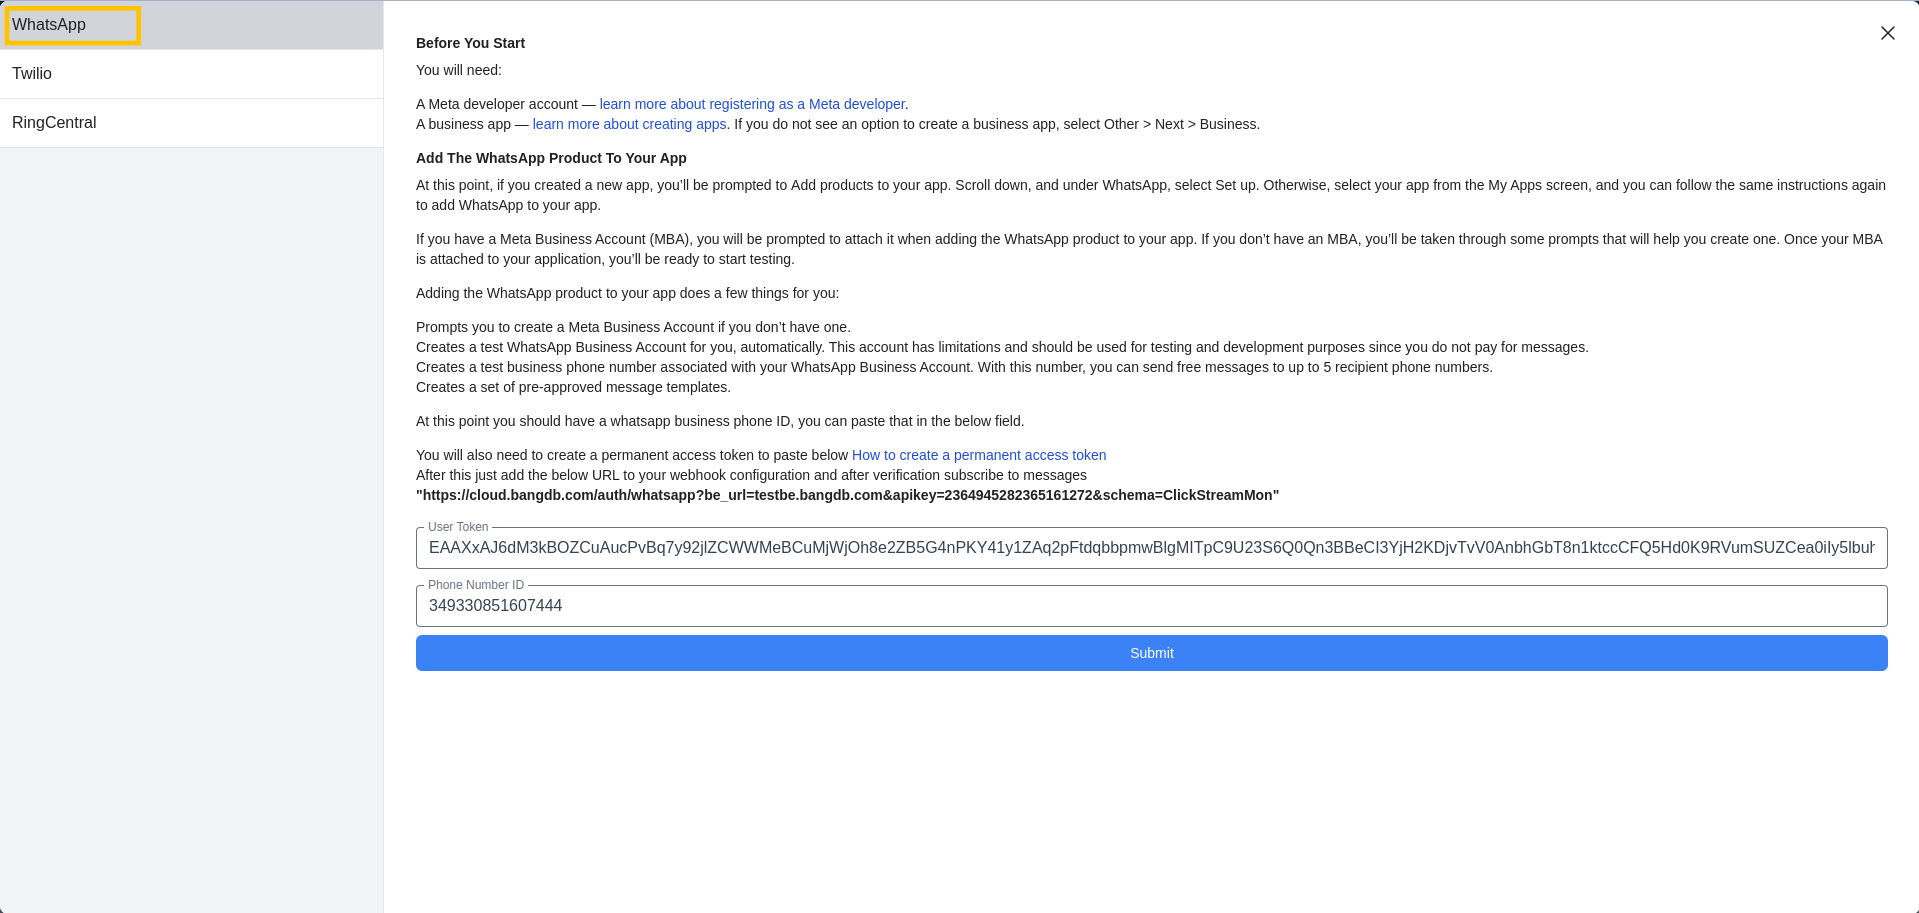
Click on learn more about registering as a Meta developer
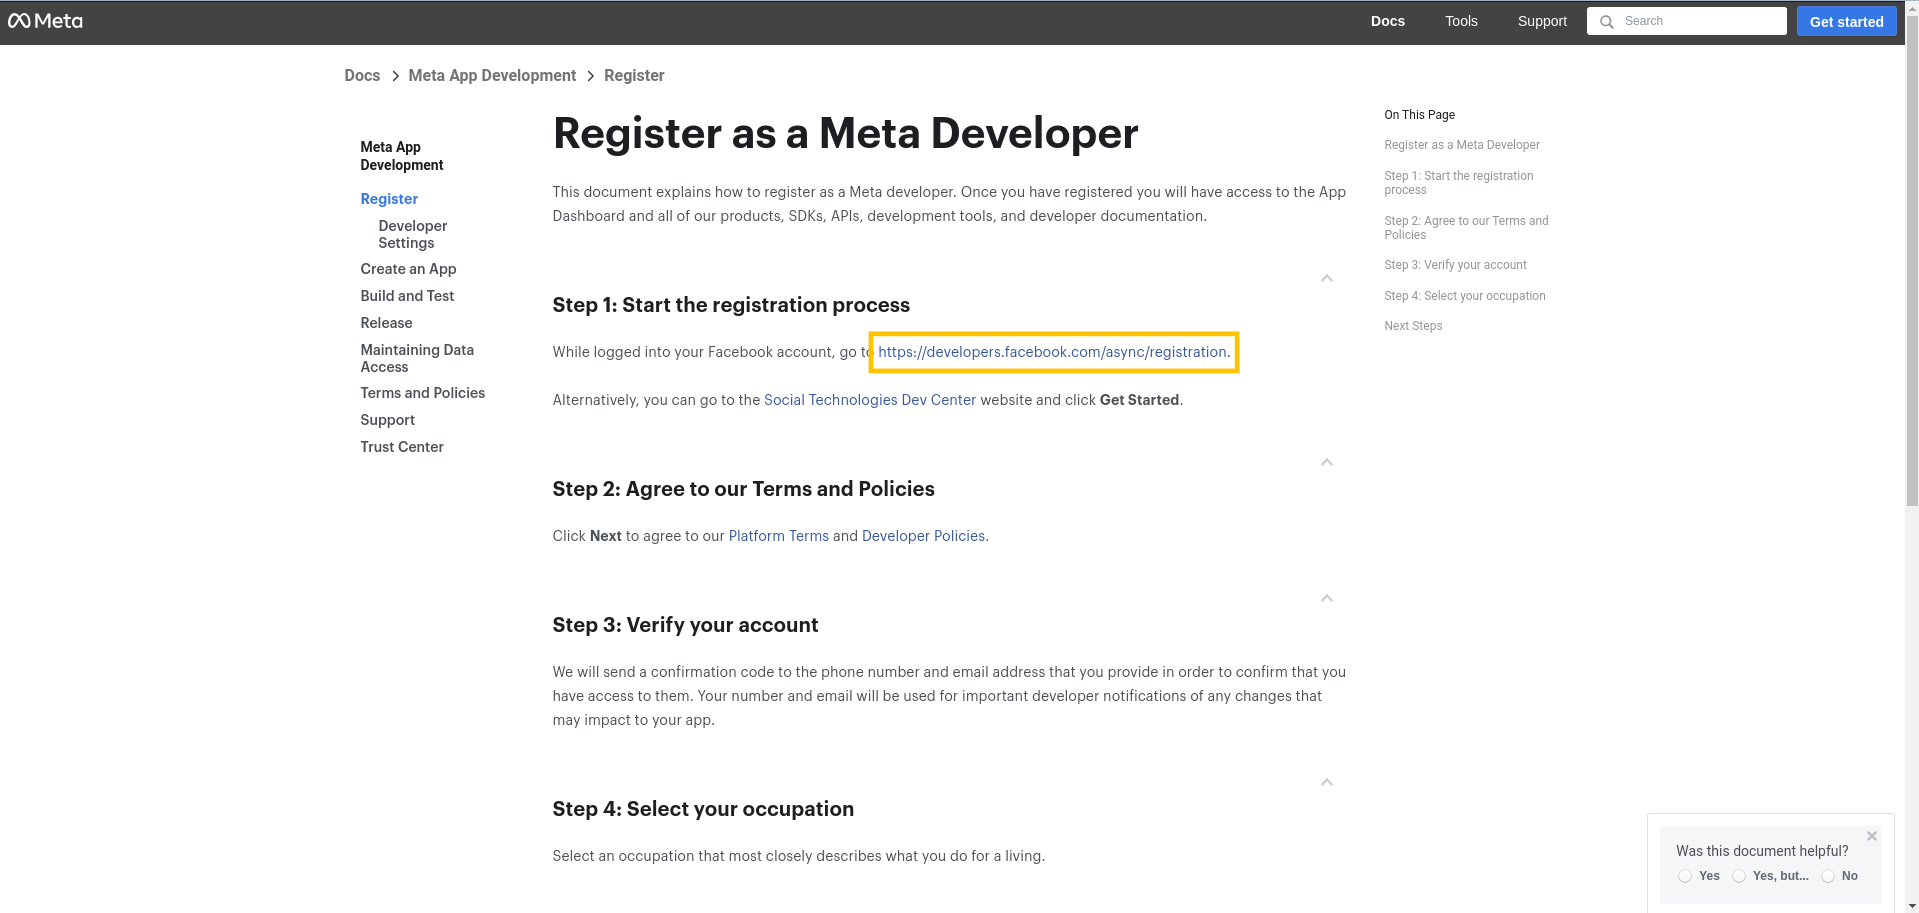
After redirecting, click on https://developers.facebook.com/async/registration
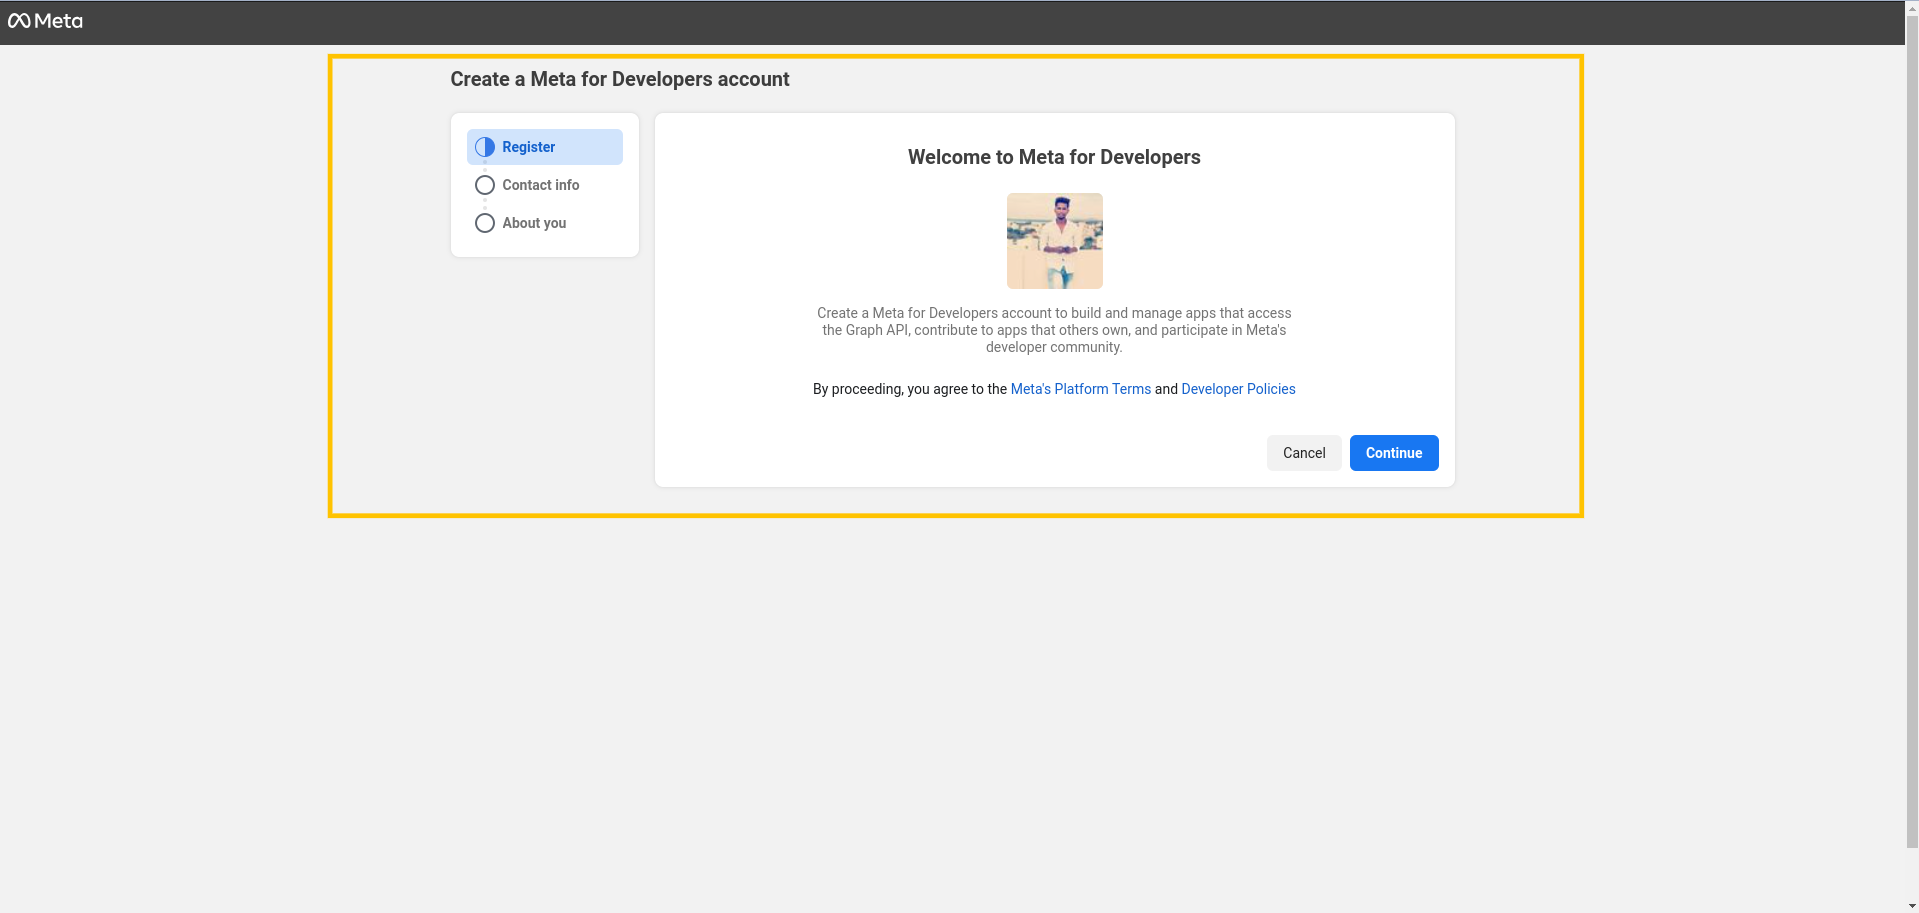
If your Facebook account is already login then you will get the below page
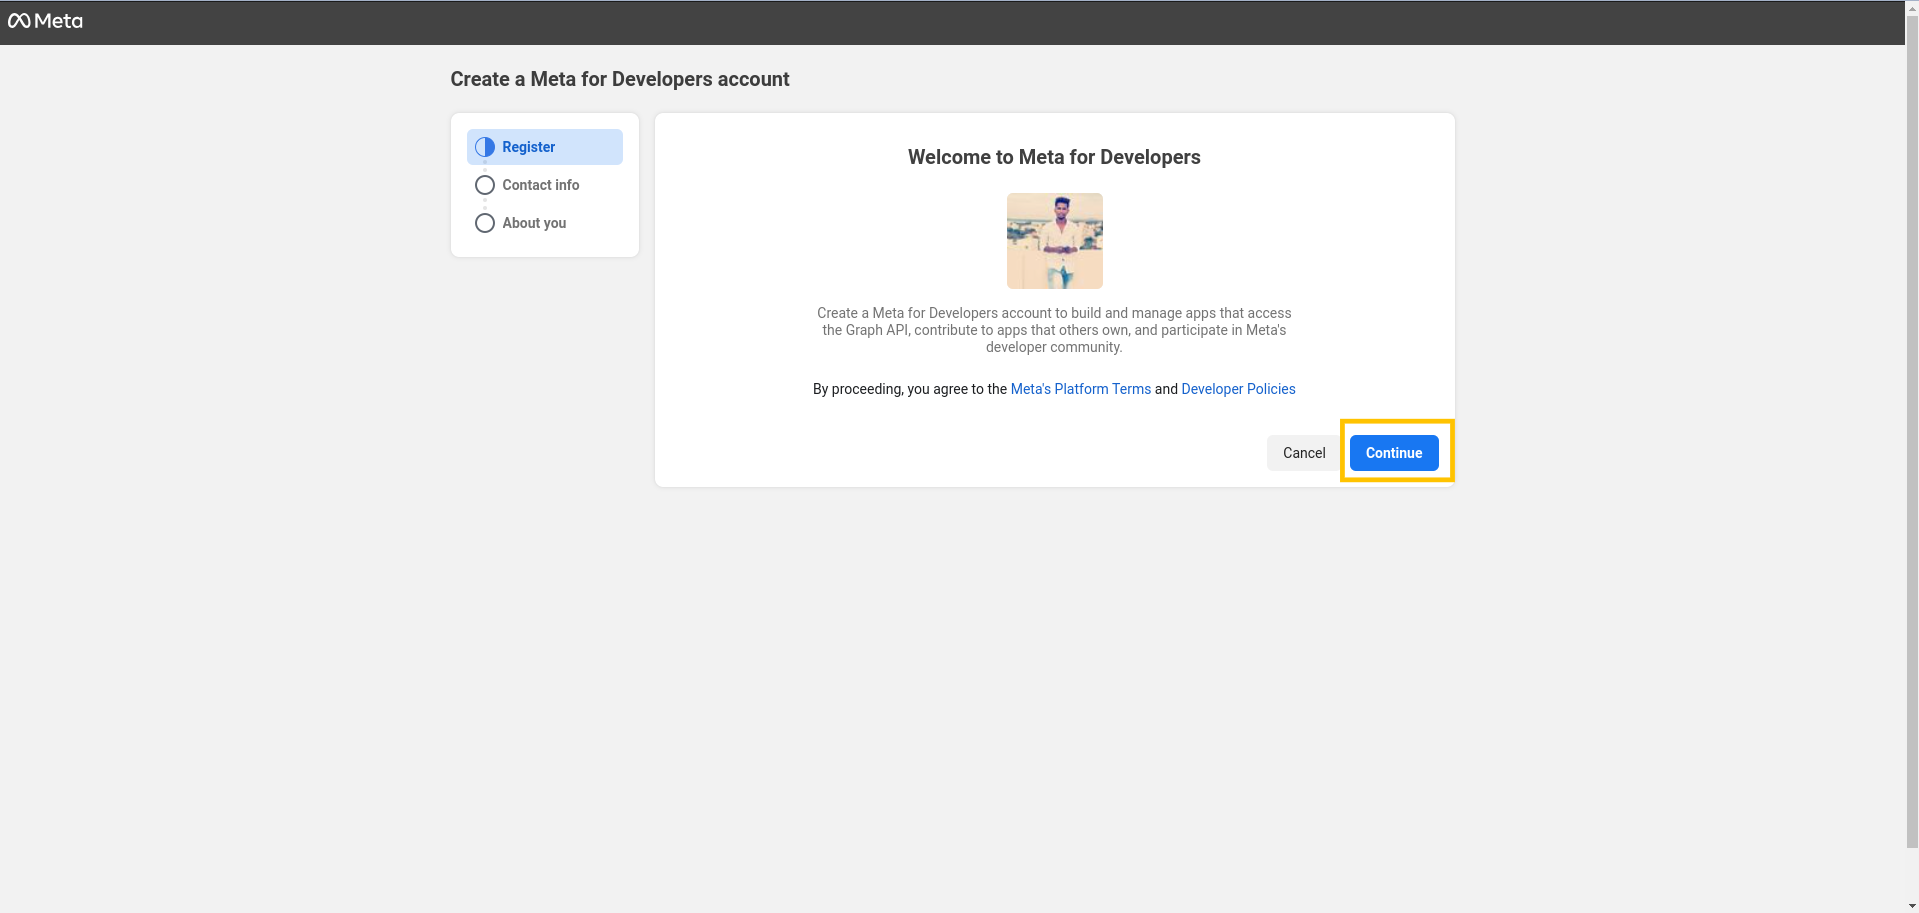
Click on the continue button
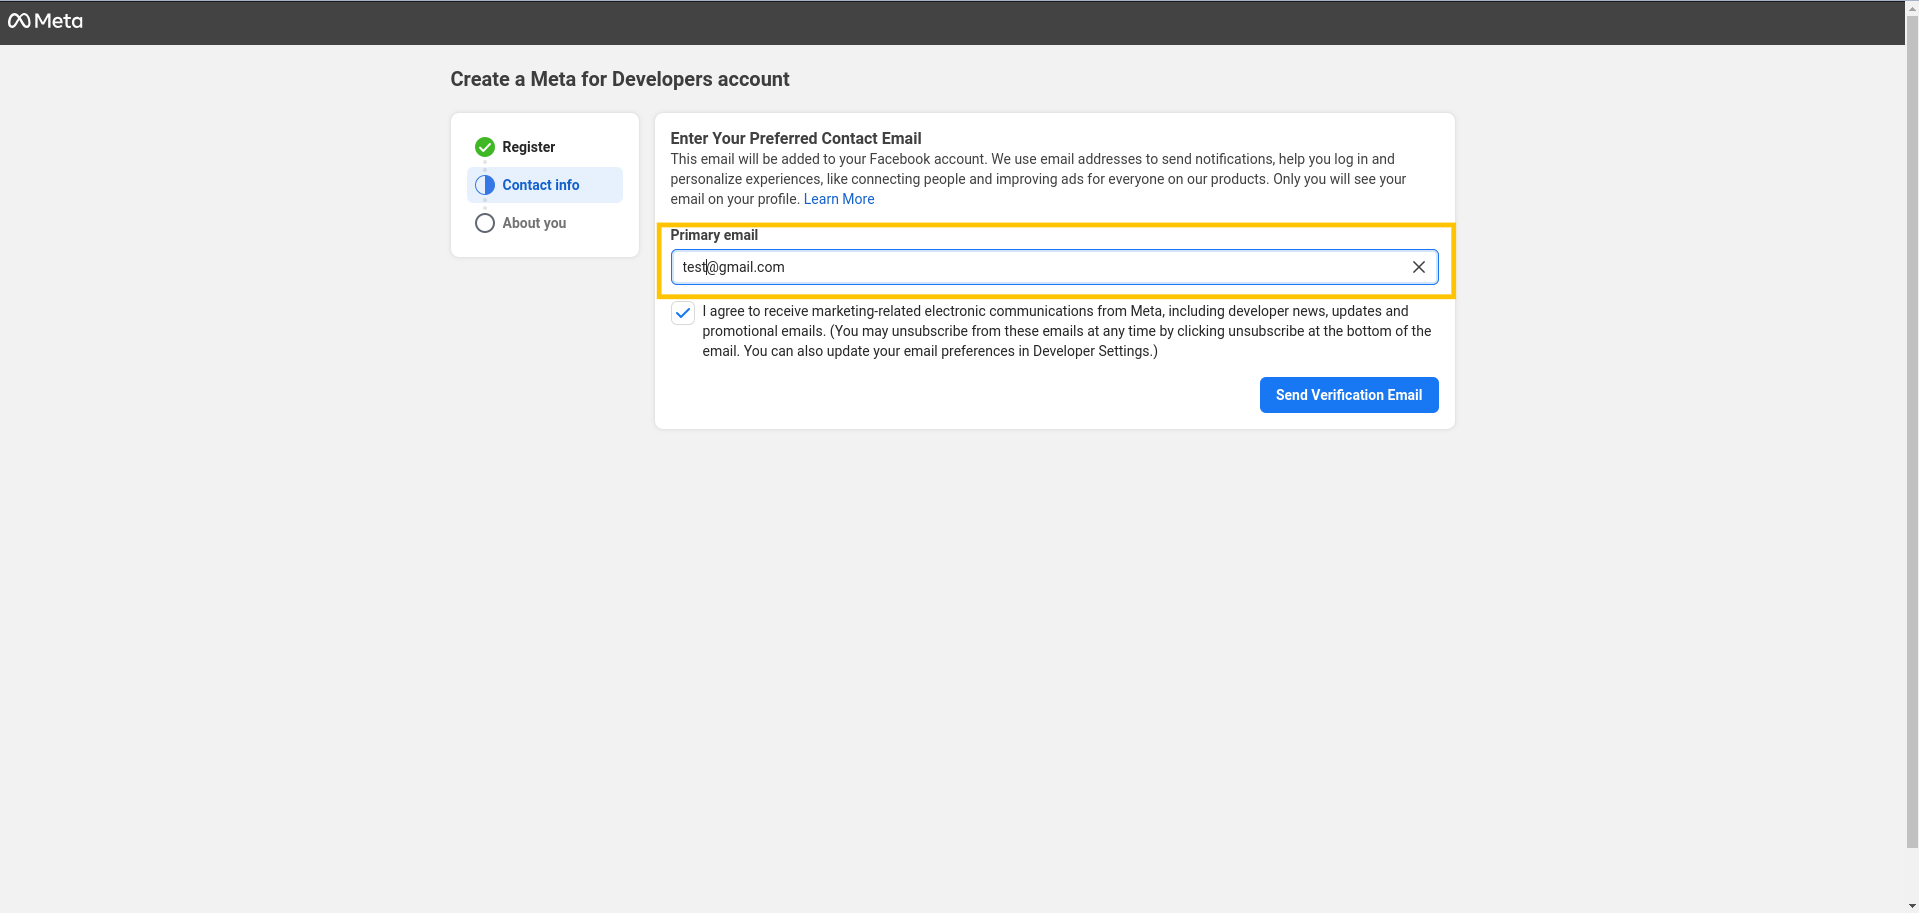
Add a primary email and click on the checkbox and click on send verification email
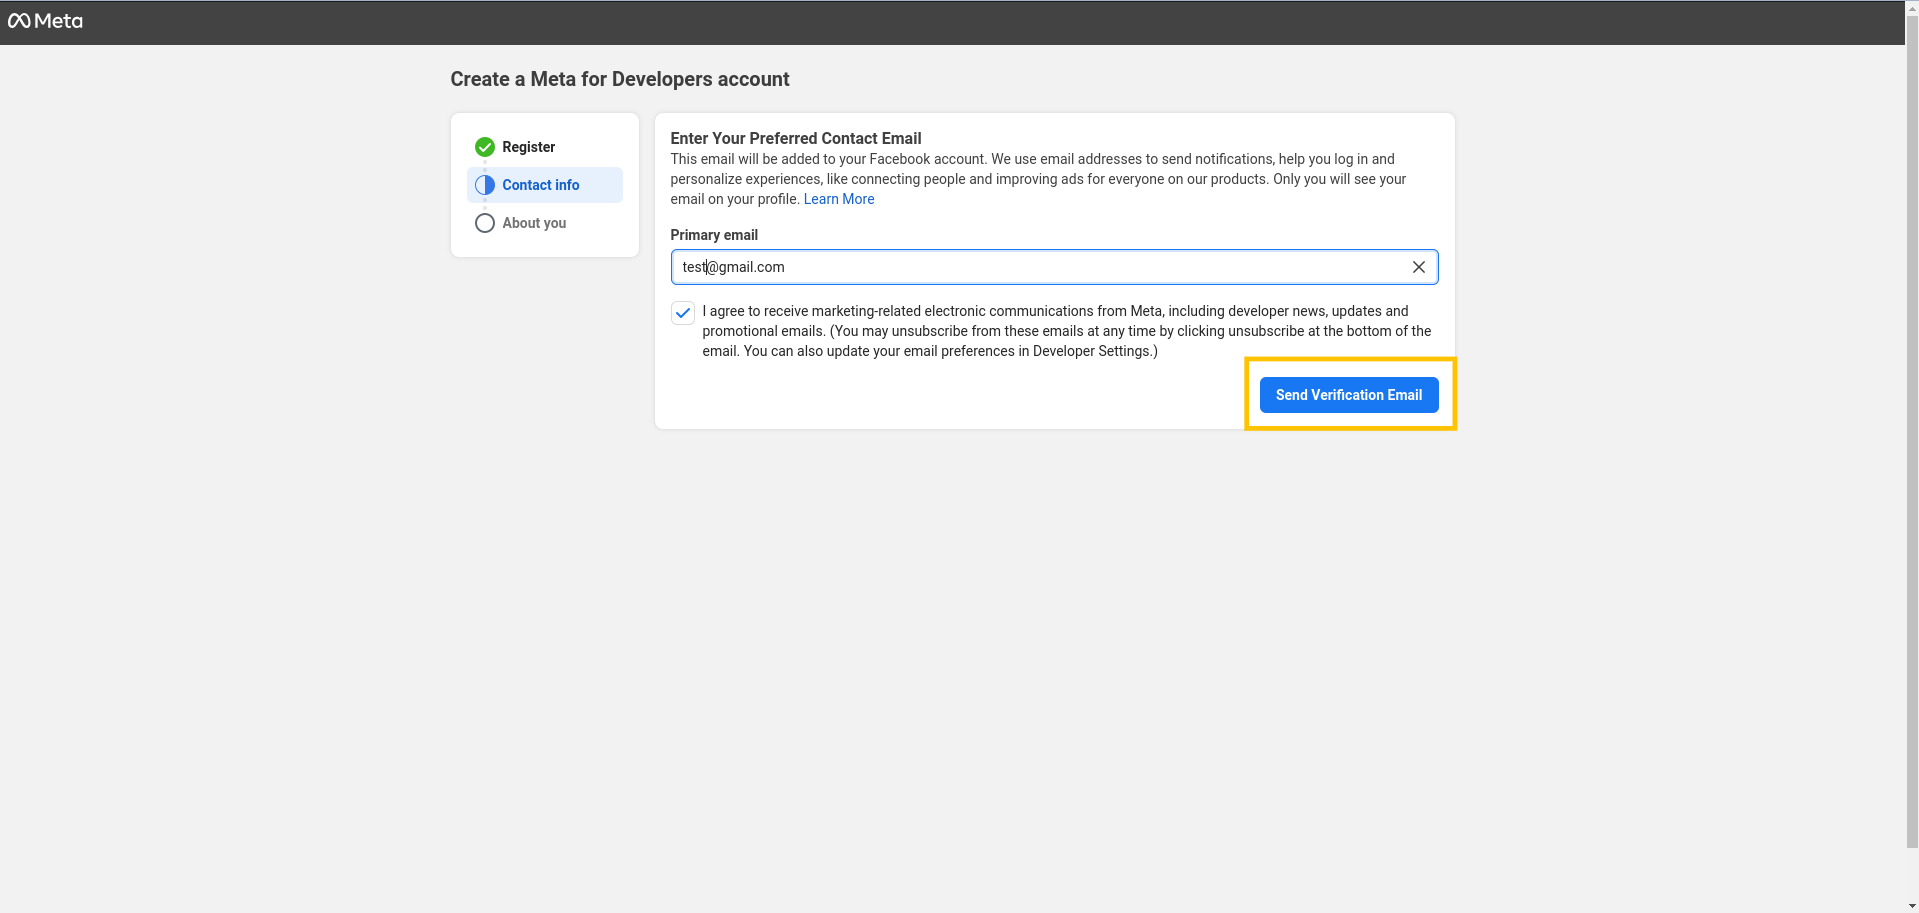
After adding the primary email and enabling the checkbox click on the Send verification link button
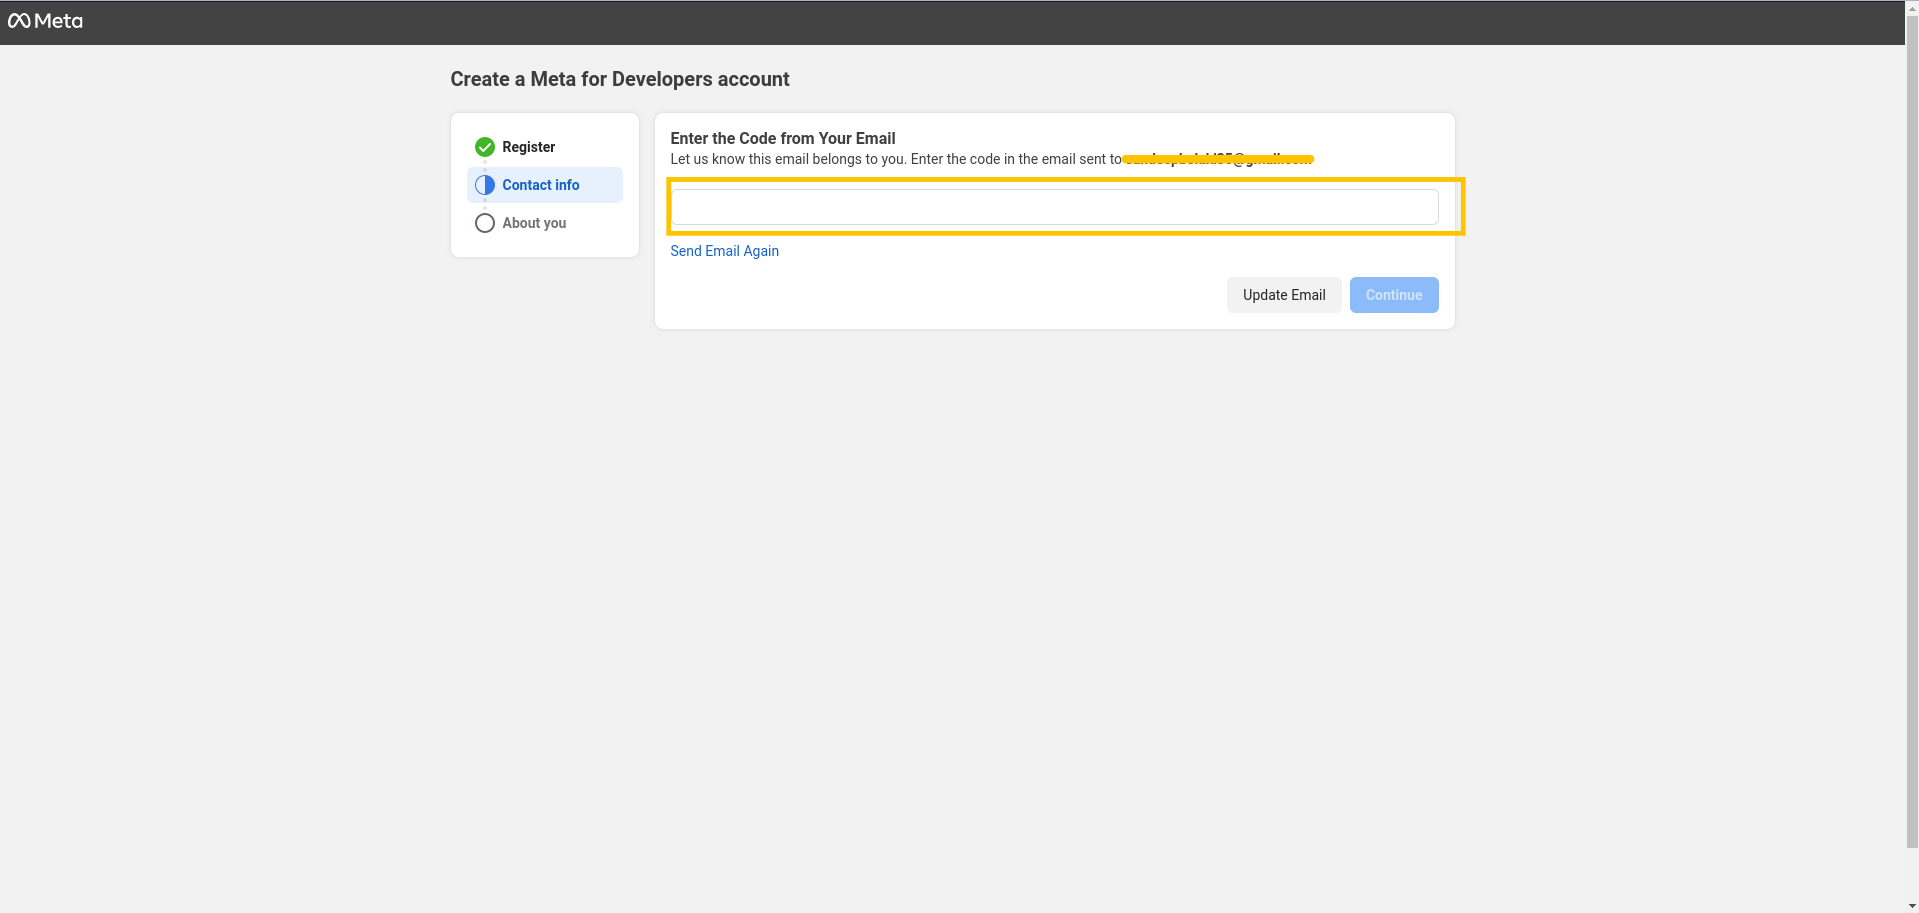
Enter the code you might have received in your email
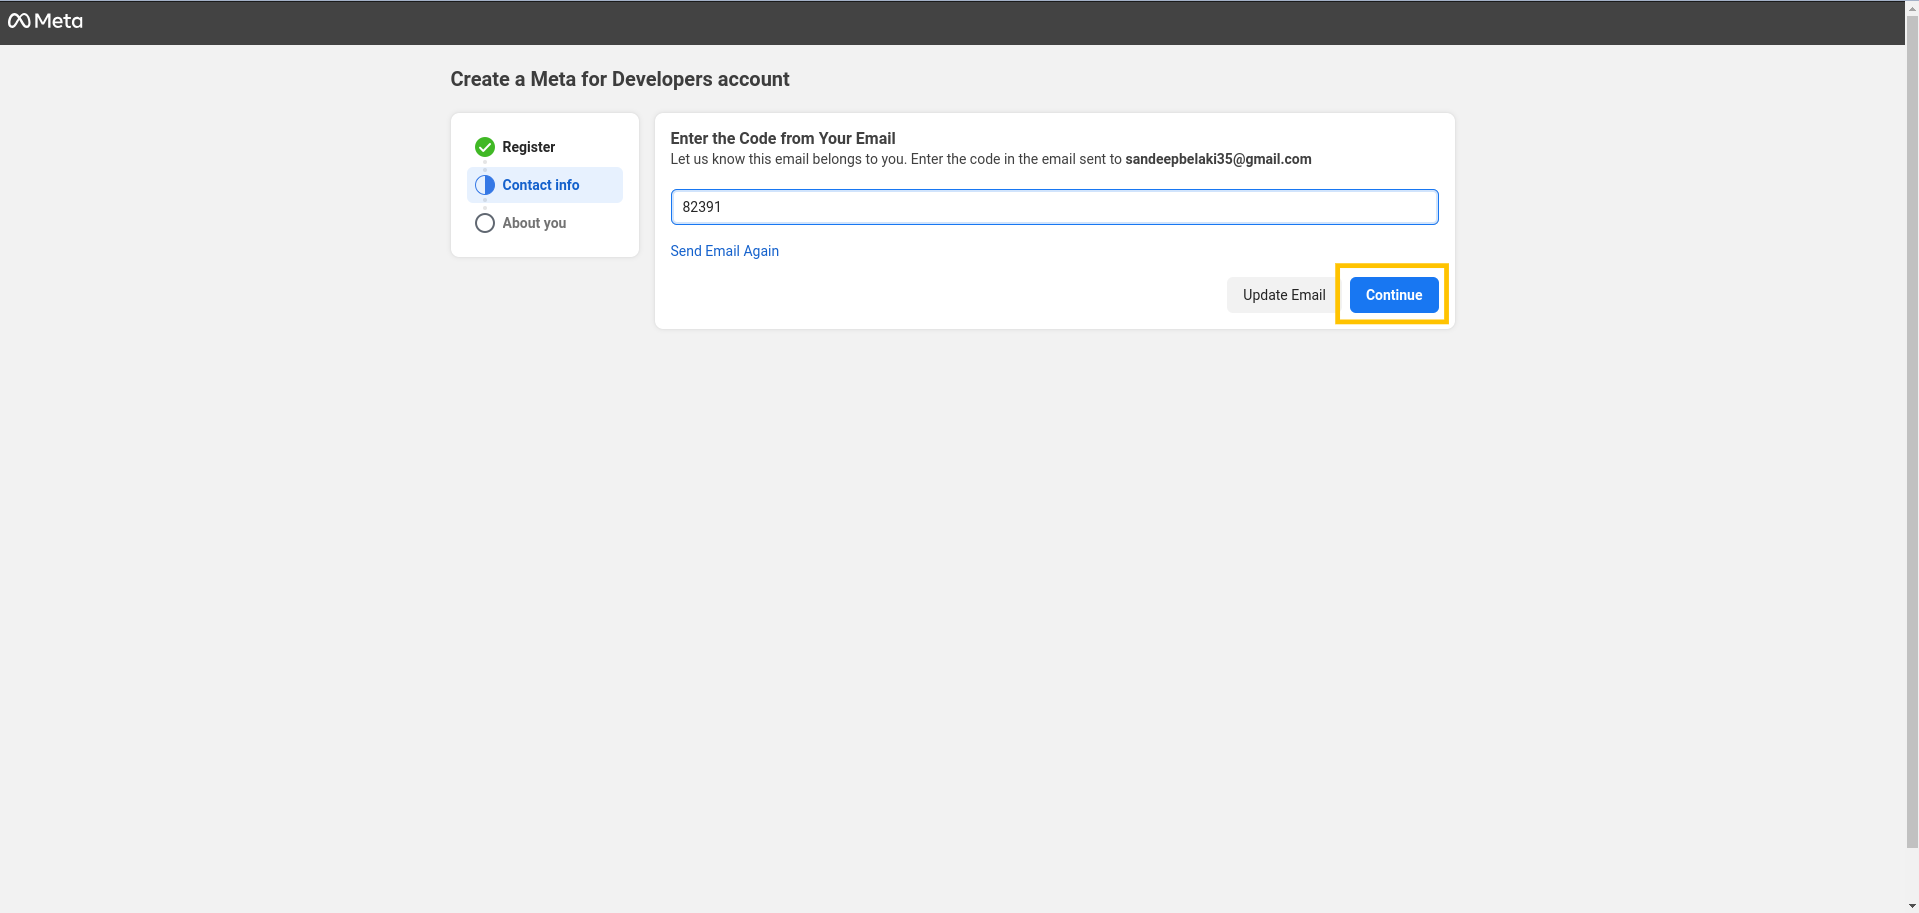
After adding the code click on the Continue button
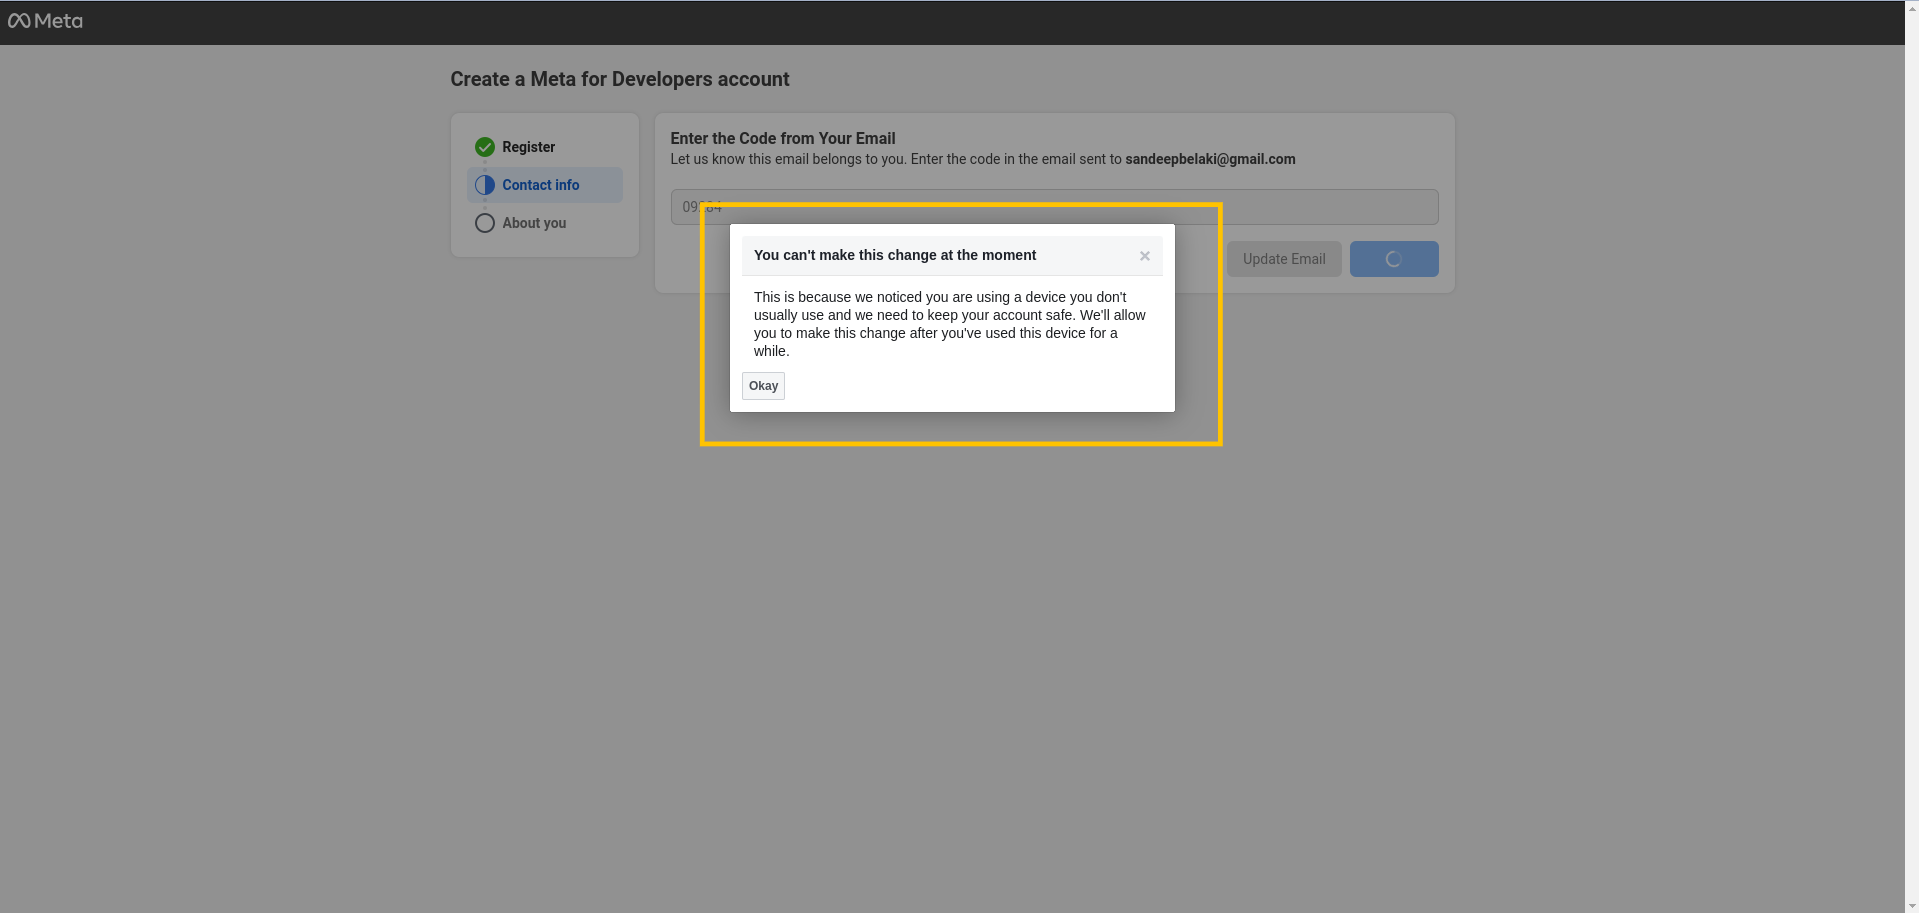
If you are using the Facebook account for the first time on the browser then it will not take automatically it will say a message like You can't make this change at the moment
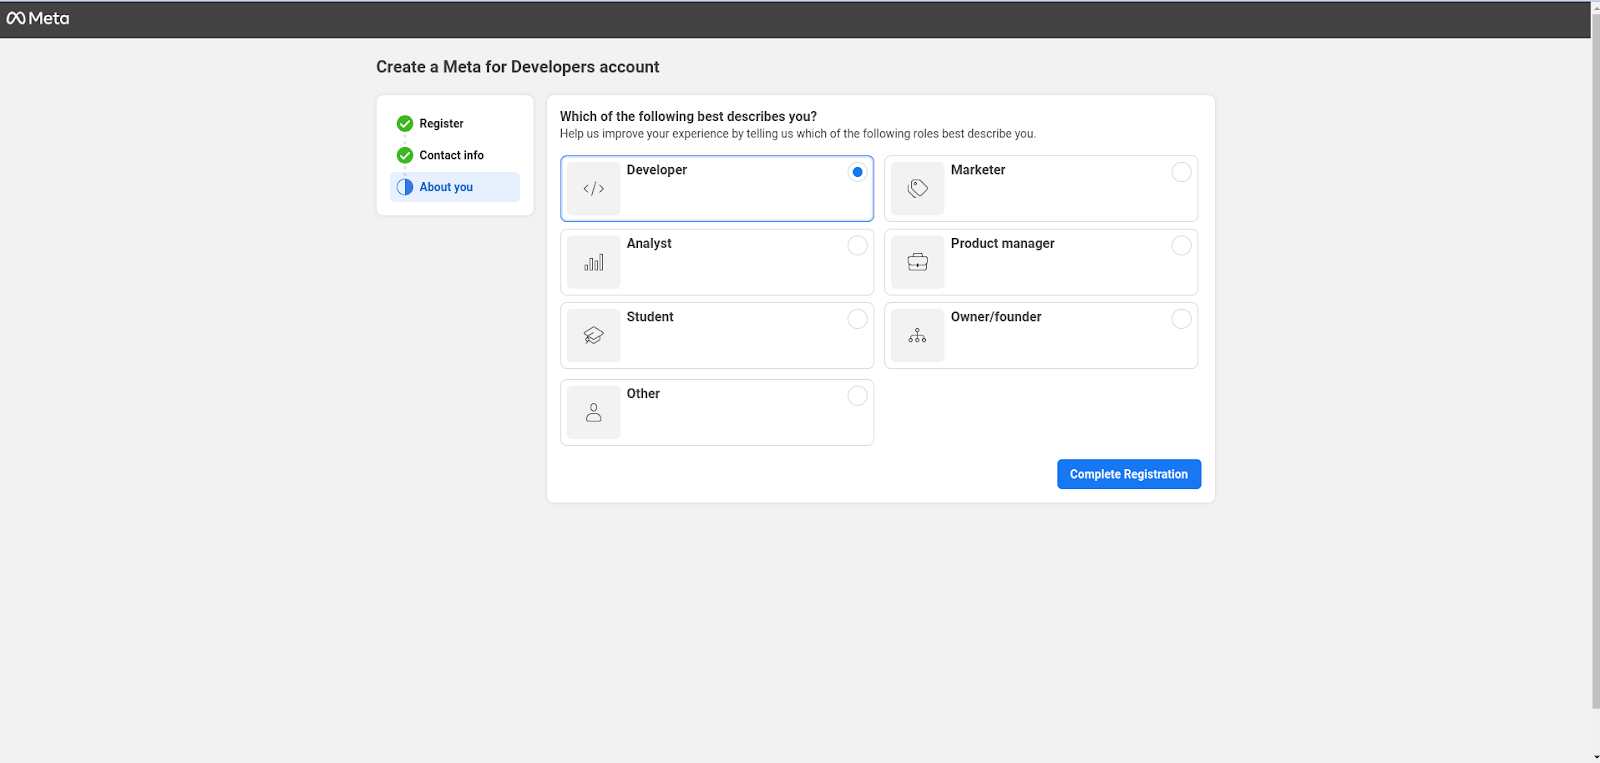
Once it is done, then after adding the Code you will be redirected to the Below page
Select the Developer and click on complete registration [you can choose any one of these that describes you]
After choosing Click on the Complete Registration button
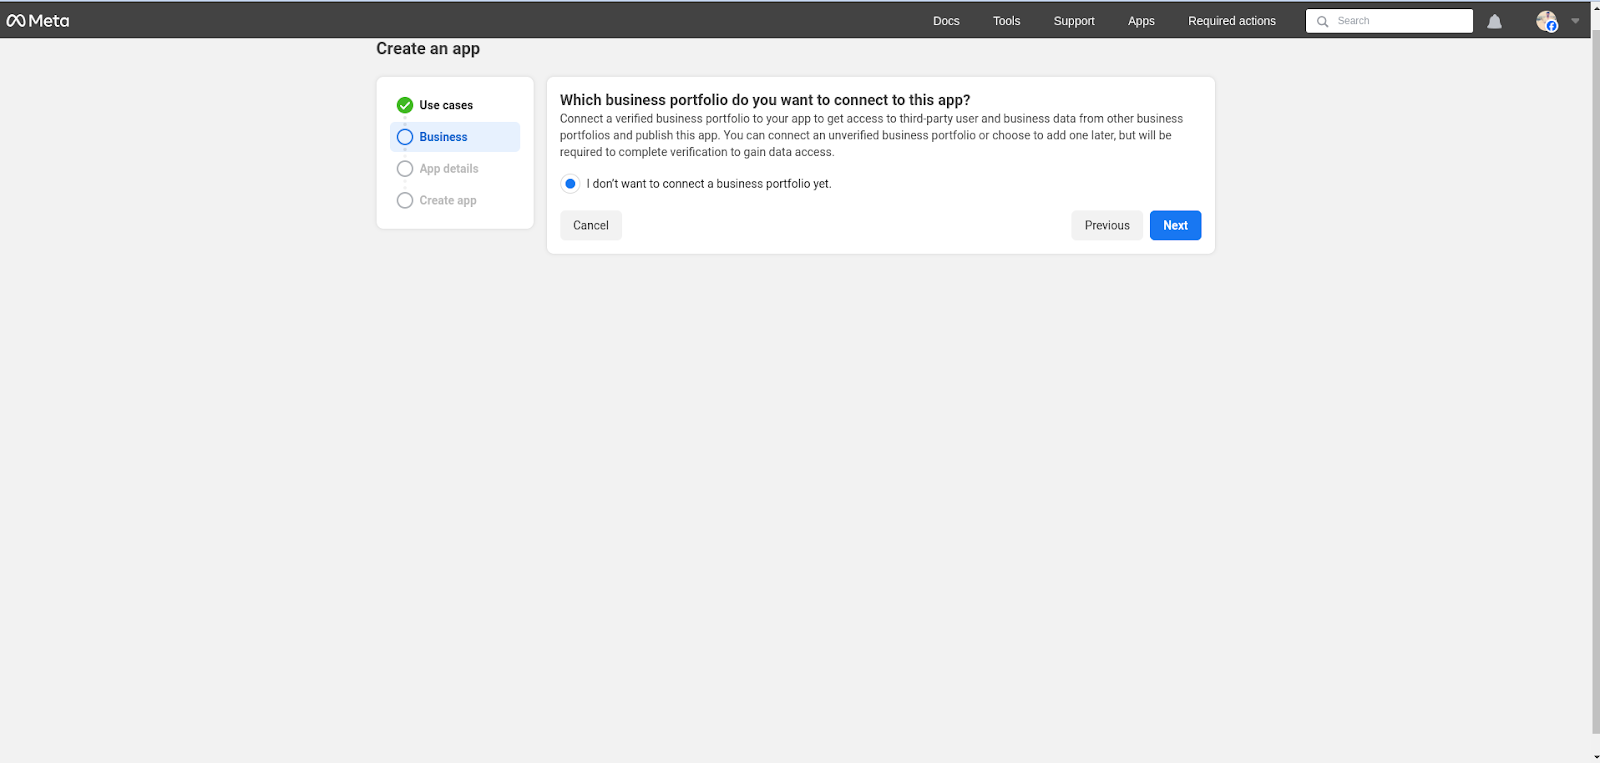
Select the radio button "I don't want to connect a business portfolio yet"
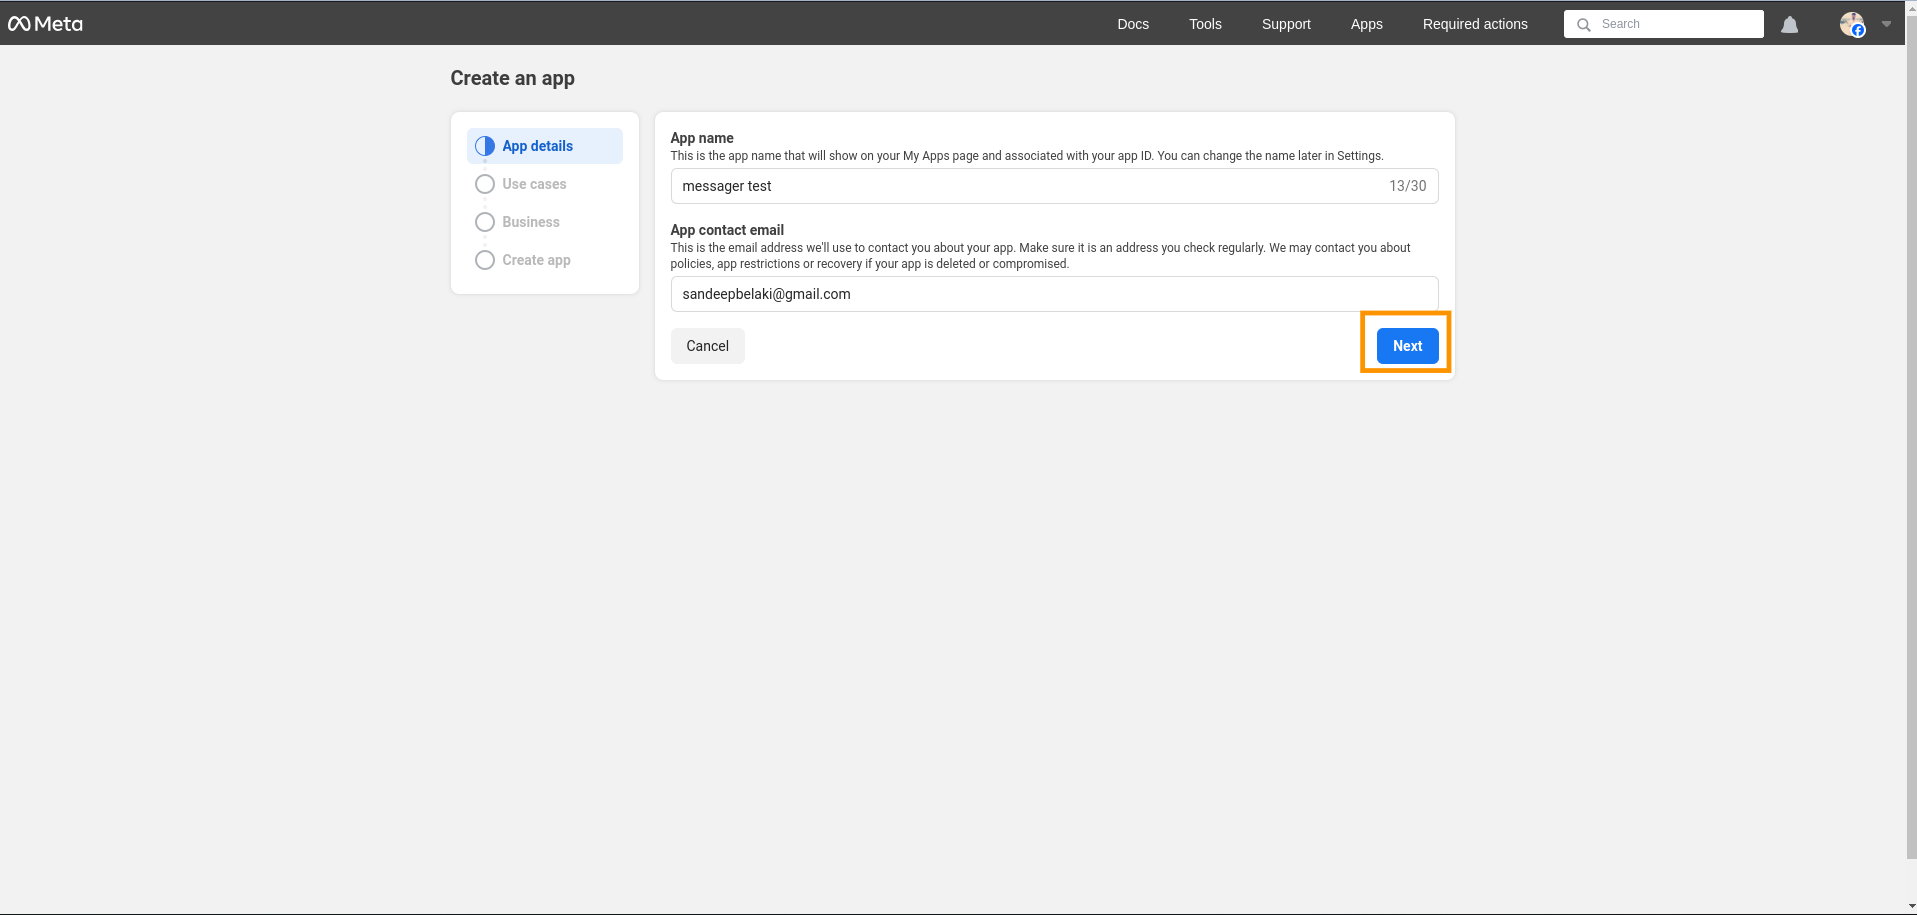
Give the app Details and click on the Next button
You will be taken to the next step. Select the use case from the list and click on the next button.

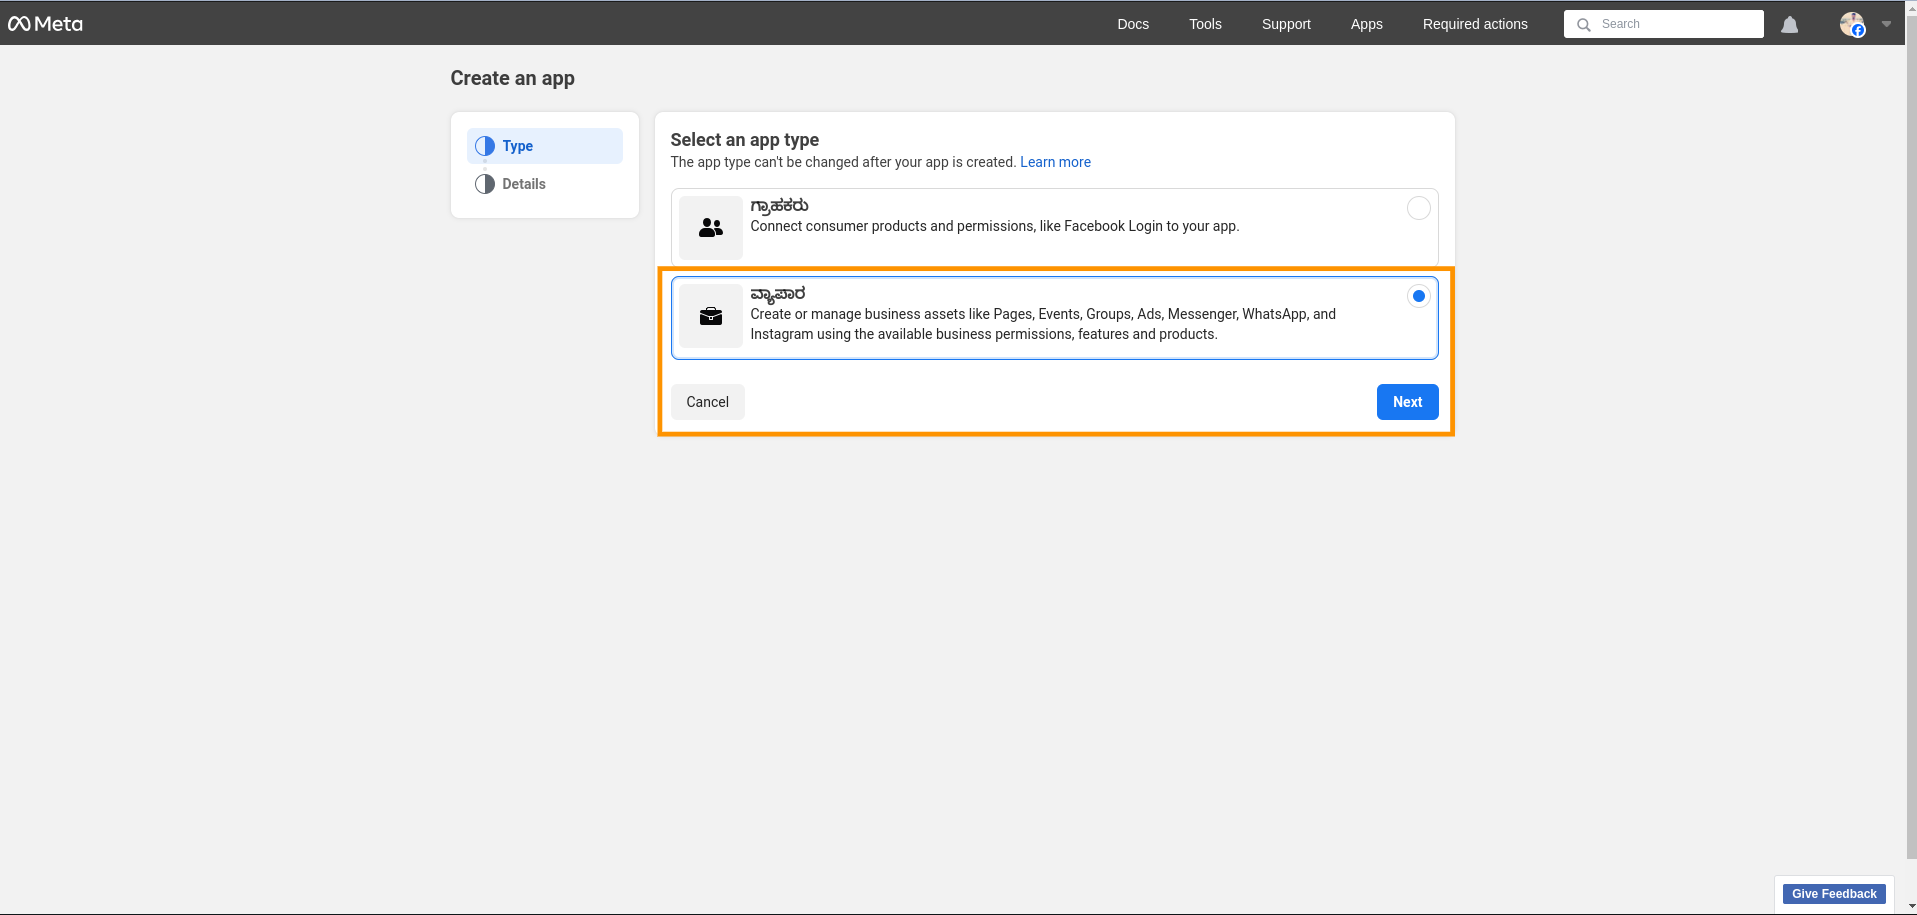
After redirecting you can choose the app that you want for business or consumer [select as a business]
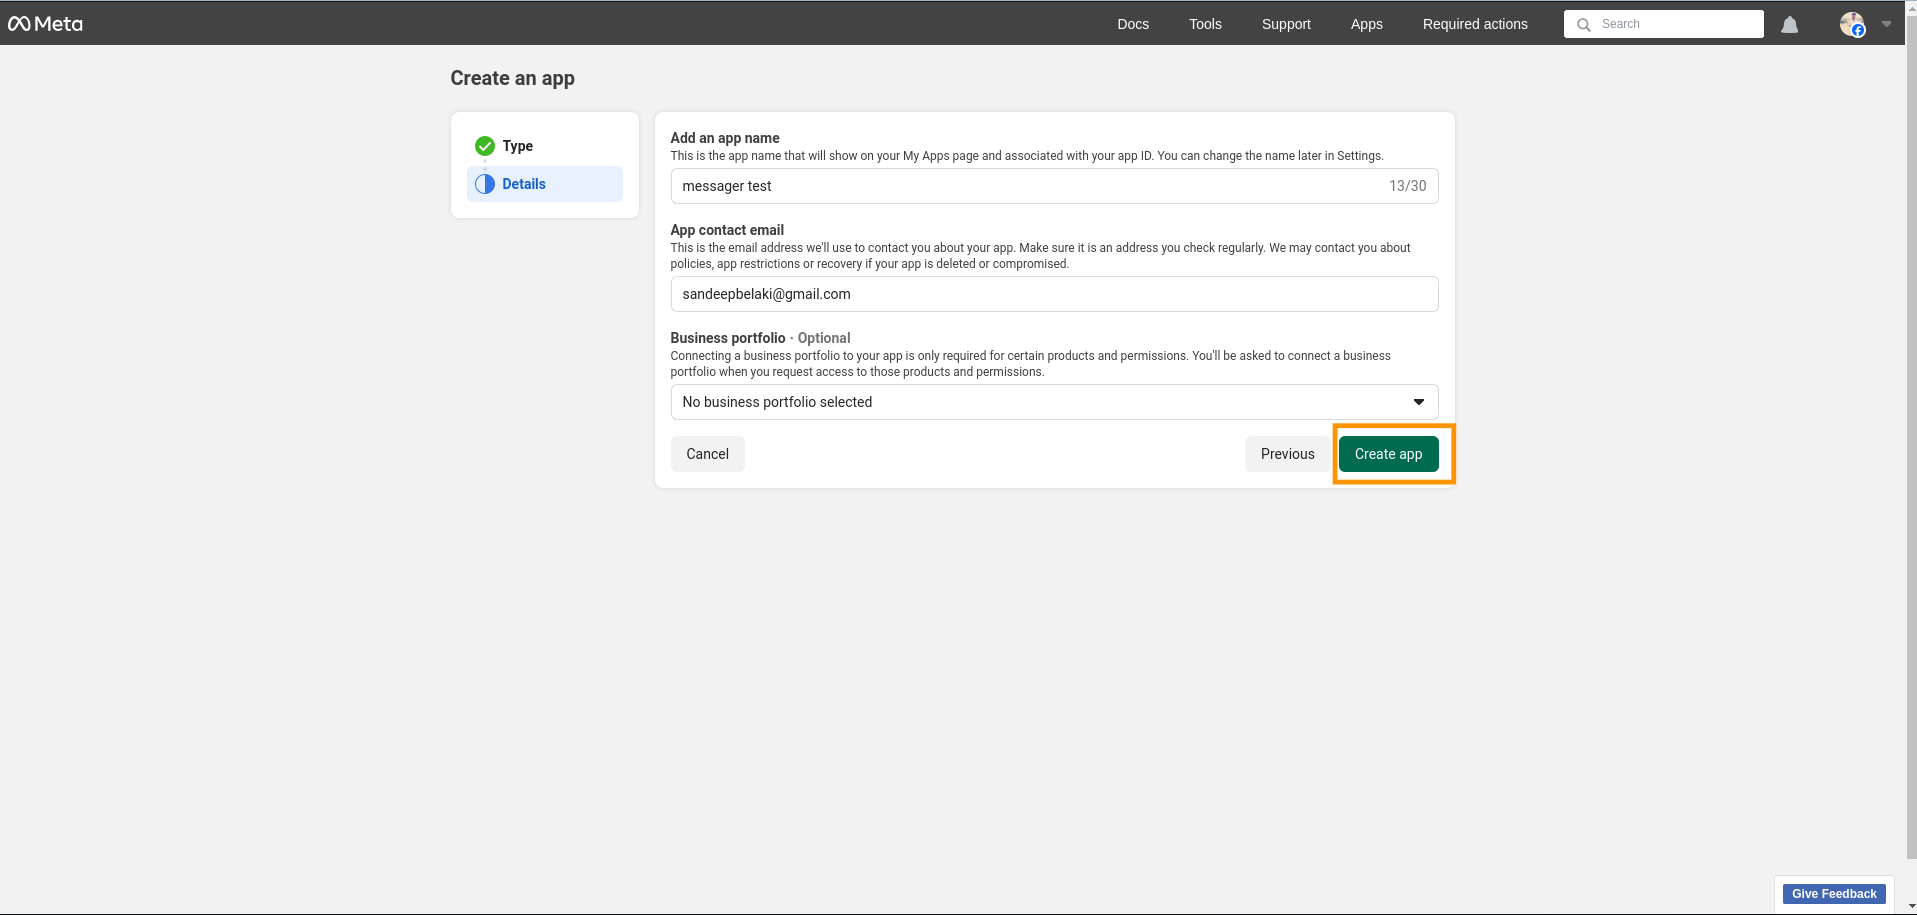
You can fill in the details and click on the Create App button from the details page
After clicking on the Create App button, it will ask for the password of your Facebook account. Enter the password and click on the submit button. Then it will redirect you to the app listing page
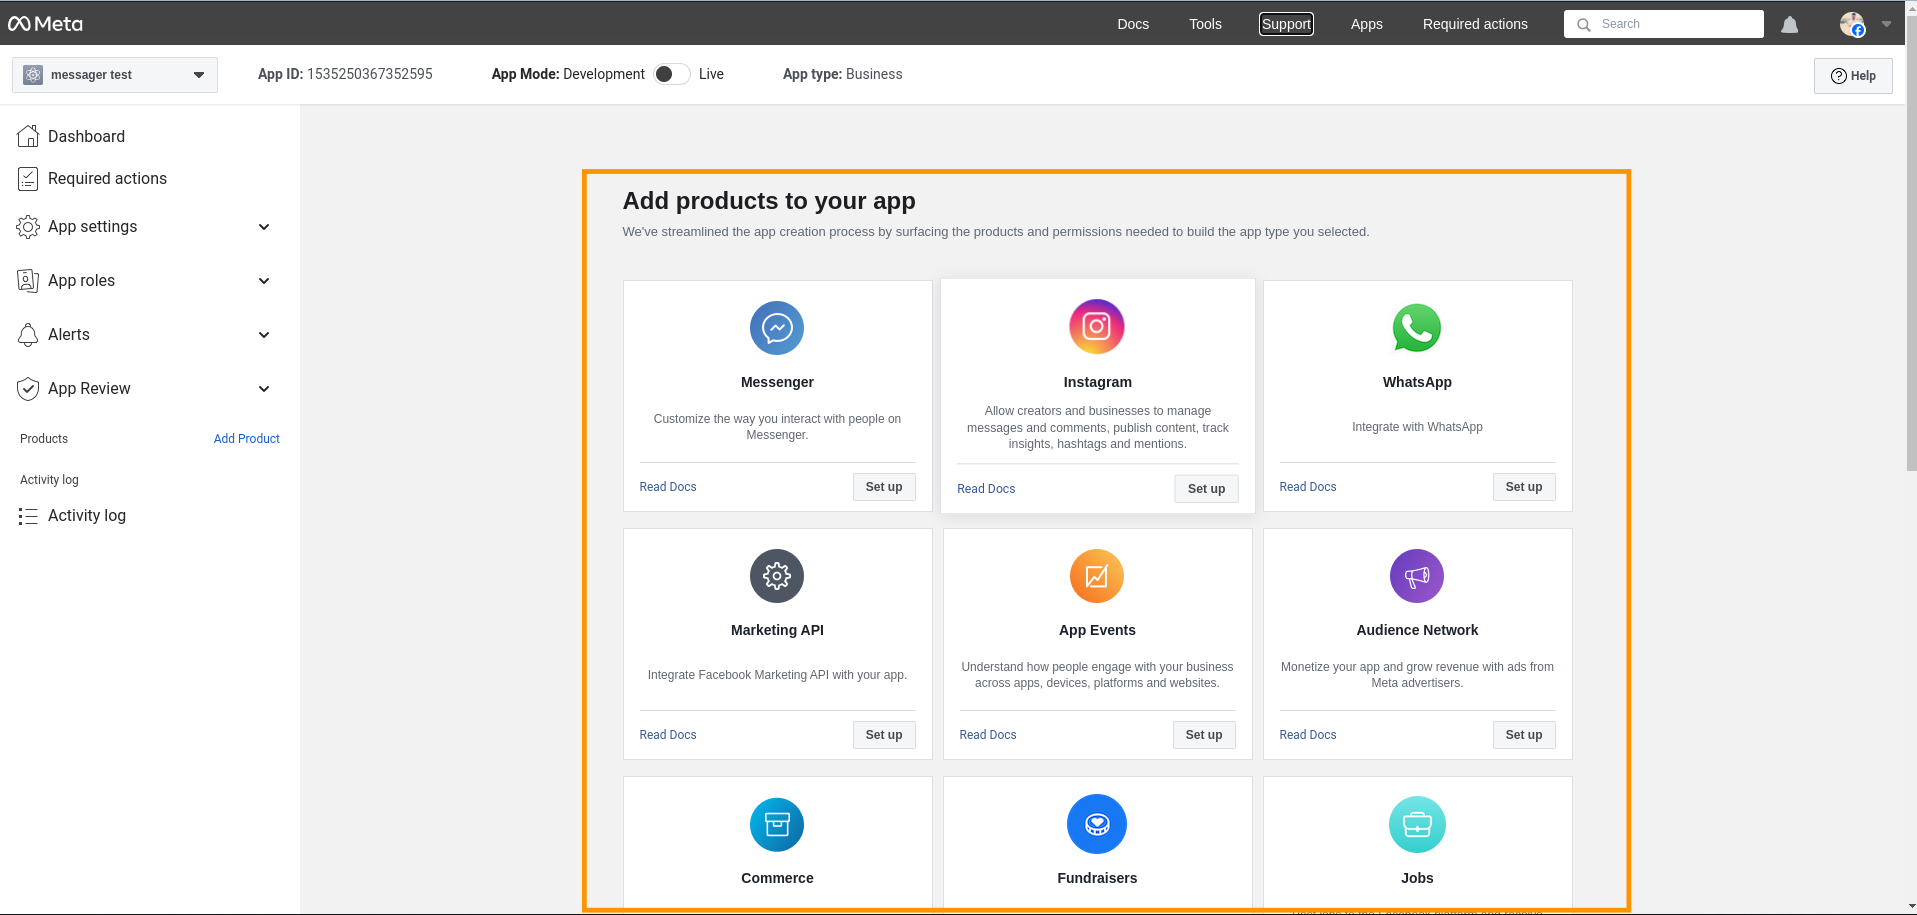
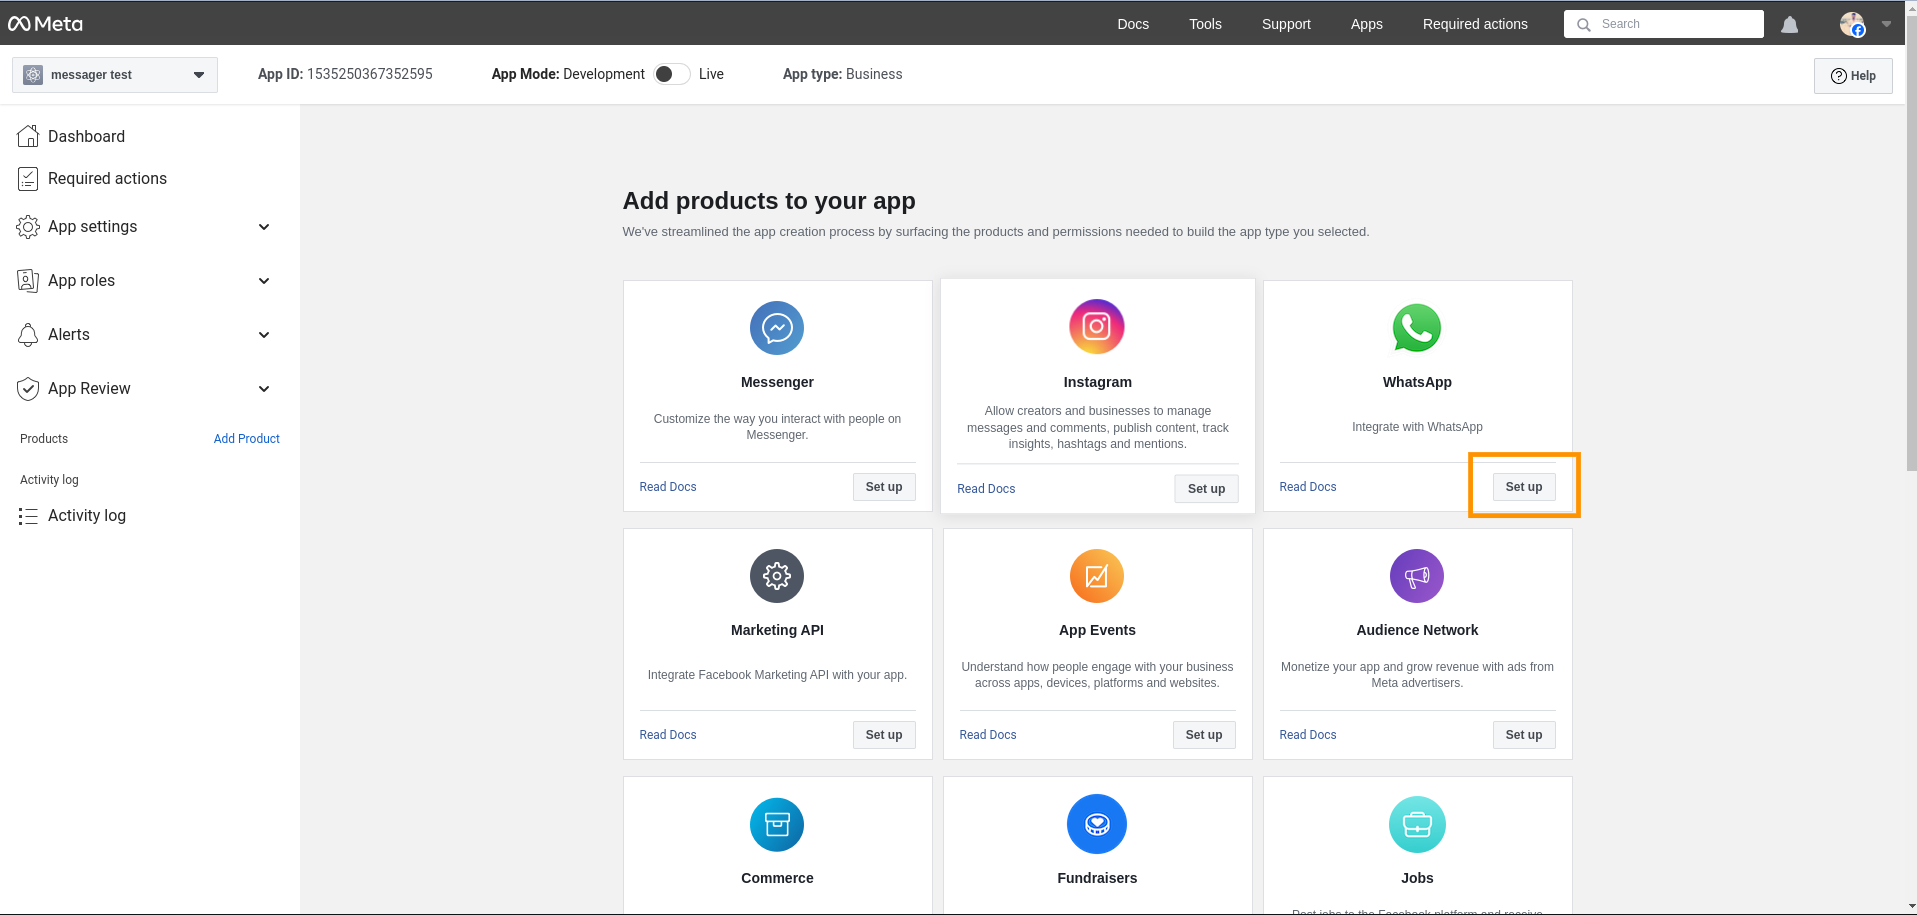
Select WhatsApp from the app listing page and click on set up
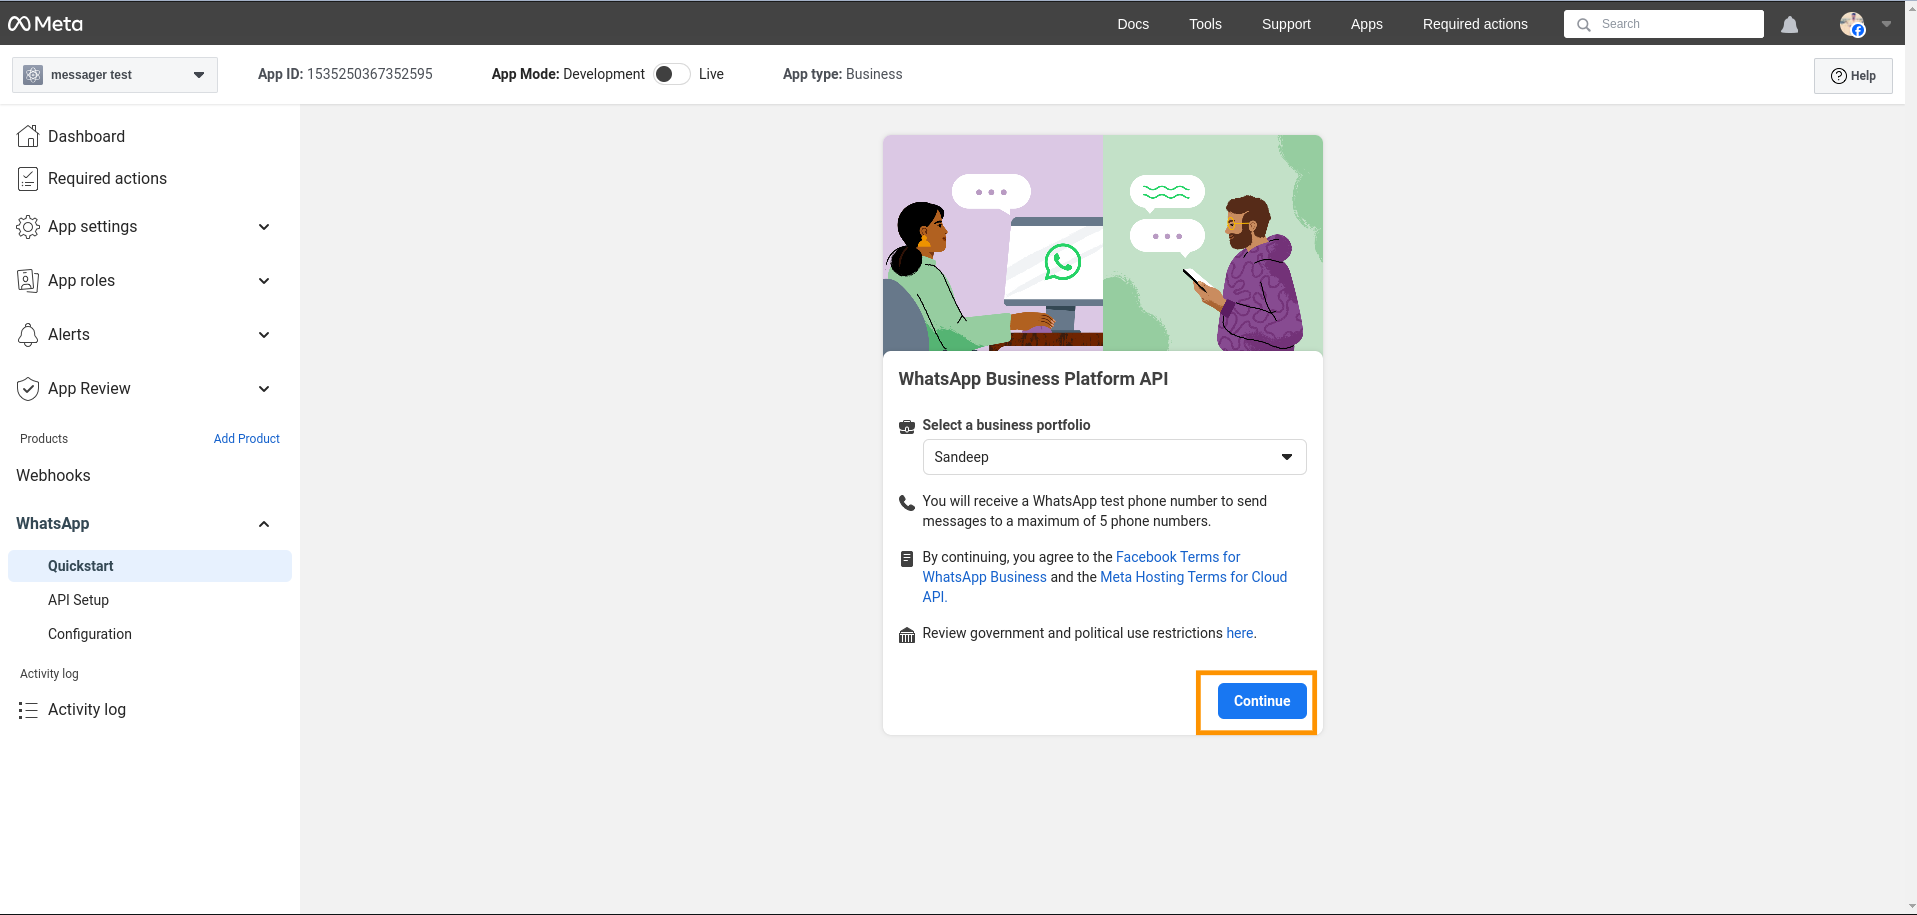
After clicking on Set up Click on the Continue button
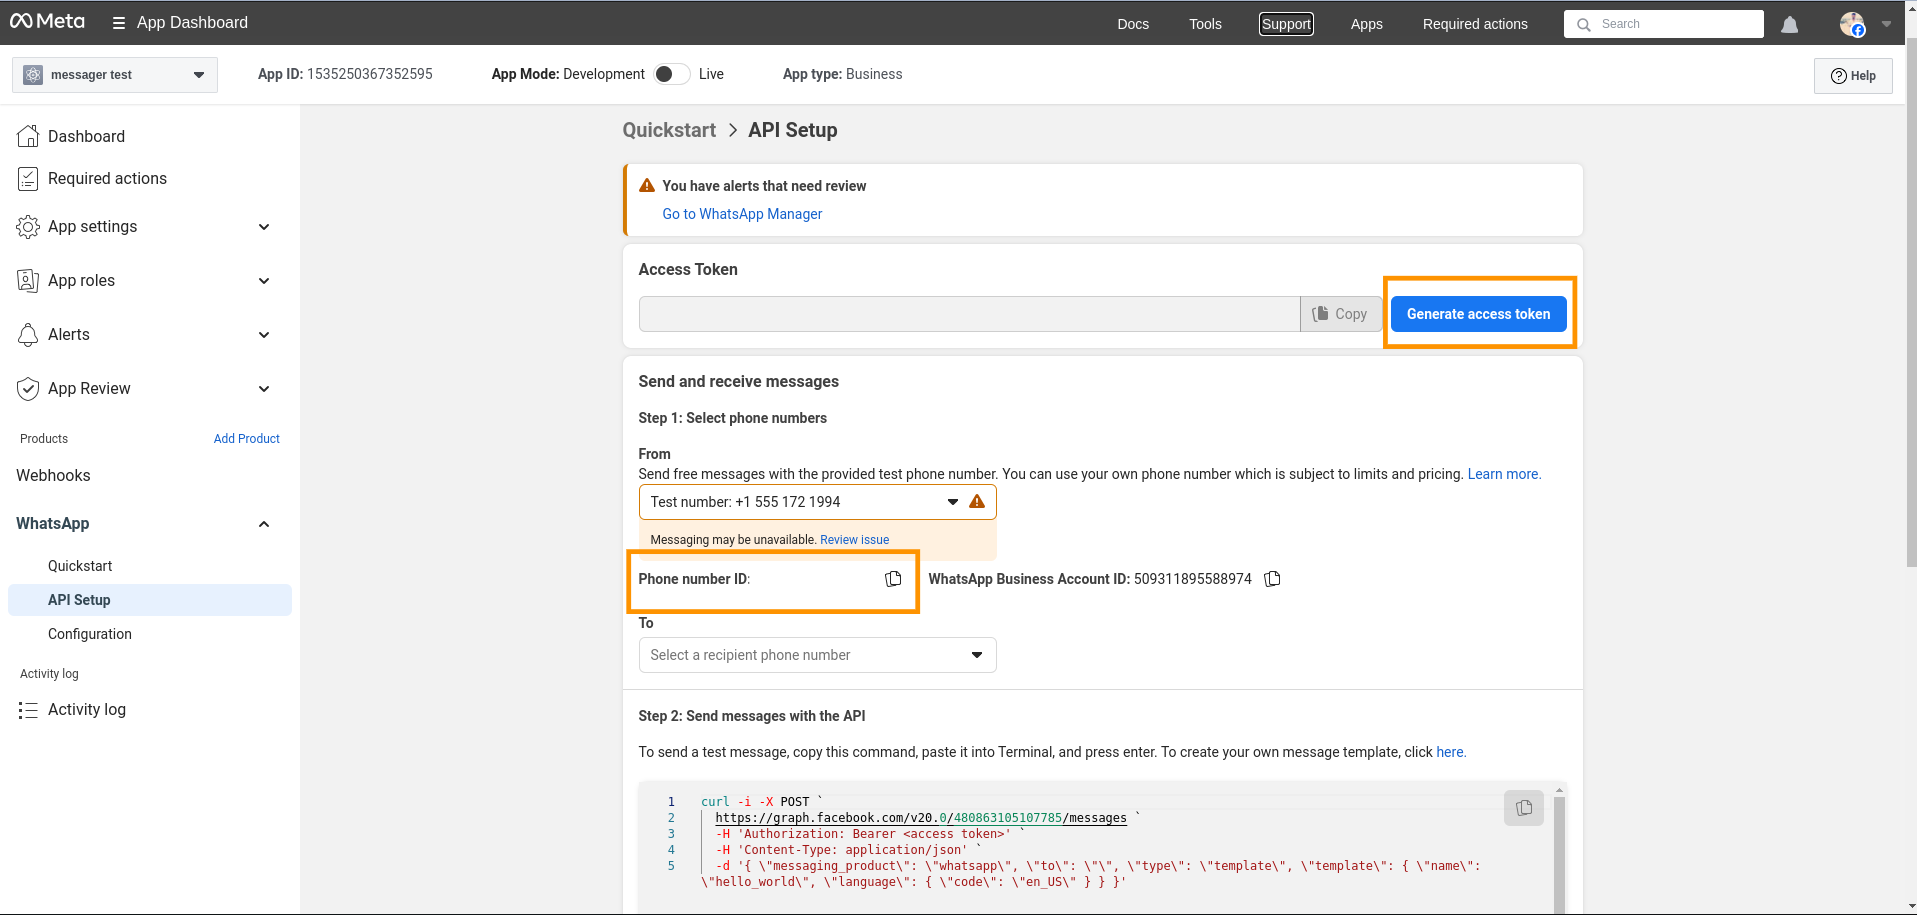
It will redirect to the next step and then you can add the number. From that page, you can generate the token and you will get a phone ID. Copy them and keep it somewhere with you
After these steps, you need to click on the configuration from the side panel there you need to add the webhook URL to configure this URL you get from your ampere in the same manage extension page
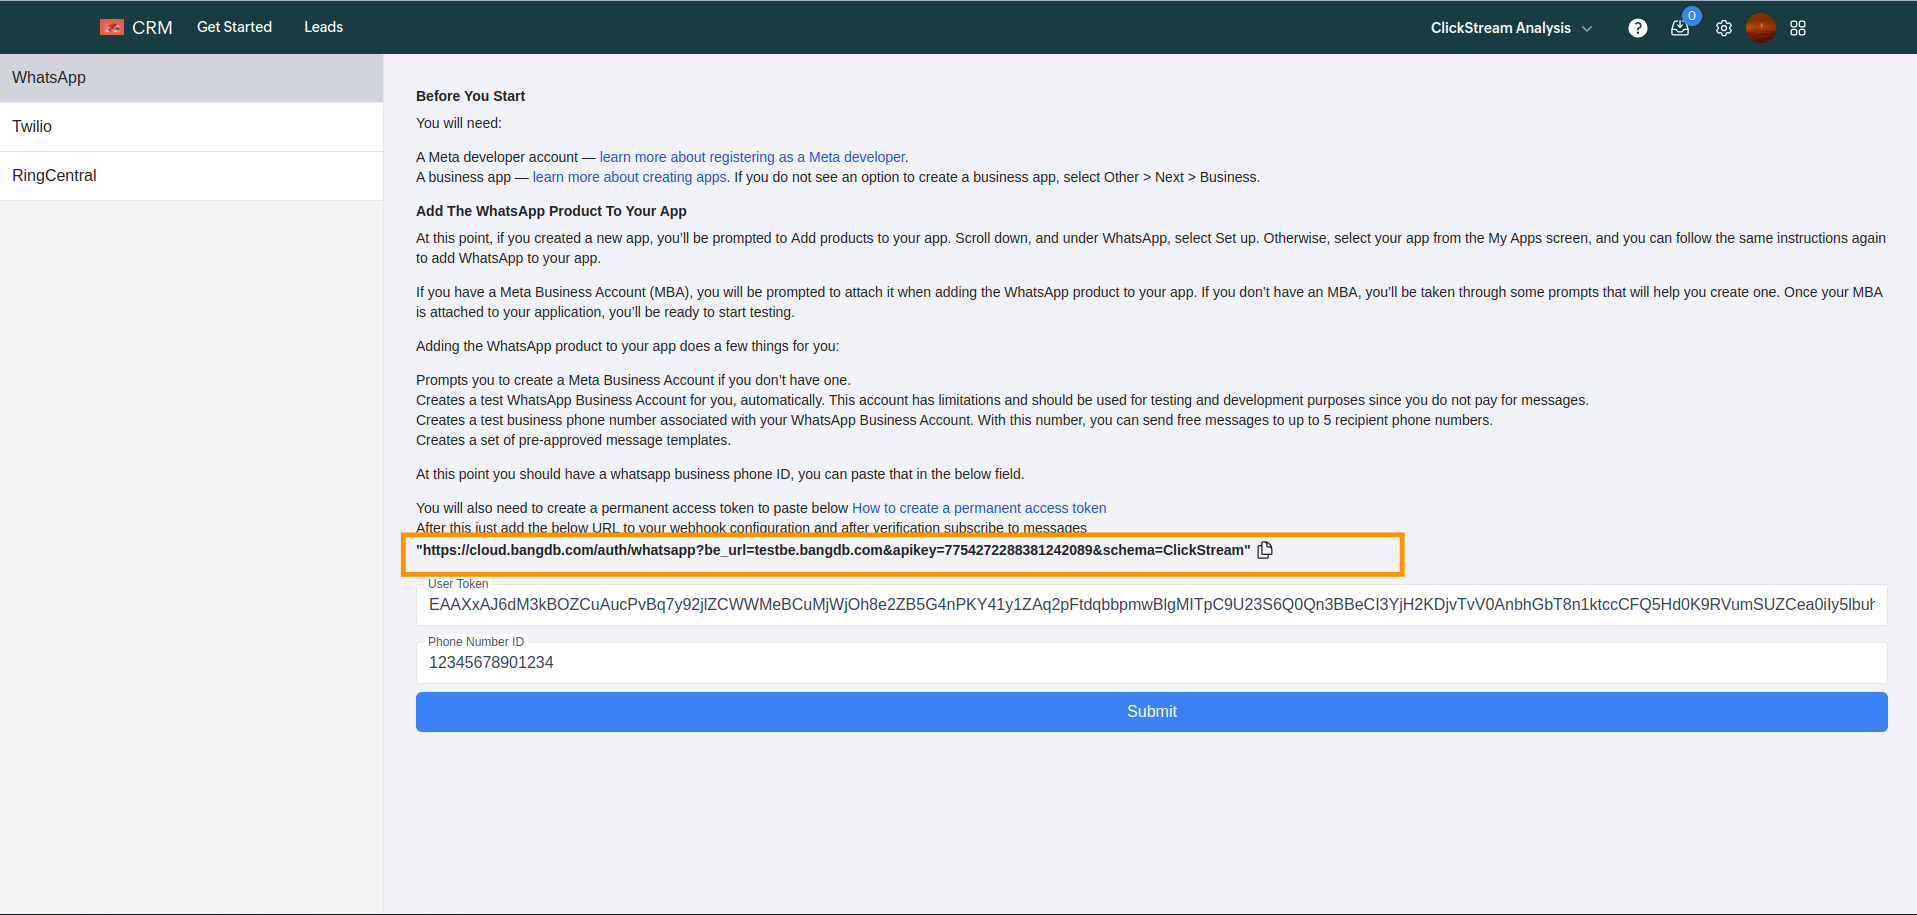
Copy and paste the call back URL from ampere into whatsapp setup. And paste your API key in the verify token and click on the verify and save button.
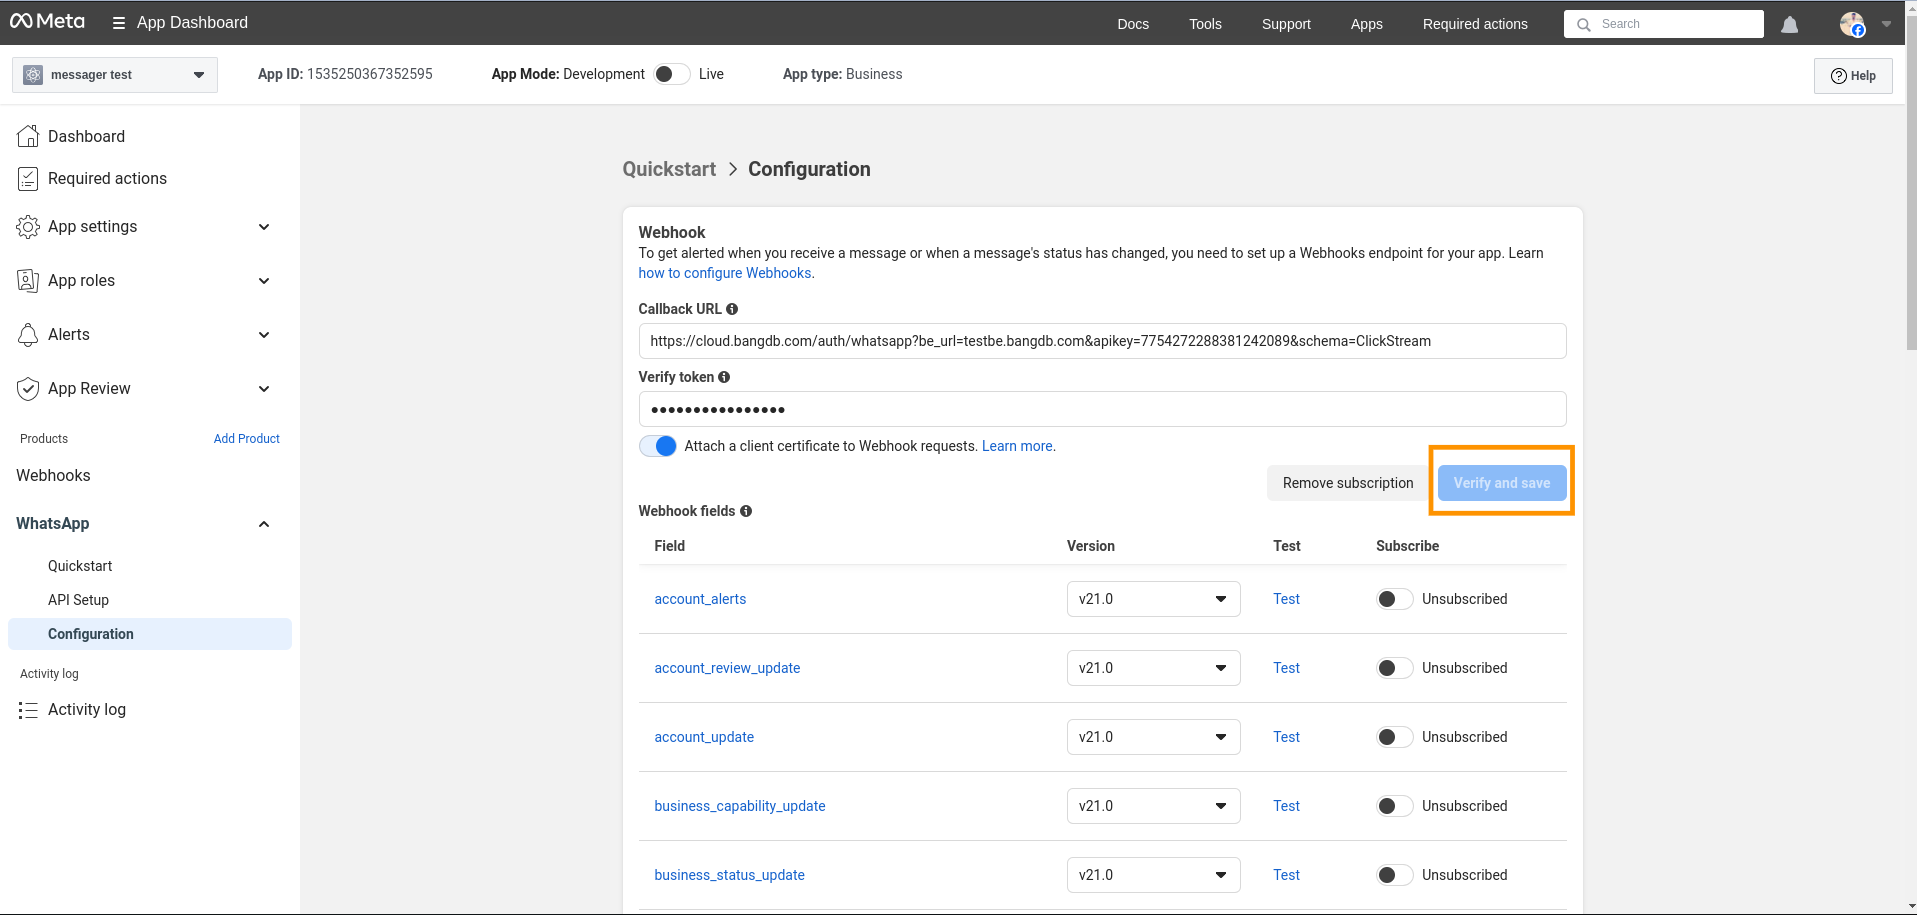
Subscribe to the messaging webhook. And your whatsapp setup is complete.